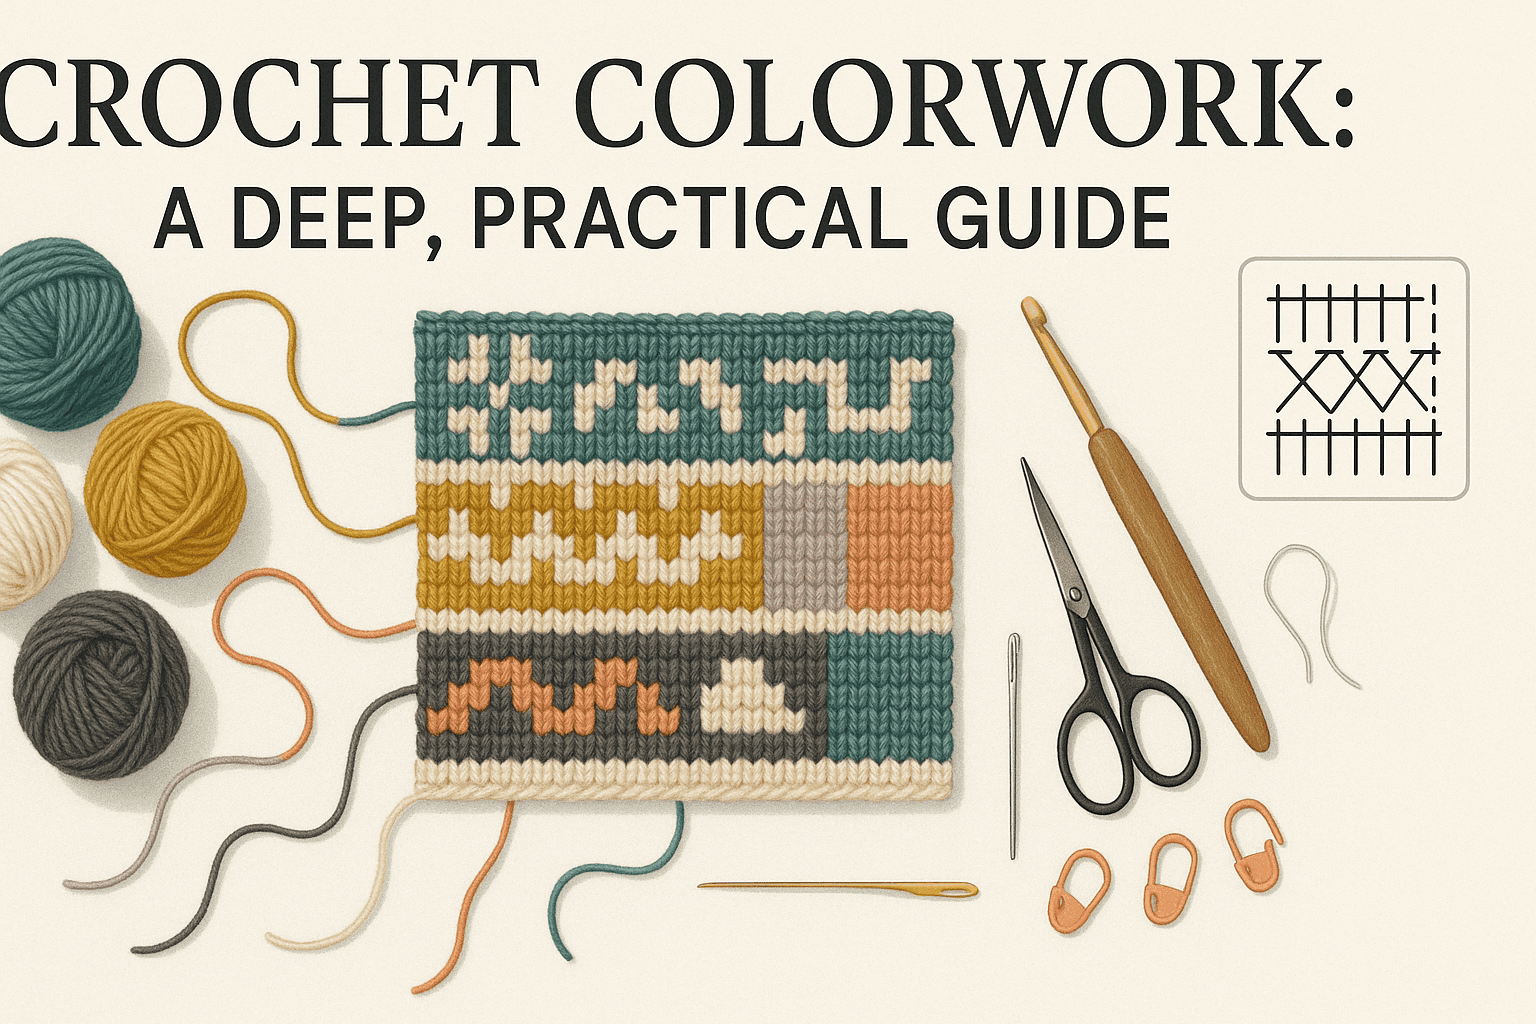
Why crochet colorwork feels “different” (and why it’s worth it)
Colorwork in crochet has a reputation: gorgeous results, but sometimes bulky fabric, slanted motifs, or a tangled mess of yarn. The good news is that most colorwork frustrations come down to a few predictable mechanics—how crochet stitches stack, how yarn travels behind the work, and how different fibers behave under tension.
Crochet, unlike knitting, builds fabric from discrete loops rather than a grid of live stitches. That gives crochet amazing structure and speed, but it also means:
- Stitches are taller than they are wide (especially in US double crochet), which can stretch motifs vertically.
- Increases in height from stitch to stitch (sc → hdc → dc) change the “pixel shape” of your design.
- The last yarn-over of a stitch is the cleanest place to change colors.
Once you understand those mechanics, you can choose the right colorwork method for your project and avoid the classic issues: puckering, bleeding colors, bumpy floats, and wavy edges.
This guide walks through the major crochet colorwork families—stripes, intarsia, Fair Isle-style, tapestry, and mosaic—with practical techniques, mini pattern examples, and troubleshooting.
The building blocks: yarn choice, stitch choice, and gauge
Yarn properties that matter most
-
Fiber content
- Wool / wool blends: Elastic, forgiving tension, blocks beautifully. Great for stranded and tapestry styles.
- Cotton: Crisp stitch definition and excellent for graphic motifs, but less elastic—tension errors show more easily.
- Acrylic: Affordable, stable, and widely available; can be slightly “grippy” when carrying yarn. Steam-block carefully (don’t melt).
-
Ply and twist
- Higher twist / plied yarns often create sharper stitch definition for colorwork.
- Very softly spun yarns can fuzz and blur color boundaries (sometimes desirable, sometimes not).
-
Contrast and value Colorwork reads best when colors differ not only in hue but in value (light/dark). If you photograph your palette in grayscale, your motif should still be visible.
-
Yarn weight and drape
- Tapestry and stranded methods can get dense; consider sport/DK if you want less bulk.
- Mosaic can produce a thicker fabric too (because of overlay stitches).
Stitch mechanics: choosing the right “pixel”
- Single crochet (sc) makes the most classic crochet “pixels” for tapestry and charted motifs.
- Half double crochet (hdc) is taller and can elongate motifs.
- Linked stitches (like linked dc) can reduce gaps in taller stitches.
- Tunisian simple stitch (not covered deeply here) is another strong option for charted colorwork with a knit-like grid.
If your design is chart-based, treat each stitch as a pixel. Single crochet gives you the most square-ish pixel—still slightly rectangular, but very workable.
Gauge matters more in colorwork
Two crocheters can both “match gauge” in one color and still have different results in colorwork because:
- carrying yarn changes tension
- frequent color changes add micro-tightening
- floats can pull in the fabric
Always swatch in the actual colorwork method, not plain fabric.
Clean color changes: the one technique that improves every method
For most stitches, the cleanest color change happens on the last step of the stitch.
In single crochet
- Insert hook, yarn over, pull up a loop (2 loops on hook).
- Yarn over with new color, pull through both loops.
This anchors the new color on top of the stitch and reduces “color halos.”
Weaving in ends as you go (when appropriate)
If your method doesn’t require carrying a yarn strand (like intarsia), you can often work over the tail for the first 6–10 stitches. For slippery fibers (some cottons, bamboo blends), still weave ends with a needle afterward for security.
Method 1: Stripes (simple, versatile, and not just “basic”)
Stripes are the gateway to colorwork, but they’re also a design powerhouse: think gradients, planned pooling, engineered repeats, and texture + color combinations.
Practical stripe tips
-
Avoiding a “jog” in joined rounds:
- Use a continuous spiral (no join), or
- Use a jogless join method (e.g., slip stitch + back loop trick), or
- Design with the jog (make it a feature, place it at the back).
-
Carrying color up the side: If you’re switching every 2 rows, carry yarn up the edge to reduce ends. Wrap the carried yarn every row or two to keep it tidy.
-
Stripe crispness: For sharp lines, change color on the final yarn-over of the last stitch of the row.
Mini pattern idea: “Rhythm Stripes” dishcloth (US terms)
- Yarn: worsted cotton in 3 colors
- Hook: 4.5 mm
- Foundation: ch 32
- Row 1: sc in 2nd ch from hook and across (31)
- Rows 2–5: ch 1, turn, sc across
- Change colors every 2 rows; every 6th row work sc in back loop only for a subtle ridge.
This teaches clean color changes and simple texture striping.
Method 2: Intarsia in crochet (clean blocks, minimal carrying)
Intarsia uses separate yarn sources for each color area. Instead of carrying a strand across the back, you drop one color and pick up another.
Best uses
- Large color blocks
- Images and bold motifs
- Garments where you want the inside as clean as the outside
How to manage yarn (bobbins)
- Use small bobbins, butterflies, or mini skeins.
- Twist the yarns at each color change to prevent holes:
- When switching from Color A to B, bring B under A (or consistently over) to lock them.
Consistency is key: always twist in the same direction.
Stitch choice for intarsia
- Works in sc, hdc, dc, and even filet.
- Single crochet intarsia gives crisp edges.
Mini pattern example: Two-block scarf panel
Work flat.
- With Color A, ch 41
- Row 1: sc across (40)
- Row 2: ch 1, turn, sc 20 with A; switch to B, sc 20 (twist A and B once at the boundary)
- Repeat Row 2 for desired length, keeping the split exactly centered.
This is the simplest way to practice tidy vertical boundaries.
Intarsia troubleshooting
-
Problem: holes at color boundaries
- Twist yarns at each boundary.
- Tighten the first stitch after the color change slightly.
-
Problem: tangled bobbins
- Use fewer active bobbins by designing broader blocks.
- Untwist every few rows by letting the work dangle and unwind.
Method 3: Fair Isle-style (stranded) crochet: beautiful, but needs planning
In knitting, Fair Isle typically means stranded colorwork with floats. Crochet can do stranded colorwork too, but it behaves differently because crochet stitches are thicker and the carried yarn can show through.
Best uses
- Small motifs with short float distances
- Textured stitch patterns where floats hide naturally
- Projects where a thicker, warmer fabric is desirable
Float management guidelines
- Try to keep floats under 3–5 stitches; tack down longer floats by catching the strand.
- Be aware: catching floats can cause shadowing (the caught color peeks through).
Where stranded crochet shines
- In half double crochet or textured stitches where the float stays behind bulk.
- In back-loop-only or ribbing-adjacent textures where color peeks are minimized.
Stranded crochet troubleshooting
-
Problem: carried yarn shows through on the front
- Use a smaller hook for tighter fabric.
- Increase contrast thoughtfully—sometimes mid-tones show through more than dark-on-light.
- Try tapestry (carried inside stitch) or intarsia instead.
-
Problem: fabric puckers (too tight floats)
- Carry yarn more loosely; stretch the stitches on your hook slightly before completing each stitch.
- Swatch and block—some puckering relaxes with blocking, especially in wool.
Method 4: Tapestry crochet (the workhorse for graphic motifs)
Tapestry crochet carries the unused color inside the stitch, producing a dense, sturdy, often reversible fabric. This is the method behind many crochet bags, baskets, and bold geometric patterns.
Why tapestry crochet looks so crisp
- Carried yarn is hidden within the stitch body.
- Single crochet forms tight “pixels” for charts.
The two common tapestry single crochet styles
- Traditional single crochet (yarn under or yarn over depending on your habit)
- Waistcoat stitch (center single crochet)
- Looks knit-like (V’s), great for geometric tapestry.
- Harder to work into; can tighten gauge.
Yarn Under (YU) vs Yarn Over (YO) in sc
Many tapestry crocheters use yarn under instead of yarn over for sc. This can:
- tighten the stitch
- make straighter edges and more square pixels
- reduce slant in the fabric
You can test both in a swatch and choose what suits your tension.
How to carry yarn neatly
- Keep the carried yarn laid along the top of the previous row and crochet over it.
- Don’t pull the carried yarn tight—let it lie flat so the fabric doesn’t cinch.
Mini chart example (described)
Try a simple 9x9 heart or diamond chart in two colors.
- Each square = 1 sc.
- Change colors on the final yarn-over of the previous stitch.
When you turn rows (working flat), tapestry edges can get messy because the carry changes sides. Many tapestry projects are worked in the round to keep the right side facing.
Tapestry troubleshooting
-
Problem: diagonal slant in motifs
- Common in sc because stitches stack slightly to the side.
- Solutions:
- Use yarn-under sc (often reduces slant)
- Use waistcoat stitch for straighter columns
- Adjust charts (shift pixels) to compensate
-
Problem: “pimples” of the carried color showing through
- Ensure you’re fully crocheting over the carried yarn.
- Use a slightly smaller hook.
- Choose yarns with similar thickness; uneven yarn sizes make carries more visible.
-
Problem: stiff fabric
- Go up a hook size for more drape (but watch show-through).
- Use thinner yarn.
- Reserve tapestry for structured items (bags, pillows) and choose mosaic or intarsia for garments.
Method 5: Mosaic crochet (high impact, low juggling)
Mosaic crochet creates colorwork motifs using overlay stitches (typically dc) worked into the row below, while you crochet each row (or round) in a single color. You don’t carry a second color across the row; instead, the pattern “draws” with dropped-down stitches.
Why mosaic is so approachable
- One color per row: fewer tangles.
- Crisp geometric designs with strong contrast.
- Works well for blankets, wraps, and pillows.
Two common mosaic approaches
- Inset mosaic (worked into spaces)
- Overlay mosaic (worked into back loops and into stitches below)
Overlay mosaic often uses:
- sc in back loop only (BLO)
- dc in front loop of the row below (or into the stitch below) to create the overlay.
Edge handling
Mosaic crochet often uses envelope borders or overlay borders to hide the row ends if you’re cutting yarn each row.
Mini pattern concept: 2-color zigzag mosaic swatch
- Alternate Color A rows and Color B rows.
- Use BLO sc as the base.
- Every few stitches, work an overlay dc into the row below to “paint” the opposite color.
Even a small 20-stitch swatch will show the dramatic effect.
Mosaic troubleshooting
-
Problem: overlay stitches pull and pucker
- Your overlay dc may be too tight. Work the dc a bit taller/looser.
- Consider a slightly larger hook for mosaic.
-
Problem: pattern looks blurry
- Increase color contrast.
- Use smoother yarn with good stitch definition (cotton or plied wool).
Reading colorwork patterns: charts, repeats, and row logic
Charts (grids)
Charts are common for tapestry and mosaic.
- For tapestry sc: 1 square = 1 sc.
- For mosaic: charts may use symbols indicating sc vs overlay dc.
Repeats and “pattern math”
Most charted designs repeat over a fixed number of stitches. Add stitch markers every repeat to:
- prevent drift
- catch mistakes early
Right side / wrong side considerations
- Working in the round (tapestry) keeps the right side facing.
- Working flat can reverse the image unless the chart accounts for RS/WS rows.
Practical finishing: blocking, lining, and borders
Blocking
- Wool: Wet block for best relaxation of tension and evening of stitches.
- Acrylic: Steam block carefully (hover steam) to relax without flattening too much.
- Cotton: Wet block and pin to measurements; it can grow.
Colorwork often looks “better the next day” after blocking—motifs square up and tension evens out.
Lining (especially for tapestry bags)
Tapestry crochet can have tiny gaps. A fabric lining:
- prevents stretching
- stops items from poking through
- gives a professional finish
Borders that help colorwork
- A simple single crochet border in the background color frames motifs.
- For mosaic, an envelope border can hide ends.
- For intarsia panels, a border can stabilize edges and reduce curling.
Troubleshooting master list (quick diagnosis)
1) My edges wave or flare
- Too many stitches at row ends (count!).
- Tension changes at color switches—keep the first stitch after a switch consistent.
- In mosaic, overlay stitches may be too loose/tight.
2) My motif is distorted or stretched
- Stitch height mismatch: sc charts won’t look right in dc.
- Try sc or waistcoat stitch for charted imagery.
- Block your swatch; adjust hook size.
3) Colors bleed into each other (fuzzy boundary)
- Some yarns “halo” (woolen-spun) and soften edges.
- Use a smoother, plied yarn for crisp motifs.
- Ensure you’re changing color on the final yarn-over.
4) The carried color peeks through
- Use a smaller hook.
- Change carrying method (tapestry vs stranded vs intarsia).
- Choose yarns with similar thickness.
5) My fabric is too stiff
- Go up a hook size.
- Choose a drapier fiber (wool, acrylic blends).
- Choose mosaic or intarsia for garments.
Skill-building roadmap: what to learn in what order
If you want a smooth learning curve:
- Stripes: clean color changes, jogless joins, carrying up edges.
- Intarsia: tidy vertical joins, bobbin management.
- Tapestry: tension + carrying inside stitches, chart reading.
- Mosaic: overlay mechanics, row logic, border finishing.
- Stranded/Fair Isle-style: float control, yarn dominance experiments.
Swatch deliberately. A 6-inch square teaches more than a full blanket that you’re afraid to frog.
Pattern inspiration: where each method shines
- Stripes: shawls, sweaters, socks (yes, crochet socks), home décor.
- Intarsia: statement cardigan backs, pillows with big motifs, wall hangings.
- Tapestry: bags, baskets, sturdy pillows, slippers.
- Mosaic: blankets, wraps, modern pillows, table runners.
- Stranded: yokes, mittens (if you like thick warmth), textured scarves.
A helpful design mindset: choose the method that matches the function. Structured items love dense methods; garments often need drape.
A note on expert sources and further study
Many contemporary crochet designers have refined these techniques with excellent tutorials and pattern support. For deeper dives, look for resources on:
- Mosaic crochet (overlay vs inset; envelope borders)
- Tapestry crochet (yarn under sc; in-the-round methods)
- Intarsia crochet (bobbins, clean joins)
You’ll also find strong foundational guidance in classic crochet reference books that cover stitch structure and finishing—understanding stitch anatomy is the fastest route to cleaner colorwork.
Putting it all together: your next steps
- Pick a method based on your project goal (drape vs structure, simple vs bold).
- Swatch with the real yarn, real hook, and real technique.
- Photograph your palette in grayscale to confirm contrast.
- Practice clean color changes until they’re automatic.
- Block your swatch before judging it.
Colorwork is one of the most satisfying crochet skills because it combines craft with visual design. With the right method, yarn, and tension habits, your motifs will sharpen, your fabric will behave, and your projects will look intentionally “designed,” not merely “multi-colored.”