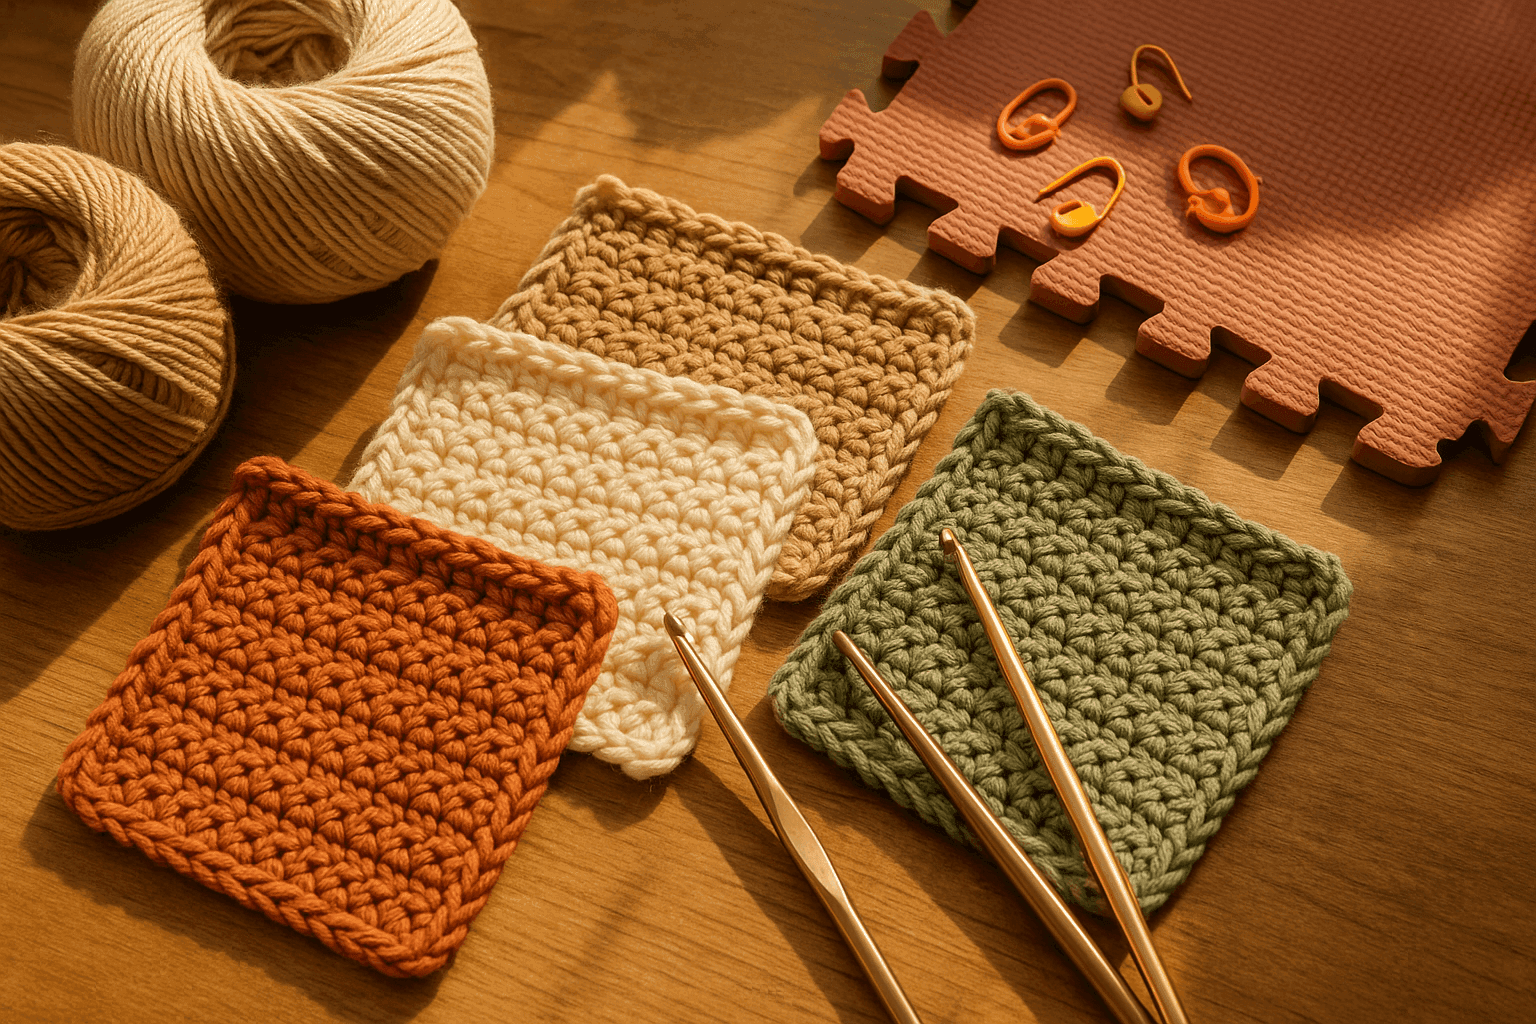
You know the moment: you finish a beautifully even swatch, set it on the table, smooth it once with your palm—and the edge immediately flips back up like it has an opinion. Maybe a slip stitch band rolls into itself with the determination of stockinette. Maybe a filet panel that looked airy on the hook starts cupping at the corners. Maybe a sturdy border you added to “fix” the situation somehow makes the whole piece ripple, torque, or curl harder. Edge behavior in crochet can feel mysterious until you start reading the fabric as structure rather than as a flat drawing of stitches.
That shift—seeing crochet as architecture under tension—is what makes edge roll manageable. In many cases, curl is not a mistake at all. It is simply the fabric resolving an imbalance: one side is shorter than the other, one layer is denser than the next, one stitch path wants to retract, or one fiber is asserting its memory. Once you understand what exactly is unbalanced, you can either neutralize the effect or use it on purpose.
This article dives deep into the mechanics behind rolling, cupping, and flipping edges in crochet. We’ll look at how stitch architecture, loop orientation, differential row and round tension, and fiber choice interact. Then we’ll get practical: how to diagnose the kind of curl you’re seeing, how to correct it with selvedges, balancing rows, pickup ratios, and border engineering, and how to exploit controlled roll for petals, collars, sculptural hems, and dimensional forms.
Why crochet edges roll in the first place
At the simplest level, fabric rolls when its two faces or two adjoining zones do not want to be the same length, width, or curvature. Crochet makes this especially interesting because stitches are not symmetrical little boxes. They are knots with directional pathways. Every stitch has:
- a front and back face
- a top loop orientation
- a vertical height
- a horizontal spread
- a preferred resting position
- a degree of openness or compression
When repeated across rows or rounds, those preferences accumulate. Edge roll is the visible result.
Think of curl as happening from one or more of these mechanical causes:
- Face imbalance: the front of the fabric consumes more yarn path than the back, or vice versa, causing the piece to curve toward the shorter side.
- Width imbalance: edge stitches are tighter or looser than interior stitches, making the edge contract or flare.
- Height imbalance: turning chains, first/last stitches, and row-end handling create shorter or taller columns along one side.
- Density mismatch: a dense border attached to an open fabric, or a compact stitch section beside a lofty stitch section, forces one area to gather the other.
- Fiber memory: wool, cotton, linen, acrylic, silk, and blends all store and release tension differently.
- Directional bias: some stitches lean, stack, or twist in ways that encourage torque and curl, especially in back-loop-only or slip stitch fabrics.
If you have ever worked knitted stockinette, you already know one classic example of face imbalance. In crochet, we get several analogous situations, but they show up in more varied ways because crochet stitches can differ so dramatically in depth, angle, and structure.
The role of stitch architecture
Before troubleshooting edge curl, it helps to understand how common crochet stitch families behave.
Slip stitch and single crochet: compact, directional, and prone to rolling
Slip stitch fabric—especially worked in rows, in back loops only, or as a stockinette-like crochet substitute—is one of the strongest curlers. Why? Because slip stitches are compact and horizontally compressed. The stitch path often emphasizes one face while the opposite face draws inward. In back-loop-only slip stitch, the unworked loop creates a visible ridge and a front/back inequality similar to rib and stockinette hybrids.
Single crochet is more stable than slip stitch, but dense single crochet can still pull inward at the edges if row ends are worked tightly or if the turning chain is omitted inconsistently.
Typical gauge examples:
- Slip stitch rib or flat fabric: 5.0–8.0 sts per inch depending on yarn and hook
- Single crochet fabric: 3.5–5.5 sts per inch
A tighter hook increases curl risk in both because the fabric has less room to redistribute stress.
Half double crochet and double crochet: taller stitches, more drape, different curl issues
Taller stitches like half double crochet (hdc), double crochet (dc), and treble crochet (tr) are less likely to roll tightly into a tube than slip stitch, but they can cup, flare, or flip. Why? Their height introduces leverage. If the row-end turning structure is inconsistent, one side can become taller than the other. If a border is too tight, these taller stitches will buckle visibly.
Half double crochet is a frequent culprit in “mysterious” top-edge and side-edge waviness because it holds a lot of yarn in a relatively compact shape. It can skew if the yarn-over and pull-through tension are not consistent.
Post stitches, ribbing, and textured fabrics: built-in depth changes
Front post and back post stitches force parts of the fabric to sit forward or back. That dimensionality is useful, but it also creates natural curvature. Deeply ribbed fabrics often want to draw inward horizontally. If joined to a flat panel at a 1:1 ratio without adjustment, they may pull the panel into a curve.
Openwork and mesh: less rolling, more cupping and corner distortion
Lace and mesh often do not roll in the same tight way as dense fabric, but they can cup if corners are underbuilt or if a border compresses their edge. Open spaces make structural imbalances more visible because there is less surrounding density to mask them.
Loop orientation and why it matters
Crochet stitches have top loops that can be worked through both loops, front loop only (FLO), back loop only (BLO), third loop, post, or chain spaces. Each choice changes where the force travels.
- Both loops usually gives the most balanced edge stability.
- Back loop only often increases elasticity and creates a hinge line; it can also encourage rolling because one loop is left exposed as a ridge and the stitch body tips.
- Front loop only can produce a different but related tendency, often making a seam-like line that changes curvature.
- Third loop work in hdc alters where the bulk sits and can flatten or emphasize ridges depending on context.
- Post stitches wrap around the stitch stem rather than the top, changing surface depth dramatically.
Loop orientation especially matters at selvedges and on the final row. A piece worked mostly through both loops but finished with a very tight BLO edging may suddenly flip toward that edge. Conversely, a strategic BLO row can function like a fold line when used intentionally.
Differential tension: the hidden force behind many edge problems
“Differential tension” simply means different zones of the fabric are under different tension loads. This can happen between:
- rows and turning chains
- rounds and joins
- body fabric and border
- one edge and the opposite edge
- center and perimeter
- one fiber section and another in mixed-yarn work
A common example: the crocheter naturally pulls the first and last stitch of each row tighter for neatness. Over 80 rows, each edge becomes a contracted cord. The center remains flexible, so the sides pull inward and the panel cups.
Another example: a border is added with enthusiasm and “nice firm stitches.” But if the body measured 4 dc per inch and the border behaves like 5.5 sc per inch, the border is effectively shorter than the edge it is attached to. The body must either gather, ripple, or curl to accommodate the difference.
Quick diagnostic measurement
Take a ruler and compare these zones over 4 inches if possible:
- interior stitch gauge
- selvedge stitch gauge
- border stitch gauge
- row gauge in the body
- row-equivalent gauge in any perpendicular edging
If your interior single crochet gauge is 16 sts and 18 rows per 4 inches, and your side border in single crochet is worked at a 1:1 ratio of 18 stitches into 18 rows, it might sound correct—but the side border’s horizontal stitch gauge may not equal the body’s vertical row gauge. That mismatch is where pickup ratio becomes critical.
Fiber choice and memory
Fiber is not an afterthought here. It is part of the mechanics.
Wool
Wool is forgiving. It has elasticity, memory, and usually responds well to blocking. A wool fabric may roll while unblocked yet settle significantly after washing and pinning. Wool is often the easiest fiber in which to correct mild edge curl.
Best uses when control matters:
- garments needing recoverable structure
- blocked lace with engineered edges
- textured fabrics where you want some resilience
Cotton
Cotton has less elastic recovery and often shows every structural decision very clearly. It can drape beautifully, but dense cotton crochet can feel determined. If it rolls, it may continue to roll unless the architecture is corrected. Cotton is excellent when you intentionally want sculptural, crisp curl—petals, bowls, or folded hems.
Linen and plant fibers
Linen softens with wear and can relax over time, but initially it may appear wiry or sharply directional. Edges can look stern before laundering. These fibers can hold a crease or fold line elegantly, but they are less forgiving of border mismatch.
Acrylic
Acrylic varies. Some acrylic yarns are springy and stable; others are slick and behave unpredictably with blocking. Acrylic cannot be wet-blocked into permanence the same way wool can, though steam can alter it dramatically. Because “killing” acrylic with too much heat can flatten texture irreversibly, edge correction should rely primarily on stitch architecture before blocking.
Silk, bamboo, alpaca, and drapey blends
These fibers often have less memory and more drape. Instead of tight roll, they may slump, flare, or collapse. A border that would stand crisply in cotton may simply sag in bamboo. In these yarns, edge engineering often means adding structure rather than reducing it.
Diagnosing what kind of curl you have
Not all edge distortion is the same. Start by naming it correctly.
1. Edge roll
The fabric turns over along an edge in a continuous scroll or flip.
Most common in:
- slip stitch panels
- BLO fabrics
- dense single crochet
- top rows worked more tightly than body rows
2. Cupping
The fabric forms a shallow bowl. Edges may draw inward from all sides or only in one direction.
Most common in:
- too few increases in rounds
- borders that are too tight
- mixed-density fabrics
- corners with insufficient turning space
3. Rippling or flaring
The edge has too much length for the area it attaches to.
Most common in:
- too many border stitches
- excessive increases in rounds
- loose pickup ratios
- dramatic stitch-height changes without compensation
4. Bias or torque
The whole fabric slants or twists. Edges may appear to curl because columns are leaning.
Most common in:
- uneven turning methods
- some yarn ply structures
- repeated directional stitches like hdc or slip stitch
- always joining rounds in the same visible way
5. Corner flipping
Corners poke up or flip backward even when the rest lies flat.
Most common in:
- underbuilt corners in rectangular borders
- too-tight final rounds
- inconsistent corner chain spaces
Reading the fabric: a practical checklist
Before fixing anything, ask:
- Does the curl go toward the front or the back of the fabric?
- Is it happening on all edges or only one edge?
- Did it begin in the body fabric or only after adding a border?
- Is the edge tighter than the interior if gently stretched?
- Is the issue stronger after the final row/round?
- Does the yarn have enough elasticity to block the problem out?
- Are your first and last stitches consistently placed?
- Are turning chains counting as stitches on some rows but not others?
- Did you change hook size for the border?
- Are you working a dense edging onto an open fabric at a 1:1 rate?
Your answers usually point directly to the fix.
Step-by-step: preventing curl from the start
Step 1: Swatch for behavior, not just gauge
Make a swatch at least 5 x 5 inches. Smaller swatches lie. You need enough fabric for the structure to express itself.
For each swatch, note:
- yarn weight: lace, fingering, sport, DK, worsted, aran, bulky
- hook size used
- stitch gauge and row gauge over 4 inches
- whether the fabric rolls before blocking
- whether it relaxes after washing
Suggested starting hook ranges:
- Fingering yarn: 2.75–4.0 mm
- Sport: 3.25–4.5 mm
- DK: 4.0–5.0 mm
- Worsted: 5.0–6.0 mm
- Bulky: 6.5–9.0 mm
If edge roll is severe in a dense stitch pattern, go up 0.5 mm and swatch again. That one change often reveals whether the problem is basic compression or true structural imbalance.
Step 2: Build a stable selvedge
A selvedge is not just the edge you happen to get. It can be engineered.
Good options include:
- adding 1 edge stitch in a more stable stitch pattern on each side
- working the first stitch of every row consistently into the base of the turning chain or not, but never switching randomly
- using chainless starting stitches for tall-stitch rows
- keeping the last stitch loose enough to match interior height
Example selvedge strategy for dc fabric:
- Chainless starting dc at beginning of row
- Work body stitches
- Finish with 1 sc or 1 hdc as the last edge stitch every row if the edge is prone to flare
That smaller edge stitch can act like a mild brake on a loose dc selvedge. On the other hand, if the edge is pulling in, replacing that final dc with a shorter stitch will worsen it—so match the remedy to the problem.
Step 3: Balance stitch families across the fabric
If the body fabric is very compact, insert balancing rows or rounds.
Examples:
- After several BLO slip stitch rows, add 1 row through both loops to reduce hinging.
- In hdc fields that cup, add an occasional row of dc to release vertical compression if the design allows.
- Between a dense center panel and an open border, transition with 1 round of hdc or extended sc rather than attaching sc directly to airy chain spaces.
Step 4: Engineer pickup ratios carefully
This is one of the biggest fixes for border-induced curl.
When working stitches into row ends, do not assume 1 stitch per row is correct.
General starting ratios:
- For sc row ends: pick up about 3 stitches for every 4 rows
- For hdc row ends: about 4 stitches for every 5 rows
- For dc row ends: about 2 stitches for every 3 rows or 3 for every 4, depending on gauge
These are starting points, not laws. The right ratio depends on your actual stitch and row gauge.
How to calculate pickup ratio
Suppose your fabric in dc measures:
- 12 stitches over 4 inches
- 8 rows over 4 inches
If you add a side border in sc, and your sc border gauge is 14 stitches over 4 inches, then matching 8 row ends to 8 sc stitches will likely be too tight because 8 sc stitches measure only about 2.3 inches at that gauge. You need enough border stitches to span the 4-inch side.
Formula:
Required border stitches over edge length = border stitch gauge per inch x edge length in inches
If border gauge is 14 sts / 4 in = 3.5 sts per inch, and edge length is 4 inches, you need about 14 border stitches over that side length.
So if that side contains 8 dc rows, your pickup ratio should be roughly 14 stitches into 8 row ends, not 8 into 8. You might distribute that as alternating 2 stitches in some row ends and 1 stitch in others, for example:
- (2 sc in next row end, 1 sc in next row end) repeated 6 times = 18 stitches over 12 row ends
- or another custom sequence matching your measured side
Always count and test over a representative section first.
Step 5: Use corners generously enough
Many edge issues are really corner issues. If corners are too tight, the sides can look curled because the perimeter is being shortened.
Starting corner guidelines for rectangular borders:
- sc border: 3 sc in each corner stitch or 1 sc, ch 1 or ch 2, 1 sc depending on style
- hdc border: 2 hdc, ch 1, 2 hdc
- dc border: 2 dc, ch 2, 2 dc
If corners flip upward after blocking, increase the corner space slightly. If corners ruffle, reduce it.
Step 6: Match hook size to the job, not just the yarn label
It is common to need a larger hook for borders than for the body, especially when applying dense stitches to row ends.
Typical adjustment:
- body in 5.0 mm
- border in 5.5 mm or 6.0 mm if the border tends to pull inward
Likewise, if a border is flaring, go down 0.5 mm or reduce pickup frequency.
Correcting specific edge-curl scenarios
Scenario A: Stockinette-like slip stitch panel rolling hard at top and bottom
Symptoms:
- top and bottom edges roll toward one face
- side edges may also contract
- blocking helps only partly, especially in cotton
Why it happens:
Slip stitch fabric has strong face imbalance and compression.
Fixes:
- Add a balancing border in a taller stitch such as sc or hdc.
- Work at least 2–4 rounds/rows of the border rather than a single tight edge.
- Use a larger hook for the border.
- Consider an attached i-cord-like or corded edge only if you want firmness; otherwise it may exaggerate roll.
- If redesigning from scratch, insert every 6th–10th row through both loops or add occasional release rows in sc.
Practical example:
- Body: 40 BLO slip stitches per row for 72 rows using DK yarn and 4.0 mm hook
- Border fix: switch to 4.5 mm hook and work 1 round sc around with side pickup ratio adjusted to measured length, then 1 round hdc, then 1 round reverse sc if desired
- Corner count: 3 stitches per corner on the sc round, then maintain even count
Scenario B: Tall-stitch field with side edges pulling inward
Symptoms:
- center of fabric looks open and drapey
- both side edges contract and the panel bows inward
Why it happens:
The row ends are tighter and shorter than the dc or tr interior.
Fixes:
- Replace turning chains with chainless starting stitches.
- Add 1 edge stitch in hdc or extended sc if the edge is too loose; add full-height edge stitches if the edge is too tight.
- Check whether you are skipping the final stitch beside the turning chain.
- Block aggressively only after correcting the stitch count issue.
Count check example:
- Intended row count: 30 dc across
- Actual worked row sometimes: 29 because the last stitch is missed
That error alone can create progressive side draw-in that resembles tension curl.
Scenario C: Dense border making a blanket or shawl cup
Symptoms:
- fabric was flat before border
- after 1–3 rounds of sc or crab stitch, edges draw inward
- corners may buckle
Why it happens:
The border is shorter in perimeter than the body edge.
Fixes:
- Remove the border and recount pickup ratio.
- Use a larger hook for the border.
- Insert a transitional round in hdc or dc before the denser edging.
- Increase border stitch count strategically, especially along row ends.
- Soften corners with chain spaces.
A useful sequence:
- Round 1: hdc evenly around, with measured side pickup ratio
- Round 2: sc evenly around
- Round 3: decorative edging
This often lies flatter than attaching sc directly to a lofty fabric.
Scenario D: Mixed-fabric panels curling where stitch patterns meet
Symptoms:
- seam or join line cups or flips
- one panel seems to overpower the other
Why it happens:
You have two fabrics with different row gauges, densities, and recovery rates.
Fixes:
- Match dimensions by measurement, not by row count.
- Add short rows or balancing rows in the shorter/denser panel.
- Join with a flexible method rather than a tight slip stitch seam.
- Consider changing hook size for one panel so the final blocked dimensions match.
Example:
A center lace panel is 20 inches tall over 60 rows; side single crochet panels need 72 rows to reach the same height. If joined row-for-row without adjustment, one section will distort. You either alter row counts, use measured shaping, or join by easing one section into the other intentionally.
Troubleshooting guide: common mistakes and fixes
Mistake: Border worked too tightly “for neatness”
Fix:
- go up 0.5–1.0 mm in hook size
- increase pickup ratio
- insert a taller transition round
Mistake: One stitch picked up in every row end automatically
Fix:
- calculate pickup by measurement
- test over 4 inches and count before committing
Mistake: Turning chains treated inconsistently
Fix:
- decide whether turning chain counts as a stitch
- mark the first and last real stitch for 10 rows
- use chainless starts if needed
Mistake: Final row much tighter than prior rows
Fix:
- consciously loosen the final pass
- use a larger hook just for bind-off-like finishing row
- add another balancing row if the top edge still flips
Mistake: Expecting blocking to solve a structural mismatch
Fix:
- rework the architecture first
- use blocking only for refinement, not rescue, unless the issue is truly mild and the fiber cooperative
Mistake: Using a very dense edging on a very open fabric
Fix:
- bridge densities gradually
- from lace to hdc to sc, rather than lace to tight sc instantly
Blocking strategy: when and how it helps
Blocking is not magic, but it is part of edge mechanics.
Wet blocking
Best for wool and many natural fibers. It relaxes tension, evens stitches, and can reduce minor roll.
Use when:
- the structure is mostly correct
- the curl is mild to moderate
- the fiber has good response to moisture
Steam blocking
Useful for some fibers, but risky for acrylic if overheated.
Use when:
- you need to persuade a border to settle
- the yarn label allows it
- you can test first on a swatch
Pinning strategy
Do not merely stretch corners. Support the entire edge.
- Pin corners first.
- Pin midpoint of each side.
- Then distribute pins evenly so the edge lies in the shape you want.
- For strong curl, use blocking wires along straight edges.
What blocking cannot do
- It cannot permanently lengthen a too-tight border in nonelastic fiber.
- It cannot correct missing stitches.
- It cannot neutralize severe stockinette-like slip stitch roll in dense cotton indefinitely.
Border engineering: designing edges that behave
A good border does one of three things:
- balances the fabric
- transitions the fabric
- intentionally reshapes the fabric
Problems happen when we think we are doing #1 but are accidentally doing #3.
Stable balancing borders
Good for preventing curl:
- 2–4 rounds of hdc or sc with measured counts
- split single crochet for a firmer, more knit-like edge
- linen/moss stitch borders on drapey fabric
- reverse single crochet only after a stable foundation round
Borders to avoid on already-tight edges
Use caution with:
- immediate crab stitch on a contracting edge
- tight slip stitch edging
- corded edge worked with smaller hook
- picots packed too densely
Sample border formula for a flat rectangle
Suppose you have a worsted-weight blanket panel worked in dc:
- width: 120 dc across
- height: 80 rows
- hook: 5.5 mm
- yarn: wool blend
Border plan:
- Round 1 with 6.0 mm hook: sc across top and bottom at 1 sc per stitch = 120 each side
- Side pickup ratio determined by test swatch: 3 sc per 2 dc rows gives 120 stitches along each side if row gauge supports it
- Corners: 3 sc in each corner stitch
- Round 2: hdc evenly around with no increases except corners adjusted as established
- Round 3: optional decorative round
If the side begins to flare, redistribute to 118 or 116 side stitches. If it cups, increase to 122–124. Tiny count changes matter.
Using curl intentionally
Curl is not just a nuisance. It is one of the most expressive sculptural tools in crochet.
Rolled collars and hems
A stockinette-like slip stitch or tight BLO fabric can create a beautiful self-rolling hem.
How to control it:
- use wool, cotton, or blends with enough body
- keep the edge free of balancing borders
- test depth: 6–12 rows may create a subtle roll; 16–24 rows create a stronger tube-like edge
- avoid overblocking if you want the roll preserved
Petals and leaves
To make petals curl naturally:
- work denser stitches along one edge and taller stitches along the opposite edge
- use BLO or FLO strategically as a hinge line
- choose cotton for crisp shape or wool for softer organic curve
Example petal sequence over 12 base stitches:
- Row 1: sc across = 12
- Row 2: sc, hdc 2, dc 4, hdc 2, sc 3 = 12
- Row 3: BLO slip stitch edging around one side only for induced curl
The tighter edge will draw inward, making the petal cup.
Sculptural bowls and baskets
Cupping is exactly the goal here.
How to encourage it:
- reduce increases in the base round sequence
- switch to a smaller hook for the side walls
- use cotton, jute, raffia, or firm cord yarn
- add post-stitch bands for rigidity
Dimensional ruffles and fluted edges
Here you intentionally overbuild the edge rather than contract it.
- increase border stitch count at a controlled rate
- use taller stitches for the outer edge
- pair a stable inner round with an expansive outer round
This is the opposite of preventing curl, but the same mechanics apply: differential length creates form.
Design variations and advanced strategies
Compensating selvedges
A compensating selvedge is an edge treatment built into the piece to offset the body’s tendency.
Examples:
- 2 edge stitches in sc framing a dc body
- a narrow garter-like crochet ridge every few rows in slip stitch fabric
- an integrated chainless edge column for tall stitches
Balancing rows
A balancing row interrupts repetitive bias.
Examples:
- one row through both loops after several BLO rows
- one row of taller stitches in an overly compact section
- one round with strategic increases after a tight textural motif round
Differential hook sizing
This is underused and extremely effective.
- use a smaller hook for an overly loose lace edge
- use a larger hook for a contracting border
- change hook size only at selvedges if needed for panel consistency
Weighted finishing
For garments and home décor, a hem facing, sewn ribbon, or hidden chain can sometimes stabilize an edge that should hang rather than curl. This is not cheating. It is textile engineering.
Especially useful for:
- long cardigans in drapey yarn
- wall hangings
- tunic hems
Hybrid blocking and construction
Sometimes the best fix is to block components before joining, then add a final balancing border after assembly. This is particularly helpful in mixed-fabric garments, patchwork crochet, and motif-based designs where each component has different tension memory.
A simple diagnostic workflow you can use every time
When an edge rolls, do this in order:
- Measure the body and edge gauges.
- Count stitches and rows to confirm no accidental losses or gains.
- Identify whether the issue is contraction, expansion, or face imbalance.
- Swatch the fix: larger hook, different border ratio, balancing row, or different selvedge.
- Block the corrected swatch.
- Apply the least invasive solution that actually changes the mechanics.
This process saves far more time than repeatedly adding random borders and hoping one behaves.
Key takeaways
Edge roll in crochet is not random. It comes from identifiable structural imbalances in stitch architecture, loop orientation, tension distribution, border density, and fiber memory. Once you start reading those imbalances, curl becomes a controllable property rather than a frustrating surprise.
If you want to prevent curl:
- swatch for behavior, not just gauge
- build stable selvedges
- calculate pickup ratios by measurement
- transition between dense and open fabrics gradually
- use blocking as refinement, not as the primary fix
- let fiber characteristics guide your choices
If you want to exploit curl:
- lean into compact, directional stitches
- manipulate differential tension intentionally
- choose fibers that either preserve crisp shape or relax into soft curves
- treat edge behavior as a design tool for volume and form
Most importantly, trust what the fabric is telling you. A rolling edge is information. It is the crochet announcing where its internal forces are uneven. When you learn to hear that message, you gain a deeper command of your materials—and that is where truly confident crochet design begins.