Few things are more puzzling than laying out a crochet panel you were sure was perfectly sensible while you worked it, only to discover that the side edges seem to drift, the whole piece leans to one side, or a long tube has developed an unmistakable spiral. You count your stitches again. The numbers are right. Your tension feels consistent. And yet the fabric is behaving like it has its own agenda.
That moment is frustrating precisely because bias in crochet is not always a simple error. Sometimes it is caused by inconsistent edges or missed turning chains, yes. But often the skew is built into the structure of the fabric itself: the way stitches stack, the direction they pull, the twist energy stored in the yarn, the construction method you chose, or the asymmetry in the shaping. If you have ever wondered why one sweater panel rotates, one blanket corner grows off-angle, or one seam insists on crawling around the body instead of hanging straight, the answer is usually a combination of architecture and material rather than a single “bad habit.”
Understanding crochet fabric bias gives you much more than a way to fix mistakes. It gives you design control. Once you can identify where torque enters a fabric and how it accumulates row by row or round by round, you can choose stitches that behave more neutrally, pair constructions that counterbalance each other, and block only where blocking will actually help. You can also stop blaming yourself for problems that no amount of careful tension could fully erase.
What crochet bias actually is
Bias, in this context, is the tendency of a crochet fabric to shift off the intended vertical and horizontal grain of the piece. That might show up as:
- side edges that slant instead of rising straight
- rows that appear to climb diagonally
- a panel that twists after a few inches
- a tube or yoke that spirals around the body
- seams that rotate rather than staying at side or underarm positions
- motifs that seem square individually but pull a project off balance once joined
In woven fabric, bias refers very specifically to the diagonal direction relative to the warp and weft. Crochet does not have warp and weft in the same way, but it absolutely has structural directions. Stitches sit on top of and beside each other, loops lean, yarn twist exerts torque, and every new row or round is built from a consistent working direction. All of that creates a directional fabric.
Bias becomes visible when those directional forces are unbalanced.
Why “it’s just tension” is too simple
Tension matters, of course. Tight stitches exaggerate any structural pull because there is less room for the fabric to relax. Loose, inconsistent edge tension can also make a panel look more skewed than it is. But tension is only one variable.
A crocheter with excellent consistency can still produce a biased panel if:
- the stitch pattern naturally leans
- the yarn is energized with a strong ply twist
- the project is worked in a single uninterrupted direction for many rows or rounds
- increases and decreases are placed asymmetrically
- one edge is structurally different from the other
- the fabric is blocked in a way that temporarily masks rather than corrects the skew
The useful question is not “Am I crocheting wrong?” but “Where is directional torque entering this fabric, and is it being balanced anywhere?”
The main causes of crochet fabric bias
1. Stitch architecture
Every crochet stitch has a shape, and that shape is not always neutral.
A single crochet fabric, especially worked tightly, often shows a strong directional lean. The stitch has a compact, stacked geometry that can encourage rows or rounds to drift. Half double crochet can also develop a visible slant, though often less aggressively depending on yarn and gauge. Double crochet is taller and usually a bit more forgiving because the added height lets the stitch relax and distribute pull differently.
Post stitches, linked stitches, and textured patterns may exaggerate bias because they draw yarn around the fabric in directional paths. Dense stitch combinations such as alternating front post and back post ribs can torque strongly if the yarn itself is lively. Chevron-like textures or stitches with offset placement can also create diagonal pull that reads as bias even when it is part of the pattern.
Even when a stitch pattern looks visually straight, the internal route of the yarn through the stitch may not be straight.
2. Directional building
Standard crochet is usually worked from right to left for right-handed crocheters and left to right for left-handed crocheters. Over many rows, that repeated working direction matters. In rows, turning at the end can partially rebalance the direction because the fabric orientation flips. In rounds, especially continuous spirals, the work keeps advancing in the same rotational direction and torque can accumulate without interruption.
This is why amigurumi tubes, hats, sleeves, and circular yokes sometimes visibly spiral even when stitch counts are perfect.
3. Turning habits and edge treatment
Edges are often the first place bias becomes visible. If one side consistently receives a taller or tighter turning chain, if the first stitch of the row is sometimes worked and sometimes skipped, or if the last stitch is regularly crowded or stretched, the panel can begin rotating subtly. That rotation may not show for several inches, then suddenly the whole piece looks skewed.
Common edge imbalance issues include:
- treating the turning chain inconsistently as a stitch
- adding or omitting the last stitch by accident
- pulling turning chains too tight on one side
- working into the wrong loop at row ends
- using stacked starts on one row type but chain starts on another
4. Yarn ply and twist energy
Yarn is not passive. Spun yarn stores twist. Some yarns are balanced and calm; others are eager to kink, untwist, or overtwist as you work. If you crochet in the same direction repeatedly, you can either add to or subtract from the yarn’s twist energy depending on your working style and the yarn’s spin direction.
A highly energized yarn can:
- make stitches lean more strongly
- cause fabric to rotate after washing
- produce spiraling seams in the round
- make one stitch pattern behave beautifully and another behave badly
This is especially noticeable in smooth, firm plied yarns with strong twist definition. Softer, loftier woolen-spun yarns often disguise or absorb some of that torque. Cotton can show bias clearly because it lacks elasticity and tends to record structure faithfully. Superwash wool may relax differently after wet finishing and reveal bias you did not notice dry.
5. Fiber memory and recovery
Fiber content affects whether bias can relax, be blocked, or return stubbornly.
- Wool: Good elasticity and memory. Can often be wet blocked effectively, especially if the bias is mild to moderate and not fundamental to the stitch architecture.
- Cotton: Low elasticity, excellent stitch definition, often shows skew clearly. Wet blocking helps less with structural bias; steam may help some, but cotton tends to keep the shape it was built with.
- Acrylic: Can be persuaded with steam or heat setting, but “killing” acrylic for straightness can flatten texture and drape. Structural torque often remains underneath.
- Linen: Can soften over time but often displays construction truthfully. Good for diagnosing actual structure.
- Blends: Behavior depends on dominant fiber and finishing.
Memory matters because blocking can only redistribute what the fiber is willing to hold.
6. Asymmetrical shaping
Bias does not always come from the stitch field. Sometimes it is created by the shaping plan.
If increases are consistently placed on one side, if short-row wedges are unbalanced, if neckline shaping is worked differently on left and right pieces, or if a side seam joins two panels with subtly different row gauges, the finished garment can twist on the body.
Even a rectangular panel can rotate if one edge has deeper shaping history than the other.
7. Construction and assembly choices
A panel that seems acceptable flat may misbehave once joined. Seams can stabilize, but they can also concentrate torque. Joining biased panels in the same direction can amplify the skew. Joining mirrored panels can cancel it.
Common examples:
- two front panels worked separately but not mirrored in edge treatment
- sleeves crocheted both in the round in the same direction, causing both to spiral the same way instead of balancing visually
- blanket strips all worked from the same end and joined without alternating orientation
- side seams assembled with differing row-to-stitch ratios, dragging the garment around the torso
How to diagnose bias before it ruins a project
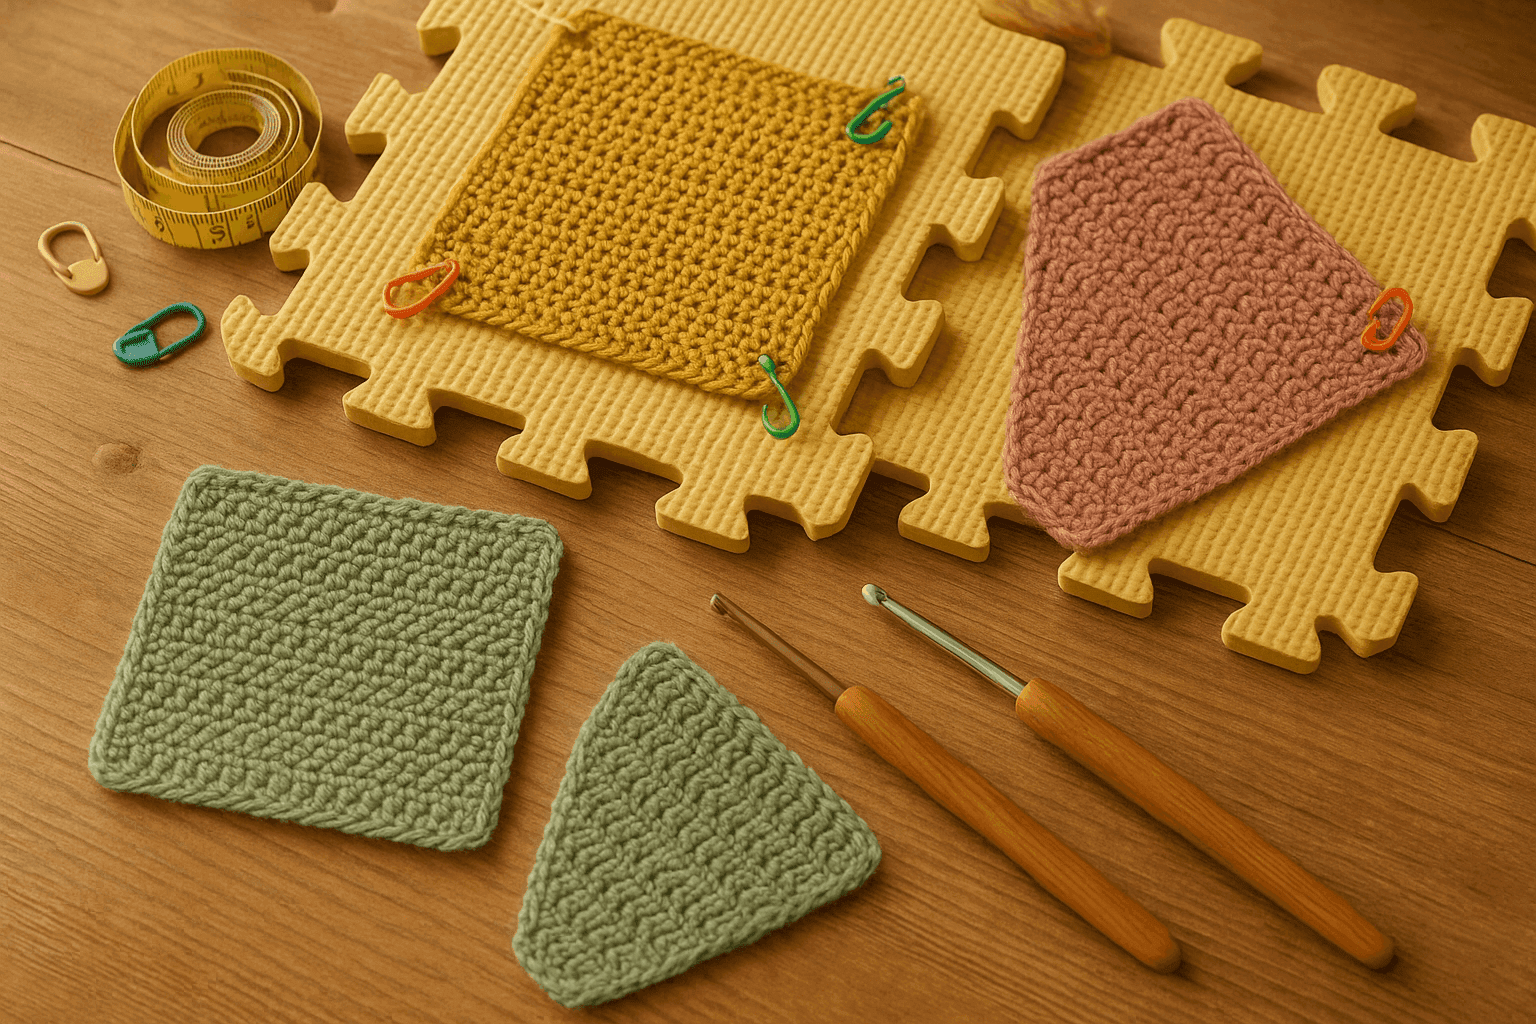
A quick swatch saves far more frustration here than almost any other crochet issue. Not just any swatch, though: a bias diagnostic swatch needs enough size and enough observation points to reveal directional behavior.
Diagnostic swatching method
Work a swatch at least 6 x 6 inches, but 8 x 8 inches is better for dense stitches. For garments or blankets, I prefer a minimum of 30 stitches wide and enough rows to make a square or slightly taller rectangle.
Use the exact:
- yarn n- hook size
- stitch pattern
- row or round construction
- edge treatment
- finishing method
that the project will use.
Suggested starting swatches by yarn weight
- DK/light worsted: 30 sts x 34–40 rows in pattern with a 4.0–4.5 mm hook
- Worsted/aran: 24 sts x 28–34 rows in pattern with a 5.0–5.5 mm hook
- Bulky: 18 sts x 22–26 rows in pattern with a 6.0–6.5 mm hook
These are not gauge targets; they are practical swatch sizes large enough to expose bias.
Mark your swatch
Place removable markers in these locations:
- first row center
- final row center
- both side edges every 10 rows
- beginning-of-round point if working in the round
Then measure:
- width at cast-on edge/foundation and top edge
- length along both side edges
- diagonal from lower left to upper right and lower right to upper left
If the diagonals differ significantly, the fabric is not sitting square.
Fold test
Fold the swatch in half vertically and horizontally.
Look for:
- edge mismatch
- center line drifting
- rows not meeting themselves
- one side rippling while the other stays taut
Hanging test
Clip the swatch from the top edge and let it hang for several hours.
Some bias barely appears flat but becomes obvious under gravity. This matters especially for garments, long cardigans, scarves, and blankets.
Wet finish test
Wash and block the swatch exactly as you will the finished project. Let it dry fully. Then re-measure. If the piece straightens nicely and remains stable after handling, the bias may be correctable. If it springs back to skew as soon as it is released from aggressive pinning, it is structural.
Structural bias vs correctable bias
This distinction matters because it tells you whether to redesign or simply finish carefully.
Usually correctable or mostly correctable
- slight edge wavering from inconsistent turning chains
- mild slant from uneven first/last stitches
- minor distortion from handling the fabric while warm or damp
- swatches that square up after washing and stay square
- modest skew in elastic wool fabrics worked at moderate gauge
Usually structural and likely to persist
- spiraling tubes worked in continuous single crochet rounds
- dense stitch patterns that lean in swatch after blocking
- strong seam rotation in garments where both panels skew the same way
- cotton or linen fabric with visible diagonal pull that returns after blocking
- highly twisted yarn producing repeatable lean across multiple swatches
If you can reproduce the same skew in multiple careful swatches, it is not you. It is the system.
How different stitches distribute torque
A useful way to think about stitches is to ask whether they stack, offset, lock, or release.
Single crochet
Single crochet is compact and efficient, but it can lean. In rows, the turning action may partly balance the direction, though edge treatment becomes crucial. In continuous rounds, single crochet is famous for spiraling. That is not a flaw so much as a structural tendency.
If you are engineering straightness, single crochet is best used:
- in rows with disciplined edge control
- in shorter sections rather than long uninterrupted tubes
- with seamed construction rather than endless spirals when alignment matters
- in balanced combinations with other stitches
Half double crochet
Half double crochet can produce subtle skew because the yarn-over adds height without fully opening the stitch like double crochet does. It often relaxes better than single crochet but still deserves swatching, especially in smooth cottons.
Double crochet and taller stitches
Double crochet, treble crochet, and taller stitches often show less aggressive torque because the fabric has more vertical give. However, offset patterns such as shells, fans, or mesh can still bias if increases or pattern placements consistently travel in one direction.
Linked stitches
Linked double crochet and related stitches reduce gaps and create strong vertical coherence. Depending on yarn and gauge, this can either stabilize the fabric or emphasize directional pull. Always swatch.
Post stitches and ribbing
Front and back post stitches wrap around existing stitches, introducing strong directional paths. Ribbing can draw in and twist, especially when worked tightly or with energized yarn. Deep rib panels may need seams or stronger blocking to remain straight.
Textured composites
Stitches like lemon peel, grit stitch, moss stitch, linen stitch, granite stitch, and basketweave each behave differently because they alternate heights and placements. Some distribute torque well because directional pulls are interrupted. Others create visual straightness while the underlying fabric still shifts.
A stitch that looks balanced is not always structurally balanced.
Construction choices that help panels stay straight
1. Work in rows instead of continuous rounds when alignment matters
If you need side seams, stripe alignment, or non-spiraling motifs, rows are often easier to control than uninterrupted spirals. For sleeves or bodies, seamed panels can be much straighter than tubes worked in the round.
This is one reason many tailored crochet garments behave better when built from panels and seamed, even if seamless construction sounds more elegant.
2. If working in the round, choose joined rounds when appropriate
Joined rounds create a visible seam or jog unless managed, but they also interrupt continuous torque. For hats, yokes, and garment bodies where straight grain matters, joined rounds can outperform spirals.
Use a beginning-of-round marker and check whether the “seam” is staying vertically aligned. If it drifts even in joined rounds, your increases or stitch starts may be introducing asymmetry.
3. Mirror pieces intentionally
If one front panel is worked from shoulder to hem, consider whether the second should be mirrored in construction rather than simply repeated. If both pieces lean slightly in the same direction and are worn on opposite sides of the body, the skew becomes more obvious. Mirroring can visually and structurally balance the garment.
This applies to:
- cardigan fronts
- sleeve caps
- shawl wings
- side panels
- blanket strips
4. Alternate strip orientation in blankets
For modular or strip blankets, rotate or reverse every other strip before joining if the stitch pattern and appearance allow. This can neutralize cumulative bias across the whole blanket.
A blanket made of twelve long strips all leaning 2–3 degrees the same way will advertise that lean dramatically. Alternating orientation can cancel much of that drift.
5. Use seams as stabilizers, not afterthoughts
A well-made seam can anchor stretch and reduce rotation. Mattress stitch, slip stitch seam, or sewn backstitch can all add different levels of firmness.
When joining a garment panel edge worked in rows to another edge worked in rows, match ratios carefully:
- for many stitch patterns, row-to-row joins are not 1:1 in visible height
- you may need to join 3 rows to 2 stitches, or 4 rows to 3 stitches, depending on gauge
If you force a 1:1 join where the heights differ, the seam itself can twist the garment.
6. Add balancing borders
A border is not only decorative. It can redistribute pull around the perimeter.
A stabilizing border works best when:
- stitch counts are spaced evenly
- corners are balanced
- the border is neither much tighter nor looser than the body fabric
- the border stitch has lower bias than the main field
For example, a blanket body in a subtly leaning stitch may square up nicely with one or two rounds of evenly distributed double crochet or half double crochet, followed by a relaxed final round. But a very tight single crochet border can force the edges to rotate more.
Step-by-step: engineering a straighter crochet panel from the start
Here is a practical workflow you can use before committing to a garment panel, scarf, blanket strip, or long pillow front.
Step 1: Choose yarn with behavior in mind
If the project needs crisp vertical sides and low distortion, start by evaluating yarn.
Look for:
- moderate, balanced twist rather than extremely lively twist
- fibers with enough memory to respond to blocking if needed
- yarn that does not kink dramatically while you crochet
If you are unsure, pull off a yard and let it dangle. Does it twist back on itself aggressively? That is a clue the yarn may contribute torque.
Step 2: Pick the least biased suitable stitch
Do not choose based only on appearance. Swatch two or three candidate stitches.
For example, if you want dense coverage in worsted yarn with a 5.0 mm hook, compare:
- 24 sts single crochet over 30 rows
- 24 sts half double crochet over 24 rows
- 22 sts linked double crochet over 20 rows
- 24 sts moss stitch over 26 rows
Measure which one stays squarest after washing.
Step 3: Standardize your row starts and finishes
Decide before you begin:
- does the turning chain count as a stitch?
- where exactly is the first real stitch placed?
- what marks the last stitch of the row?
Use stitch markers on the first and last stitch of every row for the first 10–15 rows if edges are a known weakness.
For many crocheters, stacked single crochet or standing starts create straighter edges than chain starts because they mimic the height of the stitch more accurately.
Step 4: Check edge length every 10 rows
Measure both side edges. If one side is already longer by more than a small fraction, stop and identify why.
For a panel around 8 inches tall, a difference of 1/8 inch may settle with blocking. A difference of 1/2 inch usually signals a systematic edge issue or accumulating bias.
Step 5: Interrupt torque in long projects
For long scarves, blanket strips, or body panels, plan balance into the project.
Options include:
- working two mirrored halves from the center outward
- making two shorter panels and seaming them
- alternating row textures
- adding periodic balancing rows in a more neutral stitch
Step 6: Use shaping symmetrically
Place increases and decreases deliberately. If you must shape only on one side, consider whether a compensating structural feature on the opposite side is needed later.
For example, in a cardigan front worked bottom-up, if the neckline decreases heavily on one edge while the side seam edge stays plain, check frequently whether the whole panel is beginning to rotate. A shoulder seam and front band may later rebalance it, but only if planned.
Step 7: Block the swatch, then commit
Not before. After.
The blocked swatch tells you the truth of the final fabric.
Specific problem scenarios and how to handle them
Problem: A rectangular panel leans left even though stitch count is correct
Likely causes:
- inherent stitch slant
- one edge tighter than the other
- turning chain inconsistency
- energized yarn
Fixes:
- reswatch with a taller or more balanced stitch
- try a larger hook by 0.5 mm to reduce compact torque
- use markers on row ends
- switch from chain-3 starts to stacked starts if using double crochet
- wet block and re-measure before ripping everything
Problem: A single crochet tube spirals in the round
Likely cause:
- structural tendency of continuous single crochet rounds
Fixes:
- accept as structural if alignment is not important
- switch to joined rounds for visible straight columns
- add false seam techniques to control visual drift
- use side seams instead of tube construction if garment alignment matters
This is one of the clearest examples of structural bias rather than user error.
Problem: Side seam rotates toward the front of a sweater
Likely causes:
- both body pieces skewing the same direction
- uneven join ratio between rows and stitches
- sleeve or body worked in the round with accumulated torque
Fixes:
- compare left and right body panels flat and folded
- verify seam distribution ratio
- block panels before seaming
- consider mirroring one panel’s construction in future versions
- add a stabilizing seam or tape if fiber is drapey
Problem: Blanket border makes the whole piece twist
Likely causes:
- border too tight
- uneven stitch pickup
- corner counts unbalanced
- border stitch more biased than body fabric
Fixes:
- remove border and recount pickup spacing
- use markers every 20–30 stitches on long sides
- in row-end edges, test pickup ratio such as 2 sts per 3 rows or 3 sts per 4 rows, depending on gauge
- go up a hook size for the border
Problem: Blocking helps, then the skew returns
Likely cause:
- structural bias in stitch/yarn combination
Fixes:
- redesign with different stitch or construction
- seam or line the piece for stability
- reduce project dimensions so gravity has less leverage
- choose a different yarn with less twist energy
Blocking: what it can and cannot do
Blocking is often treated like a magic reset button. It is not. Blocking can relax, open, align, and stabilize a fabric to the degree that the fiber and structure allow. It cannot permanently erase a strong mechanical tendency built into the stitches and yarn.
Wet blocking
Best for wool and some blends. Excellent for evening mild skew and helping stitches settle.
Method:
- Soak the piece thoroughly.
- Remove excess water without wringing.
- Lay flat and shape by measurements, checking diagonals.
- Pin only enough to align, not enough to distort.
- Let dry completely.
If you must wrench the corners hard to force a rectangle, the fabric is telling you the shape is not natural.
Steam blocking
Useful for cotton blends and acrylic with caution. Steam can relax surface tension and allow modest correction, but overuse can flatten texture. With acrylic, too much heat can permanently alter hand and drape.
Spray blocking
Good for light touch-ups, not strong correction.
Blocking with support
For garments prone to seam rotation, internal support can matter more than blocking alone. Options include:
- stable seams
- ribbon or twill tape in shoulder seams
- facings or bands that anchor edges
- lining in bags or heavily used pieces
How to balance bias in garments
Garments magnify bias because the body adds movement, gravity, and directional wear.
Cardigans and pullovers
- Prefer seams if you want straight side lines.
- Mirror left and right fronts whenever possible.
- Swatch hanging, not just flat.
- Stabilize shoulders.
- Check seam ratio carefully when joining row-based pieces.
Sleeves
Sleeves worked in the round can spiral dramatically. If the stitch pattern leans, two sleeves may not appear symmetrical once worn.
Better options when straightness matters:
- work flat and seam
- use joined rounds
- place a decorative faux seam to control visual alignment
Circular yokes
Bias can hide in the early rounds and then show after several wears. Keep increase placement even, track beginning-of-round drift, and be cautious with dense stitch patterns that pull diagonally.
Skirts and long tunics
Length amplifies torque. A tiny lean at the top becomes a visible swing at the hem. Use blocking swatches with hanging time, and consider side seams or panels to anchor the grain.
How to balance bias in blankets and home pieces
Blankets seem forgiving because they are flat and broad, but they can broadcast bias dramatically.
For strip blankets
- alternate strip orientation
- block strips before joining
- use a stable join
- add a balanced perimeter border
For motif blankets
- check whether motifs are truly square after blocking
- rotate motifs strategically before joining
- avoid joining all motifs with corners oriented identically if the motif itself has subtle lean
For filet or grid-based work
Open spaces can hide distortion until the piece is stretched. Measure diagonals frequently and keep border tension moderate.
Common mistakes and precise fixes
Mistake: Counting only total stitches, not edge behavior
Fix: Mark first and last stitches for several rows. Count and measure both side lengths.
Mistake: Assuming a pretty swatch is a straight swatch
Fix: Measure diagonals and block before deciding.
Mistake: Using continuous rounds where vertical alignment is essential
Fix: Switch to joined rounds or flat construction.
Mistake: Expecting border rounds to repair severe skew
Fix: Correct the fabric structure first; use borders only for refinement.
Mistake: Matching row ends to stitch tops 1:1 in seams or borders
Fix: Determine the true ratio from gauge. Test on a sample edge.
Mistake: Blaming yourself when the yarn is over-energized
Fix: Compare with a second yarn in the same stitch pattern. If behavior changes dramatically, the yarn was a major factor.
Useful stitch-count checkpoints for straight panels
For a basic panel project, add these checkpoints:
- After foundation row/chain: count all stitches and mark every 10th stitch.
- After row 5: verify first and last stitches are clearly identified.
- After row 10: compare side edge lengths.
- After row 20: measure width at top and bottom; they should be close unless shaping intentionally changes them.
- Before halfway point: fold panel vertically to inspect lean.
- Before seaming: block and compare panel diagonals.
This may sound meticulous, but it is faster than discovering seam rotation after finishing a full garment body.
Variations and strategic design choices
Once you understand bias, you can use it deliberately or neutralize it creatively.
Variation 1: Use mirrored texture panels
If a stitch pattern leans attractively, place mirrored panels on left and right sides of a garment so the bias becomes a design feature rather than a flaw.
Variation 2: Build from the center out
Center-out construction can distribute torque more evenly, especially in shawls, some blankets, and symmetrical garments.
Variation 3: Pair a leaning body fabric with a stabilizing edging
A softly biased main panel may behave perfectly once framed with a lower-bias stitch and properly spaced border.
Variation 4: Add seams to “seamless” designs
There is no rule that says seamless is superior. A discreet seam can transform wearability and alignment.
Variation 5: Choose hook size for structure, not just drape
Sometimes moving up by 0.5 mm reduces compact torque enough to keep a panel straighter without sacrificing appearance. Other times a smaller hook increases control. Swatching tells you which.
The big takeaway: engineer, don’t just react
Crochet fabric bias is not a mysterious punishment for imperfect hands. It is the visible result of directional forces in stitch structure, yarn twist, construction method, shaping, and finishing. Once you stop treating all skew as “bad tension,” the problem becomes much easier to solve.
When a panel twists, ask:
- Is the stitch architecture inherently leaning?
- Is the project built in a direction that accumulates torque?
- Are my edges handled identically and consistently?
- Is the yarn balanced, or is it adding twist energy?
- Will this fiber actually hold a blocked correction?
- Are shaping and seams balancing the fabric—or pulling it further off?
If the answers point to structure, redesign early. If they point to handling, correct your process. If they point to materials, swatch a second yarn before you commit further.
The most reliable straight crochet fabrics come from systems that are balanced from the start: a stitch that does not over-lean, a yarn that is not fighting you, a construction method that interrupts or mirrors torque, edges worked with discipline, shaping placed intentionally, and finishing used as stabilization rather than rescue.
That sounds technical, but it is also empowering. Because once you can read the behavior of a swatch, you can predict the behavior of the project. And that means fewer mystery twists, fewer spiraling seams, and many more panels that lie the way you meant them to.
The next time a crochet fabric starts drifting off course, you will know exactly what to look at first—and just as importantly, whether it is worth fixing, reframing, or redesigning altogether.