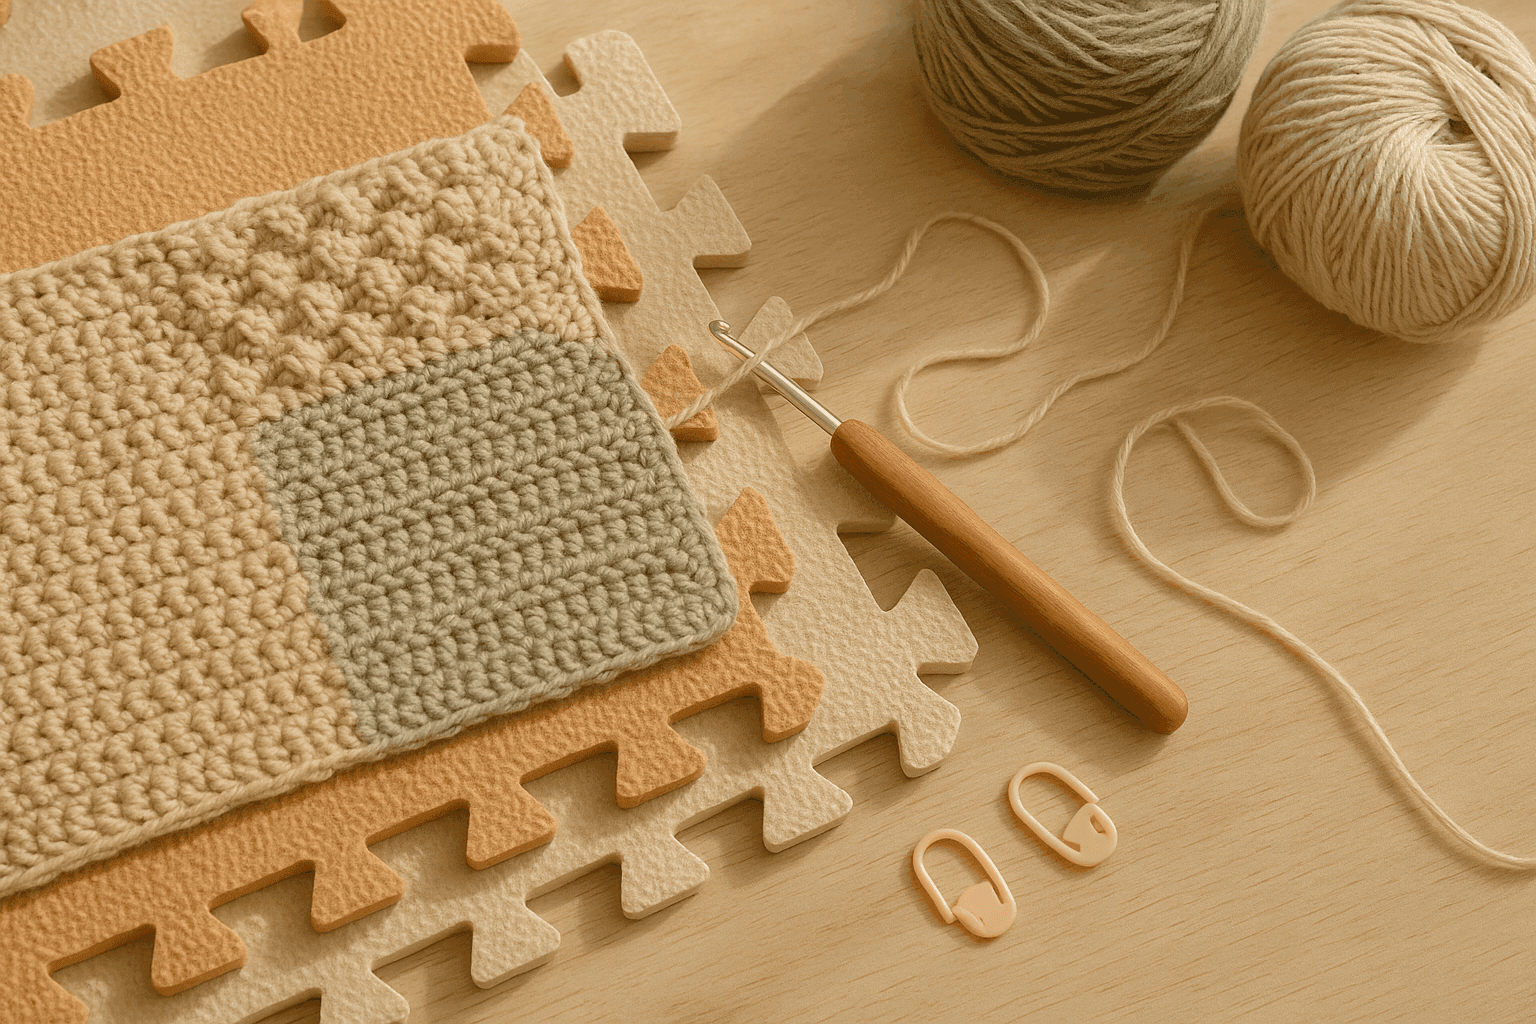
There is a particular kind of crochet frustration that almost every experienced maker recognizes immediately: you spread your work across your lap, smooth it once with your palm, and it still refuses to lie the way the pattern sketch in your head insists it should. A motif lifts into a small blister at the center. A border ripples although the stitch count is technically correct. A colorwork panel draws inward in one section and bubbles outward in another. A sweater front looks beautiful on the table until seaming and finishing make one area pucker like it has a mind of its own.
The maddening part is that puckering and bubbling are rarely caused by one dramatic mistake. More often, distortion grows out of small imbalances: a slightly taller stitch family sitting next to a compact one, a row gauge that does not match the fabric’s width behavior, hidden fullness that has nowhere to go, duplicate reinforcement that stiffens one layer but not another, or a finishing process that asks one fiber to behave like a completely different one. The answer is not always “block it harder,” and it is not always “go up a hook size.” In fact, aggressive flattening can erase intentional texture, deaden drape, or create a fabric that measures correctly but behaves poorly.
What helps is learning to diagnose the specific kind of distortion you are seeing. Puckering, bubbling, blistering, rippling, and cupping are related, but they are not identical. Each points to a slightly different structural issue in the fabric. Once you can identify whether the problem comes from differential stitch tension, inserted fullness, finishing distortion, reinforcement imbalance, or fiber memory, your fixes become more precise and much more successful.
This guide is for those moments when the fabric is telling you something important and you want to listen before ripping back half a project. We will look closely at why crochet surfaces distort, how to test for the real cause, and how to correct the problem while preserving drape, stitch definition, and any intentional dimensional texture.
First, identify what kind of distortion you actually have
Before changing hooks or reworking stitch counts, define the symptom. That sounds basic, but it is the most useful first step.
Puckering
Puckering usually appears as small drawn-up areas where the fabric pinches or gathers inward. It often happens around joins, appliqué edges, embroidery on crochet, dense colorwork, seaming, or places where one section is under more tension than the surrounding fabric.
Common causes:
- Differential stitch tension between adjacent areas
- Tight carried floats or stranded sections
- Too many decreases or compressed stitch placement
- Finishing distortion from over-tight seaming or edging
- Reinforcement layers that restrict one section
Bubbling or blistering
Bubbling is a raised mound of excess fabric. Instead of drawing in, it pushes up because there is more fabric than the surrounding area can absorb smoothly.
Common causes:
- Too many stitches in a given span
- Taller stitch structures inserted into shorter fabric without transition
- Hidden fullness in motifs or borders
- Uneven row/round ratios
- Moisture and blocking that relax one area more than another
Rippling or waving
Rippling shows up as repeated undulations along rows, rounds, borders, or hems. It is often a sign of systematic excess rather than a single local problem.
Common causes:
- Repeated over-increasing
- Borders worked at the wrong pick-up ratio
- A mismatch between edge length and stitch insertion rate
- Hook and tension changes across sections
Cupping or bowl-shaping
Cupping means the fabric curves because there is too little fabric for the shape it is trying to cover. This is common in circles, polygons, and fitted motifs.
Common causes:
- Under-increasing
- Stitches that are shorter or tighter than intended
- Reinforcement or duplicate layers restricting spread
When you name the symptom accurately, you stop using blanket fixes for structural problems that need targeted solutions.
The core structural causes of crochet surface distortion
Let’s break the issue into the main mechanisms that create puckering and bubbling.
1. Differential stitch tension
This is one of the biggest and least appreciated causes. Differential stitch tension means one area of your fabric is effectively denser, tighter, taller, or more compressed than the neighboring area, even if the stitch count is “correct.”
In crochet, stitches are three-dimensional columns with different heights, widths, and yarn paths. A single crochet worked tightly beside a looser half double crochet section can pull the fabric inward. A cluster pattern with strong vertical lift beside plain stitches can push outward. Surface slip stitch decoration can tighten the top layer while the base fabric remains more elastic.
What it looks like
- Colorwork motifs where background stitches lie flat but motif areas pucker
- Garment panels where waist shaping areas bubble after shaping is completed
- Textured stitches creating local mounds next to plain fabric
- Areas worked in different sessions with noticeably different hand tension
Why it happens
Even when two swatches have the same stitch gauge over 4 in/10 cm, they may not behave the same way. One may have:
- More yarn packed per stitch
- Less horizontal spread
- Greater vertical recovery
- A stiffer surface from floats, post stitches, or surface embellishment
Diagnostic test
Make two small swatches, each at least 20 sts wide and 20 rows tall, with the same yarn and hook.
Swatch A: the flatter or background fabric. Swatch B: the suspect stitch pattern or motif area.
Recommended test setup:
- Yarn: DK or worsted weight for easy visibility
- Hook: 4.0 mm for DK, 5.0 mm for worsted as a starting point
- Work at least 5 in/12.5 cm square after relaxing
Measure:
- Stitch gauge over 4 in/10 cm
- Row gauge over 4 in/10 cm
- Width under no stretching
- Width under light hand smoothing
- Height recovery after steam or wet blocking
If both swatches match in stitch count but one shrinks more after resting or blocking, that area may be introducing structural tension into the full fabric.
Corrections
- Change hook size only for the denser section. Even a 0.25–0.5 mm increase can help.
- Substitute a transitional stitch. For example, place a half double crochet between single and double crochet sections.
- Add spacing chains only if the pattern structure can absorb them invisibly.
- Relax carried yarns and floats in colorwork.
- Work embellishment with a larger hook than the base fabric if surface stitches are pulling.
A useful rule: if the issue is local, the fix should usually be local too.
2. Stitch-height mismatch
Crochet fabric does not only care how many stitches fit across a space. It also cares how tall each stitch family wants to be. When stitch height changes abruptly without a transition, fabric can buckle.
This shows up in:
- Borders worked in shorter stitches around taller row ends
- Motifs with dense center rounds and airy outer rounds
- Garments that combine mesh and solid sections
- Color blocks where one stitch pattern stacks taller than another
Example
Suppose a panel has a body in double crochet and a side insert in single crochet.
Sample gauge:
- Double crochet section: 13 sts and 8 rows = 4 in/10 cm
- Single crochet section: 16 sts and 11 rows = 4 in/10 cm
If you substitute stitch-for-stitch across the same row counts, the single crochet section accumulates different vertical behavior. Even if width is adjusted, height mismatch can create bubbling at the joins because one side is effectively shorter and denser.
Corrections
- Match both stitch gauge and row gauge before committing.
- Use transition rows with mixed stitch heights.
- Insert shaping deliberately rather than expecting steam to force alignment.
- In joined pieces, ease the taller section into the shorter one using distributed adjustments.
A practical transition row might look like this over 16 stitches:
- 4 sc, 4 hdc, 4 dc, 4 hdc
That gradual change spreads the height shift and reduces a hinge line that wants to pucker.
3. Uneven row/round ratios
This is especially common in motifs, sleeves, yokes, and borders. Crochet often has a stitch gauge and a row gauge that are not proportional in the way your shape requires. If a border is attached using one stitch per row-end when the actual ratio should be 3 stitches for every 2 rows, excess or shortage develops quickly.
Classic border problem
Imagine your panel edge measures 8 in/20 cm tall.
Your row gauge is:
- 10 rows = 4 in/10 cm
- So 20 rows over the full 8 in edge
Your border stitch gauge in single crochet is:
- 16 sc = 4 in/10 cm
- So if worked independently, 32 sc would span 8 in
But row ends do not accept one stitch each the same way foundation chains do. Depending on fabric density, the usable pick-up ratio might be:
- 1 sc in each row end = 20 sc total → too few → border pulls and puckers
- 2 sc in every row end = 40 sc total → too many → border ripples
- 3 sc for every 2 row ends = 30 sc total → often closer
How to calculate a starting pick-up ratio
Use this formula:
Desired edge stitches = edge measurement × stitch gauge per inch
Then compare that to actual rows or rounds available.
Example:
- Edge length = 8 in
- Border gauge = 4 sc per inch
- Desired border stitches = 8 × 4 = 32 sc
- Available row ends = 20
Ratio needed:
- 32 stitches distributed across 20 row ends
- 32/20 = 1.6 stitches per row end
That suggests a pickup pattern like:
- 2 sc in next row end, 1 sc in next row end repeated
Check the math:
- Repeat covers 2 row ends and yields 3 sc
- Over 20 row ends, that gives 30 sc
If you need closer to 32, adjust with a few extra doubled row ends:
- Work 2 sc in 12 row ends and 1 sc in 8 row ends = 32 sc total
Signs the ratio is wrong
Too few picked-up stitches:
- Border cinches inward
- Corners lift
- Fabric draws into shallow scallops
- Body panel puckers just inside the edging
Too many picked-up stitches:
- Border flares or ripples
- Edge waves after blocking
- Corners buckle outward
4. Inserted fullness with nowhere to go
Sometimes the fabric itself is not wrong. It simply contains more area than the surrounding structure can absorb smoothly. This happens when motifs are joined into frames, appliqué is stitched to a flatter base, bust shaping is spread poorly, or short-row-like shaping creates local extra fabric.
Think of it as sewing fullness into crochet. If you insert a fabric-rich area into a fabric-poor area without distribution, you get bubbling.
Common scenarios
- Floral motifs attached to tighter backgrounds
- Circular or hexagonal motifs forced into rectangular assemblies
- Bust darts or shoulder shaping not blended gradually
- Popcorn or puff sections surrounded by compact rows
- Filet/colorwork blocks with denser yarn path in one motif area
Diagnostic method: map the fullness
Lay the piece flat without stretching. Use stitch markers to define the raised area.
Then ask:
- Is the raised area larger in width than the opening it fits into?
- Is it larger in height?
- Does the distortion disappear when you lift a nearby seam or edge?
- Is the fullness intentional texture, or unwanted excess?
If you pinch out the excess with your fingers and the fabric suddenly lies flat, you likely have inserted fullness rather than tension draw.
Corrections
- Redistribute increases/decreases over a wider span.
- Break one dramatic transition into 2–4 smaller transitions.
- Add anchoring joins inside the motif if pattern structure allows.
- In appliqué or overlays, tack selectively rather than all around if the shape needs loft.
- For garments, move shaping so it aligns with body contours instead of sitting in the middle of a flat panel.
5. Reinforcement layers and duplicate structure
This is a subtle cause that appears in lined bags, reinforced button bands, steek-like support areas, facings, collars, and sections with added backing or interfacing. Crochet is flexible because its loops can move. Add a second structure with different stretch, and the top layer may bubble or pucker against the bottom one.
Examples
- A cardigan button band reinforced with ribbon but attached under tension
- A bag panel lined with quilting cotton that does not relax like the crochet shell
- Duplicate crochet facing worked too tightly behind a neckline
- Embroidery, cross-stitch, or woven reinforcement compressing specific motifs
What to check
- Does the distortion appear only after lining or reinforcement?
- Does the reinforced area feel noticeably cooler, stiffer, or less responsive in hand?
- Are the stitch counts correct before reinforcement but wrong afterward?
Corrections
- Pre-block the crochet before attaching reinforcement.
- Prewash lining materials when appropriate.
- Attach support layers with the crochet relaxed and fully measured.
- Use fewer anchor points rather than continuous tight stitching where flexibility matters.
- Leave ease in the reinforcement layer if the crochet is meant to stretch.
For garment bands, it often helps to support the edge, not imprison it.
6. Finishing distortion
Blocking, steaming, seaming, and edging can either solve imbalance or lock it in harder.
Blocking errors that cause distortion
- Stretching only width, not length, so bubbles shift instead of disappear
- Pinning motifs to a shape their stitch architecture does not support
- Over-steaming acrylic until drape changes permanently
- Wet blocking unevenly so one area swells and another remains compact
- Forcing textured stitches flat when they are designed to project
Seaming errors
- Mattress seaming too tightly on one side
- Joining motifs edge-to-edge without matching high and low points
- Joining row-end edges to top-of-stitch edges without ratio adjustment
Edging errors
- Decorative borders that are heavier than the body fabric
- Crab stitch or slip stitch edging worked too tightly
- Picots clustered too densely on a short edge
Correction principle
Finishing should confirm the geometry already present in the fabric, not fight it into submission.
7. Fiber behavior and yarn structure
Two fabrics can be worked identically and behave differently because yarn is not neutral.
Fibers that affect distortion
- Wool: elastic, often forgiving, responds well to wet blocking and can absorb minor tension differences
- Cotton: less elastic, shows every mismatch clearly, may hold puckers if gauge is off
- Linen: can relax significantly with wear and washing, sometimes making initial bubbles settle later
- Acrylic: can spring back unless heat-set; too much steam can “kill” texture and drape
- Alpaca/silk blends: can grow, especially in larger panels, changing how fullness distributes
Yarn structure matters too
- High-twist yarns often create crisper stitch definition and can highlight tension changes.
- Lofty woolen-spun yarns may fill space and disguise slight unevenness.
- Chainette constructions can bloom or relax unpredictably after washing.
Always test the actual yarn, not just the stitch pattern.
A practical swatching system for diagnosing puckering
If you want to solve distortion efficiently, swatch with a purpose. Here is a reliable method.
The 3-swatch diagnostic set
Work all swatches at least 5 in/12.5 cm square after relaxing.
Swatch 1: Base fabric
- 24 sts wide
- Work in the main pattern for 24 rows or enough rows to form a square
- Record hook size, yarn, stitch gauge, row gauge
Swatch 2: Suspect area
- Same approximate dimensions
- Use the motif, colorwork, border, or texture that seems problematic
- If relevant, include carried yarn, surface stitch, or reinforcement exactly as planned
Swatch 3: Transition or corrected version
Try one intervention only. Examples:
- Increase hook by 0.5 mm in motif section
- Reduce picked-up border stitches by 10%
- Add transition row with mixed stitch heights
- Relax floats every 4–6 stitches in colorwork
Then compare all three after:
- Off-hook rest for 12–24 hours
- Wet block or steam as intended for final project
- Full dry-down
Measure and note:
- Flat width and height
- Edge smoothness
- Presence of local bubbling
- Drape when held from one edge
- Recovery after being folded
This process is far faster than guessing your way through a full garment panel.
How to map a distorted area on a real project
When the problem is already in progress, mapping helps you see whether the issue is count, ratio, tension, or finishing.
Step 1: Isolate the area
Place stitch markers around the visible puckered or bubbled section.
Step 2: Count everything
Count:
- Stitches across the affected area
- Rows/rounds through the affected area
- Increases and decreases nearby
- Picked-up edge stitches if a border is involved
Step 3: Compare both sides
If the piece is symmetrical, compare the affected section to the opposite side. Even a difference of 2 stitches over 30–40 stitches, or 1 extra row in a shaping zone, can create visible distortion.
Step 4: Test the fabric by hand
Gently smooth the area in different directions.
If smoothing width-wise helps but length-wise does not, the issue may be excess width. If smoothing length-wise helps more, row ratio may be the culprit. If the area resists all smoothing and feels stiff, reinforcement or compressed tension may be involved.
Step 5: Release one variable if possible
- Remove temporary border stitches
- Unpin blocking
- Undo a short seam section
- Lift an appliqué edge
If the distortion disappears, the released element was likely not neutral.
Step-by-step fixes by scenario
Scenario 1: A border puckers the body fabric
- Measure the actual edge length before adding the border.
- Swatch the border stitch pattern separately.
- Calculate target stitches using border gauge.
- Distribute pickups based on row-end reality, not guesswork.
- Place markers every 1 in/2.5 cm or every 10 row ends.
- Work each segment to its assigned stitch count.
- Check after the first round. Do not wait until three rounds later.
Example
Body edge: 12 in long Border gauge: 15 sc = 4 in
Stitches per inch = 3.75 Target border stitches = 12 × 3.75 = 45 sc
If side edge has 30 row ends, you need 45 stitches over 30 row ends. That ratio is 1.5 stitches per row end.
A workable distribution:
- 2 sc in next row end, 1 sc in next row end around
This gives 45 sc over 30 row ends exactly.
Scenario 2: Colorwork panel bubbles in motif areas
- Compare motif and background tension over a blocked swatch.
- Check float length and carried yarn elasticity.
- Make sure color changes are not being tightened at every switch.
- Try a larger hook only for the motif section or for the whole colorwork row.
- Spread catches or float management evenly.
- If using tapestry crochet, consider whether the carried strand is thickening the fabric too much.
Common mistakes
- Pulling the non-working yarn snug at every change
- Carrying across too many stitches without checking spread
- Using the same hook as plain fabric when the stranded structure is denser
Fix
For a DK weight colorwork swatch worked on 4.0 mm, move to 4.5 mm for the colorwork section and compare the blocked results.
Scenario 3: Circular motif center blisters upward
- Check increase rate round by round.
- Count actual stitches against intended stitches.
- Compare stitch family height between rounds.
- Look for one or two rounds with hidden excess.
Example increase planning
For a flat circle in dc, a common starting structure is 12 dc in the first full round, then increase by 12 each round:
- Round 1: 12 dc
- Round 2: 24 dc
- Round 3: 36 dc
- Round 4: 48 dc
If a round accidentally gains 6 extra stitches:
- Round 4 becomes 54 dc instead of 48
Those 6 extras may not ripple immediately in a textured motif, but by Round 5 or 6 they can create a distinct blister. Count early.
Scenario 4: Garment panel bubbles after bust or hip shaping
- Confirm increases are distributed symmetrically.
- Check whether shaping sits in too narrow a vertical span.
- Compare row gauge before and after shaping sections.
- Block lightly before assuming the fabric is wrong.
- If fullness remains, redistribute shaping over more rows.
Better shaping distribution
Instead of:
- Increase 8 stitches in one row
Try:
- Increase 2 stitches every other row over 4 shaping rows
The total fullness is the same, but the surface integrates it more smoothly.
Scenario 5: Fabric looked fine until seaming
- Lay pieces together and check if edges truly match in length.
- Count rows and stitches at the seam edges.
- Use markers to divide each edge into quarters or eighths.
- Match markers first, then seam between them.
- Do not use seam tension to force a fit.
If one edge is longer, either ease it deliberately in tiny increments or reopen and correct the panel. Seams are not miracle workers.
Troubleshooting guide: symptom, cause, fix
Symptom: Small local pucker near decorative surface stitching
Cause:
- Surface stitches tighter than base fabric Fix:
- Work surface stitches with a larger hook, reduce anchoring frequency, or loosen working tension
Symptom: Border flares all around
Cause:
- Too many picked-up stitches Fix:
- Reduce pickup ratio; recount target stitches per edge
Symptom: Border draws body inward
Cause:
- Too few picked-up stitches or edging worked too tightly Fix:
- Increase pickup count, use a larger hook for edging round, or substitute a taller stitch
Symptom: Center of motif forms a dome
Cause:
- Too many stitches in one or more early rounds, or taller stitch transition inserted abruptly Fix:
- Recount rounds, remove excess increases, blend stitch heights gradually
Symptom: Flat before washing, bubbly after washing
Cause:
- Fiber relaxation changed dimensions unevenly Fix:
- Reswatch with full finishing, adjust gauge or structure based on post-wash measurements
Symptom: Flat before lining, puckered after lining
Cause:
- Reinforcement layer shorter, tighter, or less elastic than crochet fabric Fix:
- Detach and reapply support with ease; prewash and premeasure all layers
Symptom: One garment front puckers while the other is smooth
Cause:
- Session-to-session tension shift or row-count discrepancy Fix:
- Compare counts, measurements, and blocked dimensions; adjust with partial rework if needed
How to correct without destroying texture or drape
This matters because not every raised area is a flaw. Bobbles, puffs, popcorns, cables, overlay motifs, and sculptural stitch work are supposed to create relief. The goal is not universal flatness. The goal is controlled geometry.
Preserve intended texture by asking three questions
- Is the raised area repeating as designed?
- Does the surrounding fabric remain smooth and balanced?
- Does the fabric hang correctly in use?
If the answer is yes, the texture is functioning.
Use restrained correction methods first
- Light wet blocking before aggressive pinning
- Spot steaming held above the fabric, not pressed into it
- Selective redistribution of pickup stitches rather than ripping the entire project
- Local hook-size adjustments in repeated motifs
- Small internal tacks only where needed
Avoid these “fixes” unless you truly want a structural change
- Hard stretching cotton to force a shape it cannot maintain
- Over-steaming acrylic until the stitch memory is lost
- Pressing textured crochet flat with an iron
- Tight edging added to flatten bubbling from excess fabric
A flattened problem often becomes a stiff one.
Useful stitch-count checkpoints for common distortion zones
Here are practical checkpoints to build into your process.
Borders on row ends
Check counts every 2–3 in/5–7.5 cm. Typical starting ratios:
- sc border on dc rows: often 2 sc per row end is too many; test 3 sc per 2 row ends or 4 sc per 3 row ends
- sc border on sc rows: often 1 sc per row end may work, but swatch
- dc border on row ends: often fewer placements are needed because dc has more width
Motif rounds
After every round, verify total stitches. For increase-based circles, compare actual total to expected total immediately.
Garment shaping
Mark increase/decrease rows in real time. At each shaping checkpoint, count total stitches and measure width under relaxed conditions.
Colorwork spans
Every 10–20 stitches, spread the completed row gently on the hook or cord to ensure floats are not compressing the width.
Variations in approach by project type
Motifs and lace
With motifs and lace, some temporary waviness may disappear after blocking, but only if the structure was designed for it. Openwork often needs full finishing to reveal its true geometry.
Best practice:
- Swatch and fully block
- Use blocking wires for long edges
- Count increase points carefully
- Respect the motif’s natural shape before forcing assembly
Dense home décor fabric
For baskets, bags, and mats, some stiffness is intentional. Here, bubbling may come from overbuilt structure rather than soft fullness.
Best practice:
- Consider whether the hook is too large for the desired firmness
- Check reinforcement compatibility carefully
- Do not compare behavior to drapey garment fabric
Wearables
Garment panels must balance smoothness with movement. Slight dimensional shifts that vanish on the body may be acceptable; rigidly flattening them may worsen fit.
Best practice:
- Evaluate both flat and worn
- Block panels before seaming
- Let shaping support the body rather than trying to erase it
Overlay, surface work, and embroidery on crochet
These are especially prone to top-layer tension issues.
Best practice:
- Stabilize lightly, not heavily
- Test surface treatment on a real swatch of the base fabric
- Use larger tools or looser handling for decorative overlays
The smartest mindset: diagnose before ripping
When crochet bubbles or puckers, the instinct is often to blame your hands or assume your tension “went bad.” Usually the fabric is behaving logically according to the structure you gave it. That is useful news. It means the distortion can be read, measured, and solved.
Start by identifying whether the problem is shortage, excess, compression, mismatch, or finishing interference. Measure both stitch and row behavior. Compare suspect areas to stable ones. Swatch not just the stitch pattern, but the exact combination of yarn, hook, colorwork method, reinforcement, and finishing you plan to use. Map fullness before trying to flatten it. And when you correct, choose the smallest effective intervention first.
The best crochet fabric is not the one forced perfectly flat at all costs. It is the one whose texture, drape, and shape are all working in agreement. Once you learn to spot the difference between intentional dimension and structural distortion, puckers and bubbles become much less mysterious—and much easier to fix with confidence.