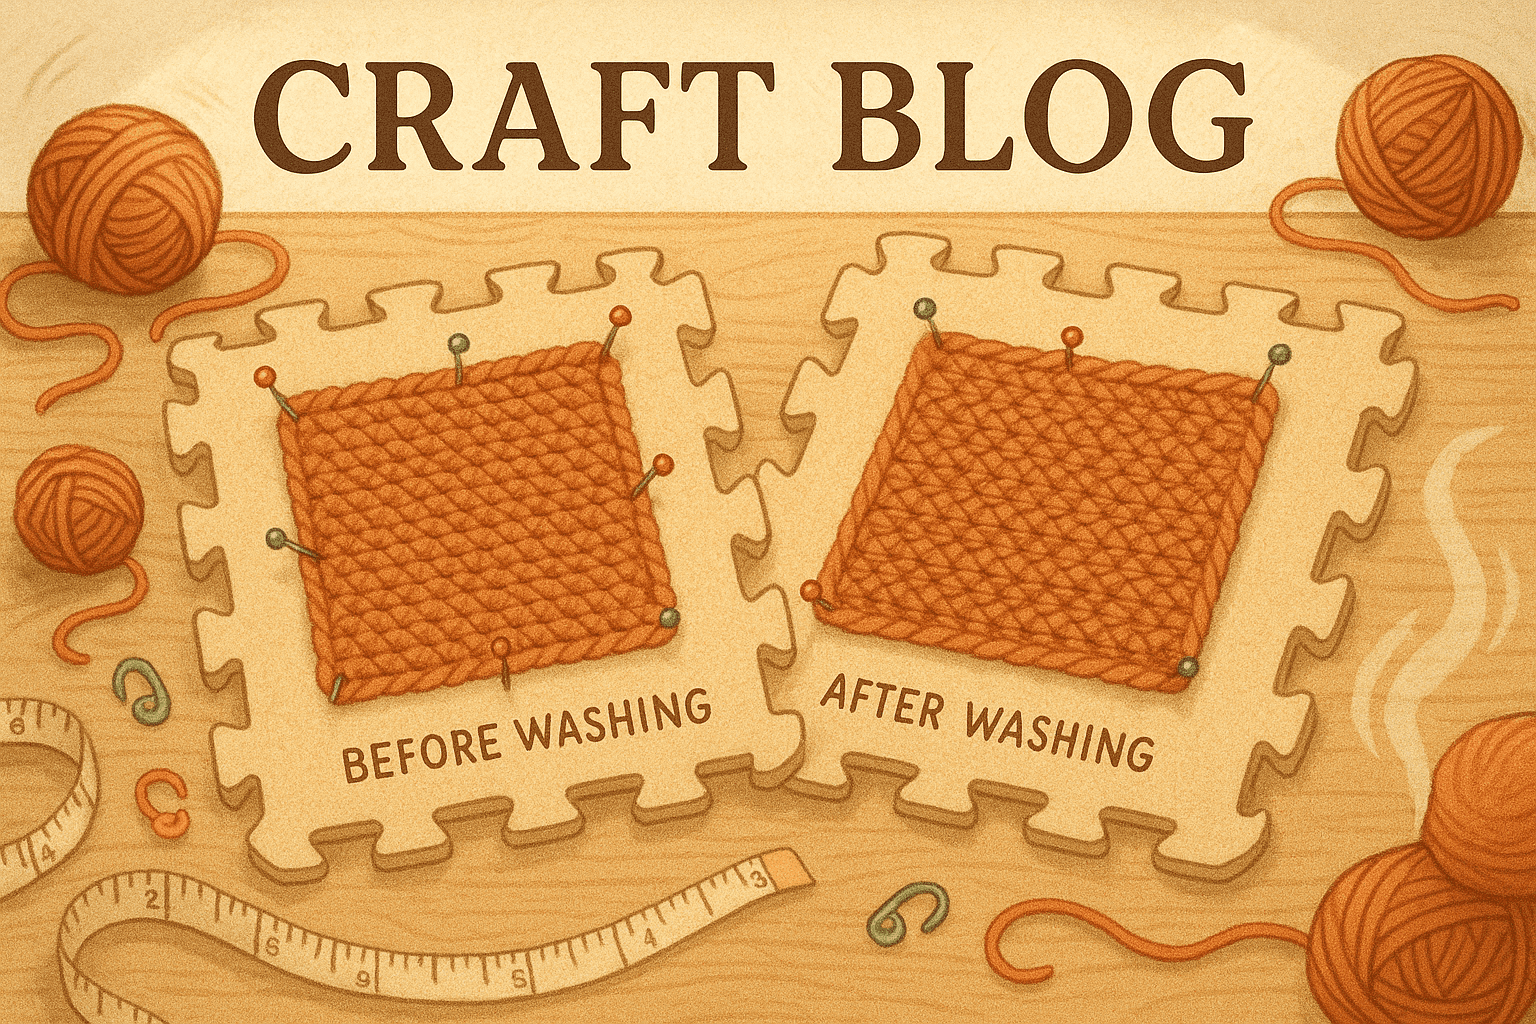
There’s a particular kind of crochet frustration that only shows up after you think you’re done. The panel looked straight enough off the hook. The stripes leaned a little, maybe, but nothing alarming. You washed it, blocked it, admired how tidy it looked, and moved on. Then after a few wears—or after a second wash, or a more assertive steam, or the weight of the finished garment hanging on a hanger—you look again and realize the bias has changed. Sometimes it becomes stronger. Sometimes it relaxes. And sometimes, maddeningly, it seems to reverse direction.
If you have ever held up a crocheted cardigan and thought, “How are the columns leaning the opposite way now?” you’ve met torque hysteresis.
This is not just ordinary crochet slant, and it is not always a simple gauge issue. Torque hysteresis is the delayed, path-dependent behavior of crocheted fabric that has been storing and redistributing twist energy all along. Residual yarn twist, the geometry of the stitch path, moisture, heat, repeated loading, and restraint from seams or borders can all change where that energy settles. The result is a fabric that behaves one way fresh off the hook, another way after wet finishing, and yet another after wearing and reblocking.
For experienced crocheters, understanding this phenomenon is incredibly useful. It lets you stop treating post-finish skew as random bad luck and start reading it as a structural response. Once you know what to watch for, you can test for it, plan around it, and often stabilize it before it surprises you in a finished garment.
What torque hysteresis means in crochet
Let’s define terms in practical maker language.
Torque in yarn is the rotational energy left over from spinning and plying. Even balanced yarns usually retain some residual twist. Some yarns are lively and want to kink, untwist, or bias under tension. Others are comparatively quiet.
Bias in crochet is the directional skew of the fabric. This might show up as:
- vertical columns drifting diagonally
- stripes appearing to climb or descend across rows
- side seams twisting toward front or back
- squares becoming parallelograms instead of staying square
- hems or front bands pulling off grain
Hysteresis means the fabric’s current behavior depends on its history, not just its present condition. In other words, a swatch washed once is not necessarily equivalent to a swatch worn for a week and then washed. Moisture, heat, and repeated loading can move fibers and yarn plies into new equilibria. Crochet, because it forms an interlocked but directional path, can retain memory of previous stress states and then release or redistribute them later.
So when we say torque hysteresis, we’re talking about a fabric whose skew response changes over time because yarn twist and stitch structure are settling in stages.
Why crochet is especially prone to directional behavior
Knitters are familiar with yarn torque, but crochet often amplifies it differently because each stitch wraps, draws up, and locks in a directional sequence by hand. The exact path of a single crochet, half double crochet, double crochet, linked stitch, or post stitch creates a repeated handedness. Right-handed and left-handed crocheters can produce mirror-image tendencies, and even among right-handed crocheters, fabric slant varies by stitch family, turning method, tension style, and where loops are drawn from.
A few structural facts matter here:
- Crochet stitches are asymmetrical. Even a visually simple stitch has a front, back, entry angle, and pull-through path.
- Rows and rounds behave differently. In rows, turning introduces alternating edge conditions. In rounds, the same rotational direction repeats continuously unless intentionally disrupted.
- Tall stitches can magnify skew. Double crochet and taller stitches often reveal directional lean more clearly than dense single crochet fabric.
- Textured stitches store more stress. Front-post, back-post, cables, and heavily crossed textures can trap torque and release it later during finishing.
- Color changes reveal movement. Stripes make bias obvious because the eye tracks the row line immediately.
That is why a plain solid swatch can seem acceptable while a striped yoke or long cardigan front suddenly exposes every diagonal tendency.
The five main drivers of bias reversal over time
Bias reversal usually isn’t caused by one thing. It’s the interaction of several forces.
1. Residual yarn twist
The yarn itself may carry enough twist energy to influence the fabric after crocheting. This is easiest to spot when the yarn:
- kinks when relaxed
- untwists while you work if you let the hook dangle
- splits unevenly because plies separate under hook motion
- blooms or relaxes dramatically after washing
A yarn can appear balanced in the skein yet behave differently once stitched because crochet changes the tension state and bend path of the plies.
2. Stitch path memory
Each crochet stitch bends yarn through a repeatable route. That route stores mechanical memory. Wet finishing can soften that memory temporarily, but as the swatch dries under tension or restraint, the structure may settle into a new shape. After wearing, body heat and gravity may shift it again.
Think of it this way: the off-hook fabric reflects one set of forces, the blocked fabric reflects another, and the worn fabric reflects a third.
3. Moisture and heat
Water plasticizes many fibers, meaning it increases mobility within the yarn structure. Heat may intensify or soften that effect depending on fiber type.
- Wool often relaxes, redistributes stress, and can be strongly reshaped by wet blocking.
- Cotton can swell when wet, then dry into a firmer set.
- Linen may soften progressively with washing and wear rather than immediately.
- Acrylic can relax with washing but may become permanently altered by aggressive heat.
- Superwash wool may grow under wet load, changing how torque expresses itself.
The critical point is that moisture doesn’t just “fix” a piece. It changes the friction and mobility inside the fabric, which can reveal or suppress skew.
4. Load cycling
Wearing a garment repeatedly places it under cyclic load: shoulders support weight, fronts hang vertically, elbows flex, and hems pull downward. This repeated loading can shift torque distribution.
A panel that blocked straight on a table may twist once suspended from shoulders. A cardigan band can restrain the front edge so the body panel redistributes skew elsewhere. This is why garments often behave differently from flat swatches.
5. Restraint and release
Seams, borders, edgings, and adjacent panels act as restraints. Sometimes they help; sometimes they merely hide stress until later.
For example:
- A firm border may force a biased center panel to flatten temporarily.
- After wear, the center may tug the border into scalloping or diagonal rippling.
- Mattress seaming two oppositely skewed panels can neutralize overall twist—or create a torque line at the seam.
When one part of the garment is more elastic than another, the less elastic part often becomes the visible site of distortion.
What bias reversal actually looks like
Bias reversal doesn’t always mean the whole fabric rotates dramatically the other way. More often, one of these happens:
- a panel that leaned right off the hook appears straight after blocking, then leans left after wear
- a stripe sequence that climbed toward one side flattens after wash, then climbs the other way after drying on a hanger
- a hem that spiraled subtly in one direction develops a stronger opposing swing once a border is added
- side seams twist less after the first wash but more after three wears
- a yoke sits centered flat on a table but rotates on the body
This is the hysteresis part: the path through wash, block, wear, dry, and reblock matters.
A reliable swatch protocol for detecting torque hysteresis
If you only make one tiny flat swatch, pin it square once, and call it good, you may miss the whole problem. For torque-sensitive projects—garments, striped blankets, large panels, long hems—you want swatching that includes change over time.
Here is a practical protocol I recommend.
Swatch setup
Make three swatches at minimum in the main stitch pattern.
For row-based fabric, work each swatch to at least 30 stitches wide and 30 rows tall. For finer yarns or subtle skew, go larger: 40 stitches by 40 rows is better.
Suggested starting points:
- DK yarn: 4.0 to 4.5 mm hook
- Worsted yarn: 5.0 to 5.5 mm hook
- Aran yarn: 5.5 to 6.0 mm hook
Use the hook size you expect for the project, but if the fabric is dense and torque-prone, also test one swatch 0.5 mm larger. A slightly more relaxed gauge often changes how twist expresses itself.
Swatch A: Off-hook baseline
- Crochet the swatch.
- Rest it flat for 24 hours, unpinned.
- Measure width and height.
- Draw or imagine a vertical centerline and note drift.
- If striped, photograph with rows level to a ruler.
Swatch B: Wash and block
- Wash exactly as the finished piece will be washed.
- Blot, do not wring.
- Pin to measured dimensions on a grid.
- Let dry fully.
- Unpin and let rest another 24 hours.
- Re-measure skew, width, and height.
Swatch C: Wash, load, and reblock
This is the one most people skip.
- Wash as above.
- Dry flat unpinned or lightly pinned.
- Once dry, hang the swatch from its top edge with small clip weights at the bottom corners for 24 hours.
- Use modest load only: about 5 to 10% of the swatch’s dry weight added in clips is enough to simulate wear without distorting unrealistically.
- Remove weights.
- Rest flat 12 hours.
- Steam or reblock using your intended finishing method.
- Measure again.
If Swatch C behaves differently from Swatch B, that is useful information. It means your fabric response depends on load history and is therefore susceptible to hysteresis in real use.
How to measure skew in a way that is actually useful
Do more than eyeball it.
- Mark the four corners with removable stitch markers.
- Count stitches across the first and last rows to confirm the swatch itself is not simply unevenly worked.
- Measure the left side height and right side height.
- Measure diagonals corner to corner.
- Track row angle against a horizontal ruler.
A simple record sheet might include:
- stitch pattern
- yarn brand and fiber content
- hook size
- starting stitch count: for example, 32 sts
- ending stitch count: 32 sts
- row count: for example, 28 rows
- width and height before wash
- width and height after block
- width and height after weighted hang and reblock
- estimated stripe or row angle deviation
Even noting “rows rise 1 cm from left to right across 20 cm width” is more useful than “slightly biased.”
Fiber-specific behavior: what changes most after washing and wearing
Not all yarns hold or release torque the same way.
Wool
Non-superwash wool often responds beautifully to wet blocking because scales and elasticity allow the fabric to redistribute stress. That said, wool can also conceal torque temporarily when pinned firmly, then re-express it after wear once the pins are gone and body heat adds mobility.
What to expect:
- good temporary correction with blocking
- possible return of mild skew after wear
- strong response to steam in some breeds
Best uses:
- projects where seams, shaping, and finishing can help maintain grain
Superwash wool
Superwash often has more drape and less “grab” between fibers. That can mean less resistance to weight-driven distortion.
What to expect:
- good relaxation in washing
- potential growth in length
- skew that migrates under hanging weight
Watch for:
- shoulder growth in garments
- fronts that twist after being hung to store
Cotton
Cotton has little elastic recovery compared with wool, and its wet behavior can be deceptive. It may seem cooperative while wet, then dry firmer and reveal a different skew state.
What to expect:
- obvious row definition, so bias is visible
- strong response to gravity in larger pieces
- less self-correction after wear
Watch for:
- striped garments and market bags
- heavy hems pulling panels off grain
Linen and flax blends
Linen often improves with use, but that also means it changes with use. It can start crisp and somewhat wiry, then soften and drape more deeply after repeated laundering.
What to expect:
- gradual evolution rather than one-time set
- bias that may reduce or increase over several wash cycles
Best practice:
- test beyond a single wash if the project is large or tailored
Acrylic
Acrylic can be stable in some constructions and surprisingly variable in others. Heat is the big variable. Gentle washing may relax slight torque, while aggressive steam can flatten texture and lock in a new shape.
What to expect:
- decent resistance to moisture-only change
- potentially dramatic response to steam or heat setting
Watch for:
- accidentally over-steamed ribbing or borders that then restrain the rest of the fabric differently
Blends
Blends often produce the trickiest hysteresis because one fiber absorbs moisture and relaxes while another resists. A wool-cotton, wool-linen, or acrylic-cotton blend may shift in stages as each component responds differently.
Stitch patterns that reveal or resist torque
Some structures are simply more forgiving.
More likely to show skew
- plain double crochet fabric
- extended stitches
- filet and open mesh with long vertical paths
- tall stitch stripes
- continuous rounds without turning
- post-stitch columns
Often more stable
- single crochet with frequent turning
- half double crochet in rows, especially with balanced tension
- linen stitch or moss stitch, where chain-space structure interrupts directional buildup
- stitch patterns that alternate insertion points symmetrically
- join-as-you-go motifs that distribute orientation changes
This doesn’t mean you must avoid tall stitches. It means you should swatch them honestly, especially in garments.
Construction strategies that reduce the risk of bias reversal
This is where you can design with torque rather than just fight it.
1. Use mirrored assemblies
If one panel biases right, work a corresponding panel in a mirrored orientation where possible.
Examples:
- make left and right fronts separately, reversing shaping and, if suitable to the stitch pattern, working from opposite edges to create counter-skew
- create sleeve panels in mirrored pairs
- split a wide back into two panels with a center seam if the yarn is particularly lively
A center seam is not a failure. In torque-prone crochet it can be a structural asset.
2. Choose seams deliberately
Seams add restraint and can stabilize grain.
For panels that want to skew:
- use a firm mattress or whip seam through consistent structural points
- seam after full swatch testing, not before assuming behavior
- avoid stretching one panel to match another during seaming
If each side edge has 60 rows, seam row to row, 60 matched points, marking every 10 rows with locking stitch markers before seaming. This prevents accidentally easing torque into one panel.
3. Add borders as engineering, not decoration
Borders can either rescue a fabric or make it worse.
A stabilizing border should be:
- proportional in firmness to the body fabric
- evenly distributed by stitch count
- tested on a swatch first
Example pickup ratios for side borders in row-based crochet:
- start by picking up 1 stitch per row in compact stitch patterns
- in taller stitch patterns, test 3 stitches per 4 rows or 2 stitches per 3 rows if 1:1 flares
The exact ratio depends on row height, but the principle is this: too many border stitches ripple, too few draw in and may force the body panel into stronger bias.
4. Interrupt directional buildup
Large uninterrupted fields of the same stitch often reveal torque most strongly. You can break the accumulation by:
- alternating stitch textures
- adding vertical faux seams n- working pieced sections rather than one giant panel
- using turned rounds instead of continuous spirals where suitable
In striped crochet, even a small textural divider every 6 to 10 rows can visually and mechanically reduce cumulative slant.
5. Respect drape and load paths
Heavy yarn plus long garment length increases load cycling effects.
If making a cardigan below hip length in worsted cotton or superwash wool, consider:
- shoulder reinforcement
- lighter edging rather than dense front bands
- side vents to reduce hem drag
- pieced construction instead of one-piece body
Finishing methods and how they affect torque memory
Finishing does not merely neaten the piece; it changes internal stress.
Wet blocking
Best for most natural fibers when you want full relaxation and controlled shaping.
Procedure:
- Soak thoroughly.
- Support the fabric when lifting; don’t let waterlogged weight stretch it.
- Roll in towels to remove excess water.
- Pin to dimensions without forcing impossible square corners.
- Let dry completely.
If a swatch only becomes square under aggressive pin tension, that is not true stability. It is temporary coercion.
Steam blocking
Useful for some wools and acrylics, but must be tested. Steam can relax surface tension quickly, and in acrylic especially it can permanently alter hand and elasticity.
Use care:
- hover steam first, do not press
- let fabric cool before moving
- compare steamed and unsteamed swatches after 24 hours
Spray blocking
A lighter option when you want less dramatic restructuring. This can be useful for evaluating whether full soaking is triggering major hysteresis.
Weight setting
For drapey fibers, controlled weighted drying can tell you how the garment may behave in use. But use very modest weight and test first. Over-weighting a swatch gives misleading results.
Step-by-step stabilization plan for a torque-prone garment panel
Let’s walk through a practical sequence for, say, a striped cardigan front worked in double crochet.
Materials
- DK or worsted yarn
- hook size recommended by pattern, plus one hook 0.5 mm larger for testing
- locking stitch markers
- blocking mats and rust-proof pins
- tape measure and ruler
- kitchen scale or small digital scale for swatch weight
Step 1: Make two test swatches
Work Swatch 1 in the planned hook size.
- Foundation: 34 chains
- Row 1: dc in 4th ch from hook and across, 32 dc
- Rows 2–28: ch 3, turn, dc across, 32 dc
Work Swatch 2 the same way using a hook 0.5 mm larger.
Add stripes if the project is striped: for example, change color every 4 rows.
Step 2: Rest and record
Let both swatches rest 24 hours.
Record:
- width
- height
- whether the stripe lines rise left-to-right or right-to-left
- how many centimeters of rise across the width
Step 3: Wash and block both
Block to the same target size without over-stretching.
After drying and resting, compare which hook size retains less skew naturally.
Very often, the slightly larger hook produces a fabric that can redistribute twist more evenly.
Step 4: Simulate wear
Suspend the preferred swatch from the top edge for 24 hours with small clip weights.
If the swatch begins to skew the opposite direction after loading, you are dealing with hysteresis rather than simple fixed bias.
Step 5: Test a side border
On the loaded-and-rested swatch, add a side border on both long edges.
Start with 1 single crochet in each row if the rows are compact, or 3 single crochet per 4 rows in taller row structures. Keep counts identical on both sides.
Example:
- long edge row count = 28 rows
- border pickup test A = 28 sc
- border pickup test B = 21 sc distributed as 3 per 4 rows
Wash again and compare. If the 28-sc border ripples while the 21-sc border lies flat, the denser pickup was over-restraining or overloading the edge.
Step 6: Plan mirrored fronts
If the left front and right front can be worked as mirrored pieces rather than identical directional clones, do it. Mark the first front as your control panel and observe lean before beginning the second.
Step 7: Seam with matched reference points
Mark each side seam at:
- top edge
- underarm
- waist
- hem
- midpoint between each of those landmarks
That gives 7 markers per seam line and helps prevent accidental easing of skew into one section.
Step 8: Finish, then rest before judging
After final blocking, let the garment rest at least 24 hours flat before deciding whether the fix worked. Some fabrics rebound slightly after unpinning.
Troubleshooting common torque hysteresis problems
Problem: The swatch was straight after blocking but skewed after wearing
Likely cause:
- load cycling revealed latent yarn torque or drape-related distortion
Try:
- a firmer seam structure
- lighter border treatment
- smaller garment sections rather than broad uninterrupted panels
- storing folded flat instead of hanging
Problem: The bias reversed direction after the second wash
Likely cause:
- the first block temporarily overrode the yarn’s preferred equilibrium, and later laundering allowed a new set
Try:
- less aggressive first blocking
- testing steam versus wet block separately
- extending swatch tests to two or three wash cycles before committing
Problem: Stripes look more crooked than the solid swatch suggested
Likely cause:
- color changes made row angle visible; the structure was always there
Try:
- narrower stripes
- textured interruption rows
- border restraint tested on striped swatches, not plain ones
Problem: Side seams twist toward the front
Likely cause:
- front and back panels are carrying similar directional skew and the seam is becoming the release line
Try:
- mirrored panel orientation
- center-back seam to split torque
- checking whether one panel grew more in length under blocking
Problem: Border made everything worse
Likely cause:
- pickup ratio mismatch or border stitch too rigid for body fabric
Try:
- remove and repick with fewer stitches
- switch from single crochet to a softer border such as slip stitch chain spaces or a lighter rib treatment
- test border after load simulation, not only on fresh fabric
Problem: Fabric skews in rounds but not in rows
Likely cause:
- unidirectional round construction is accumulating twist
Try:
- turn at the end of each round when pattern allows
- add faux seam joins
- break the project into joined sections or motifs
Common mistakes and how to fix them
Mistake 1: Swatching too small
A 12-stitch swatch often hides torque that a 30- to 40-stitch swatch reveals.
Fix:
- make larger swatches, especially for garments and stripes
Mistake 2: Forcing square corners during blocking
If you have to drag a parallelogram into a square with dozens of pins, you have not solved the problem.
Fix:
- block to relaxed dimensions first, then assess whether construction support can realistically stabilize it
Mistake 3: Ignoring hook-size effects
Dense fabric can trap twist more than slightly looser fabric.
Fix:
- test at least two hook sizes, usually your planned hook and one 0.5 mm larger
Mistake 4: Assuming borders are neutral
Borders are structural. They change edge tension and can redirect skew.
Fix:
- swatch the border with the body fabric before adding it to the full piece
Mistake 5: Hanging garments for storage
Even stable-looking crochet can drift under long-term vertical load.
Fix:
- fold most crochet garments flat
Mistake 6: Matching dimensions but not grain during assembly
Two panels can be the same size yet have different internal slant.
Fix:
- compare row angle, not just width and length, before seaming
Variations and design approaches for difficult yarns
If you adore a yarn that clearly wants to torque, you still have options.
Variation 1: Embrace symmetry through piecing
Turn one large panel into two or more narrower panels with seams that counter or interrupt skew. This often works beautifully in jackets, vests, and blankets with architectural styling.
Variation 2: Use motifs instead of long rows
Granny-derived or modular construction distributes orientation changes across many joins. Bias may still appear within motifs, but overall fabric often reads more stable.
Variation 3: Alternate stitch families
For example, pair sections of double crochet with denser linen stitch or half double crochet texture bands. These can act like built-in stabilizers.
Variation 4: Add internal support lines
A crochet “seam” worked decoratively, a slip-stitch reinforcement, or a narrow applied edging can function like a stay tape in sewing.
Variation 5: Plan stripe direction intentionally
If stripes reveal slant, design around it:
- use narrow stripes to reduce visual drift per band
- interrupt with solid texture bands every 4 to 8 rows
- place the most bias-revealing colors away from the widest uninterrupted areas
When to redesign instead of forcing the fabric
Sometimes the smartest technical choice is to change the plan.
Consider redesigning if:
- the swatch changes direction repeatedly across two wash cycles
- the fabric only appears straight under hard blocking tension
- the garment is long, heavy, and made from a low-recovery fiber
- the stitch pattern and yarn combination produce obvious diagonal drift you dislike visually
A different hook, stitch, panel layout, or yarn may save far more time than trying to discipline an unstable fabric into obedience.
That is not failure. That is experienced making.
Practical takeaways for garments, panels, and striped fabrics
If you remember nothing else, remember these:
- Off-hook behavior is only the first data point.
- Wash, wear simulation, and reblocking can produce different skew states.
- Fiber content changes how torque is stored and released.
- Borders and seams are structural tools, not afterthoughts.
- Mirrored construction can cancel directional bias surprisingly well.
- Striped swatches tell the truth faster than plain swatches.
- Store crochet flat if gravity changes its grain.
- A larger, better swatch is cheaper than a disappointing finished garment.
Crochet torque hysteresis sounds like a niche technical phrase, but really it names something many skilled crocheters have observed without having words for it: fabric remembers, then changes its mind. Or more accurately, it responds to a new set of conditions with the memory of the old ones still inside it.
Once you start testing for that memory—once you wash, load, rest, and reblock your swatches—you can predict far more than you might think. You begin to see which yarns settle quietly, which stitches amplify residual twist, which borders restrain helpfully, and which garment constructions support the fabric instead of arguing with it.
That knowledge is liberating. Instead of being blindsided when a cardigan front drifts after wear or a striped panel reverses lean after laundering, you can build in the right strategy from the beginning. You can choose mirrored assemblies, better seam placement, gentler finishing, more truthful swatching, and fibers that behave the way your project needs them to behave.
And when a piece still changes slightly over time—as handmade textiles often do—you’ll know whether that change is harmless settling or a signal that the structure needs more support. That is the difference between guessing and designing.
In crochet, the fabric is always telling you what it wants to do. Torque hysteresis is simply learning to listen earlier.