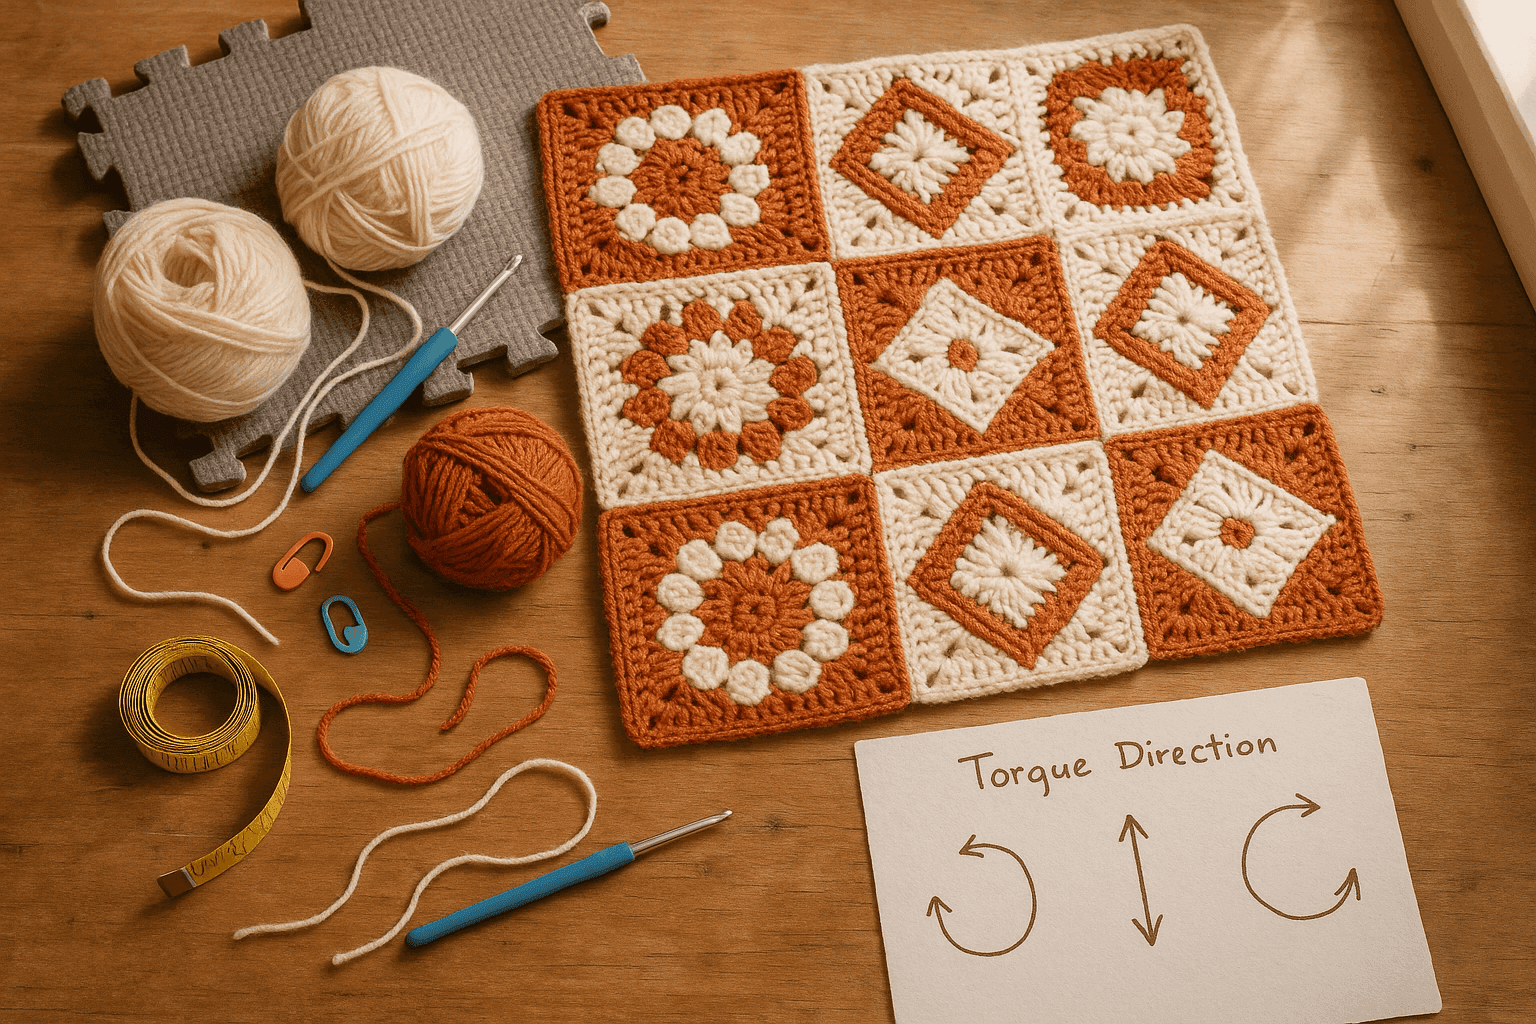
There is a particular kind of frustration that only shows up when a motif blanket looks perfect in stacks, tidy in rows, and beautifully even on the blocking board—then somehow develops a sly wave, a corner-to-corner skew, or a shallow bowl shape the moment everything is joined. You spread it across the table, smooth it once, then again, and start asking the familiar questions: How can every square be the same size, yet the blanket is pulling off line? Why does one edge flare while the opposite edge tucks in? Why did it behave flat before the border and twist after it?
If you have ever had a joined-motif project distort after assembly, you are not imagining things, and you are not necessarily dealing with “bad tension.” What you are seeing is the cumulative effect of directional forces in crochet: stitch lean, round bias, blocking memory, join-path drag, yarn elasticity, and border compression or expansion. I like to call the process of understanding those forces torque mapping—not because we need fancy language to crochet, but because giving the problem a name helps us troubleshoot it like engineers instead of blaming ourselves like frazzled crafters.
Motif blankets are especially vulnerable because they multiply small structural tendencies over dozens or hundreds of units. A single square that pulls a millimeter tighter on its final round is no crisis. Sixty-four of them joined in a repeated path can produce a visible diagonal draw. A wet-blocked motif that was stretched north-south more than east-west may relax differently once joined to neighbors. A border worked too tightly into already firm join edges can turn a flat throw into a shallow ruffle or a tightened tray. None of this is random.
The good news is that distortion is often predictable, measurable, and fixable. In this guide, we are going deep into the mechanics of joined motifs: how block direction changes what “square” really means, why join order matters, how motif rotation can cancel stitch bias, what border tension does to assembled fabric, and how fiber and finishing choices either lock in or release skew. I’ll also give you practical swatching methods, stitch-count checkpoints, step-by-step assembly planning, troubleshooting workflows, and compensation strategies you can use before and after joining.
What “torque” means in motif crochet
In plain terms, torque is the tendency of crocheted fabric to twist, lean, cup, spiral, or pull more strongly in one direction than another. Crochet stitches are not perfectly neutral little bricks. Most have a directional personality.
For right-handed crocheters working standard Western-style stitches:
- stitches often lean slightly to one side
- rounds may not stack in a perfectly vertical path
- corners can tighten differently depending on where a round begins and ends
- slip stitch joins can create a firmer anchor point than chain spaces
- the beginning/ending seam of a motif often behaves differently from the other three sides
For left-handed crocheters, the directional effect may mirror, but the principle is the same: repeated asymmetry creates cumulative pull.
In a single motif, that pull may be invisible. In a grid of motifs, the pull adds up in a system. That is why one joined blanket may skew consistently toward the lower right, while another develops ripples only on the outer edge. The distortion pattern tells you where the force is accumulating.
Common forms of distortion in joined motifs
Here are the big categories I see most often:
- Ripple or flare: The blanket edge waves because there is too much stitch length or too many stitches relative to the span being covered.
- Draw-in or bowl shape: Edges or border rounds are tighter than the body, causing the fabric to cup.
- Parallelogram skew: Corners no longer form right angles, often due to directional joining, motif bias, or uneven blocking memory.
- Diagonal drag: One corner seems to pull toward another, creating a twisted lay.
- Panel mismatch: Rows of motifs fit within themselves, but assembled panels do not align cleanly.
- Corner flare after border: The border increases too aggressively at corners or softens edges that were already generous.
When you name the distortion correctly, you can address its cause instead of applying random fixes.
Why “same size motifs” can still assemble into a distorted blanket
Many crocheters measure motifs only by width and height. That is necessary, but not sufficient. Two motifs can both measure 5 x 5 inches after blocking and still behave differently in assembly.
Why? Because dimensions alone do not reveal:
- how the fabric stretches on the bias
- whether one side edge is denser than the others
- where the round seam sits
- whether corners are truly 90 degrees
- how the motif rebounds after pins are removed
- whether the outer round has equal stitch distribution on all four sides
A motif can be “square” on paper while still carrying internal tension asymmetry.
The four checks every motif needs
Before joining a large project, I recommend checking each motif sample for four things:
1. Side stitch count
Each side should have the same number of usable joining points.
For example, if your square motif ends with:
- 3 dc, ch 2, 3 dc in each corner
- 16 side stitches between corners on every side
then every side must offer exactly the same join count. If one side effectively has 15 usable spaces and another has 16 because of a hidden join seam or compressed chain space, your assembly will start uneven before it begins.
2. Diagonal measurement
Measure both diagonals corner to corner.
- Diagonal A: top left to bottom right
- Diagonal B: top right to bottom left
If one diagonal is consistently longer by more than about 1/8 in (3 mm) on a small motif or 1/4 in (6 mm) on a larger motif, the motif may be subtly rhomboid rather than square.
3. Edge firmness
Run your fingers along all four sides.
Ask:
- Is the side containing the round join firmer?
- Is one corner sharper or tighter?
- Do two opposite sides curl inward while the others lie flat?
That tactile check catches problems tape measures miss.
4. Recovery after unpinning
Block the motif, let it dry fully, then unpin and leave it resting for 12–24 hours.
If it shrinks back unevenly, the blocking did not correct the internal bias; it only temporarily forced it flat.
Block direction: the hidden force that shapes assembled fabric
Blocking is often treated as a finishing step, but in motif work it is part of the engineering. How you stretch a motif while blocking creates a directional memory, especially with wool, alpaca blends, superwash fibers, bamboo blends, and any yarn with notable drape.
Why block direction matters
If you consistently block every motif by pulling first from top to bottom and then side to side, you may be lengthening one axis more than the other. If you pin corners hard and barely shape the side centers, corners become over-defined while edges remain slack. If you force the motif into a square larger than its relaxed equilibrium, it may recoil later—often after joining redistributes strain.
Directional swatching method
This is one of the most useful experiments you can do before making 40, 80, or 200 motifs.
Make 3 identical test motifs in your chosen yarn and hook.
Suggested starting point for a worsted motif blanket sample:
- yarn: category 4 / worsted weight
- hook: 5.0 mm (H-8) for the motif body
- target motif size: around 5 to 6 inches square
Now block them three ways:
- Swatch A: square it by matching side lengths only
- Swatch B: square it by pinning corners first, then equalizing diagonals
- Swatch C: square it by measuring both side lengths and diagonals, shaping minimally
Record:
- side length after drying
- both diagonal lengths
- whether the motif twists after 24 hours unpinned
- whether the seam side behaves differently
Then join the three samples in a strip and lightly border the strip. You are not testing aesthetics. You are testing structural behavior.
This kind of directional swatching tells you whether your project needs aggressive blocking, gentle blocking, or rotation balancing more than blocking.
Blocking checkpoints
When blocking square motifs, use these checkpoints:
- Opposite sides should match within 1/16–1/8 in (1.5–3 mm) on small motifs.
- Both diagonals should match as closely as possible.
- Corners should open evenly, not be stretched into points.
- Side centers should be pinned if the motif bows.
- The final blocked size should be achievable without strain.
If you need to pull hard to reach the target size, the motif is telling you the pattern, hook, or yarn combination needs adjustment.
Motif rotation plans: how to cancel directional bias
One of the most underused tools in motif assembly is motif rotation.
If every square is joined with the round seam in the same orientation—say, top right corner—then any seam-side firmness or stitch lean is repeated across the whole blanket. That repeated bias acts like all the grain in wood running one direction.
Rotate motifs intentionally, and you can distribute or cancel that bias.
The simplest rotation systems
1. Checkerboard rotation
Alternate motifs by 90 degrees.
Example layout for a 4 x 4 motif blanket:
- Row 1: 0°, 90°, 0°, 90°
- Row 2: 90°, 0°, 90°, 0°
- Row 3: 0°, 90°, 0°, 90°
- Row 4: 90°, 0°, 90°, 0°
This works well when one side of a motif is subtly firmer than the others.
2. Four-direction rotation
Cycle motif orientation through all four positions:
- 0°, 90°, 180°, 270°
This is especially useful for motifs with visible round joins or shell placement asymmetry.
3. Radial balancing
Orient motifs so seam points face outward or inward in mirrored groupings. This can help in medallion-style layouts where the center should remain stable.
When rotation matters most
Rotation is especially important when:
- motifs are worked in joined rounds rather than continuous spirals
- corners contain chains that tighten at the join point
- one side includes a beginning chain that behaves differently than regular stitches
- the final round uses slip stitches, standing stitches, or color changes that create firmer spots
- the motif pattern includes popcorns, clusters, or post stitches that are not perfectly symmetrical in execution
A practical motif mapping routine
Before joining, lay out at least 16 motifs and mark the seam corner with removable stitch markers.
Then test:
- all seam corners facing the same direction
- checkerboard orientation
- fully rotated orientation
Smooth the arrangement on a flat surface and look for:
- repeated ridges
- edge flare in one direction
- a visual diagonal pull
Often you can see the better arrangement before you ever make a join.
Join sequence: why the path of assembly changes the final shape
Joining is not just connecting edges. It is adding a new structural line to the fabric. That line can draw in, stabilize, or distort depending on tension and path.
Two blankets made from identical motifs can behave differently if one is joined in long horizontal rows and the other is joined in quadrants.
How join paths create force
Every join method introduces some combination of:
- added stitch bulk
- edge compression n- edge extension
- directional pull from the working yarn
- anchor points at starts and stops
If you join an entire first row of motifs, then attach a second row across, then a third, your tension accumulates in long repeated passes. If your joining tends to tighten as you settle into rhythm, later joins may be firmer than early ones. If you always work left to right, the blanket may drift subtly in that direction.
Common join methods and their structural effect
Slip stitch join
- tends to be firm
- can draw edges inward if worked tightly
- useful for sturdy geometry
- risky for blankets that already have dense outer rounds
Single crochet join
- adds a defined ridge or flat line depending on placement
- slightly more forgiving than slip stitch
- can still compact the edge if stitch count is mismatched
Mattress or sewn join
- excellent for precise control
- often best for motifs with delicate edge spacing
- allows small compensation by varying bite depth
- less likely to torque the fabric if sewn evenly
Join-as-you-go (JAYG)
- efficient and often attractive
- but highly dependent on corner consistency
- can lock in asymmetry early if the first motifs are slightly off
The best sequencing strategies
Strategy 1: Join in smaller blocks, then join blocks
For a blanket of 64 motifs arranged 8 x 8:
- Join motifs into sixteen 2 x 2 blocks.
- Check each block for square corners and equal measurements.
- Join blocks into four 4 x 4 sections.
- Join sections into the full blanket.
This method limits cumulative error. It is my favorite for projects that use lively fibers or motifs with visible bias.
Strategy 2: Center-out assembly
Useful for medallion layouts or blankets where you want skew to distribute evenly.
- Join a central cluster, such as 2 x 2 or 3 x 3 motifs.
- Add motifs or strips outward symmetrically.
- Alternate sides as you expand.
This reduces the chance that all the directional pull travels across the blanket in one continuous path.
Strategy 3: Balanced row joining
If you prefer row-by-row construction:
- Join all motifs in each row.
- Stack rows and compare widths.
- Join Row 1 to Row 2.
- Join the bottom-most completed section to the next row, then return to join the top section to another row if possible, balancing handling strain.
The goal is to avoid one long, continuously dragged edge.
Step-by-step: engineer a flat joined-motif blanket from the start
Here is a practical workflow you can follow for almost any square or polygon-based blanket.
Step 1: Make a proper structural swatch
Do not make one motif. Make at least 6 motifs.
Why 6? Because you need enough pieces to test:
- individual consistency
- row alignment
- join behavior
- border response
For your test set, record:
- yarn brand and fiber content
- yarn weight
- hook size used for motifs
- hook size used for joins
- blocked and unblocked measurements
- side stitch count
A useful sample setup:
- yarn: DK weight (#3) or worsted (#4) depending on project
- motif hook: one size recommended by pattern, for example 4.5 mm for DK or 5.0 mm for worsted
- join hook: same size or 0.5 mm larger if your joins tend to tighten
- border hook: often same as motif hook, but test first
Step 2: Confirm stitch counts exactly
Let’s say your square motif final round is structured like this:
- corners: (2 dc, ch 2, 2 dc) in each corner space
- sides: 20 dc between corners
Your usable joining count per side may be:
- 20 dc + 2 corner anchor points, or
- 20 edge spaces, depending on your join method
Write it down clearly.
For example:
- each side = 20 join points between corners
- each corner = 1 corner ch-2 space
Do not trust memory here. Many assembly issues come from accidentally joining 20 stitches on one side to 21 insertion opportunities on the next because one motif includes the first corner space and the other does not.
Step 3: Test rotation
Mark the final-round join seam or round start on all 6 motifs.
Arrange them in:
- all same orientation
- alternating 90° orientation
- four-direction rotation if enough motifs are available
Photograph the layouts. The camera often catches drift your eye ignores.
Step 4: Join a 2 x 3 sample panel
Join the 6 motifs into a panel 2 motifs high x 3 motifs wide.
Why this size? Because it is large enough to reveal:
- row width inconsistency
- vertical vs horizontal join behavior
- diagonal drag
- border-induced distortion
Measure after joining:
- top width
- middle width
- bottom width
- left height
- center height
- right height
- both diagonals
If top/middle/bottom differ significantly, your horizontal joins or motif side counts need attention. If left/center/right differ, your vertical joins or blocking are uneven. If diagonals differ, you have skew.
Step 5: Add a mini border test
Work at least 3 border rounds around the sample panel.
A good diagnostic border test:
- Round 1: single crochet evenly around
- Round 2: half double crochet
- Round 3: your intended pattern repeat or another SC round
Border stitch count formula
For each straight motif edge, pick up stitches at a consistent ratio.
If the motif edge consists mostly of dc-height stitches, a starting ratio of:
- 1 stitch in each stitch across a true stitch edge, or
- 2 stitches per ch-1 space / 3 stitches per ch-2 space on open edges
is often reasonable, but test it.
For sewn or joined edges spanning motif-to-motif seams, be careful not to overfill the seam area.
Example for one outer side of a joined strip made from 3 motifs:
- Motif 1 side edge: 20 stitches
- Motif 2 side edge: 20 stitches
- Motif 3 side edge: 20 stitches
- Total straight-side pickup target: 60 stitches, adjusted only if the edge visibly draws or flares
Corner example:
- Work (sc, ch 2, sc) or 3 sc in each corner space depending on border style.
Check after Round 1:
- Does the panel ripple? Too many border stitches.
- Does it cup? Too few stitches or too-tight hook/tension.
Step 6: Choose compensation before full assembly
Based on your sample, decide whether you need:
- a larger hook for joining
- sewn joins instead of crocheted joins
- motif rotation plan
- lighter blocking tension
- a compensation round before joining
- fewer or more border pickups
A compensation round can be extremely effective.
For example, if the final motif round is dense and slightly tight, add a round like:
- [sc in next 3 sts, ch 1, skip 1] around sides, with corner treatment preserved
This can relax the edge and standardize join points. Or if the motif is too loose, a firm sc round may stabilize it before assembly.
Border tension: the final force that can save or sabotage the blanket
Borders are powerful. They are not decorative afterthoughts; they are perimeter engineering.
A border can:
- flatten a mildly uneven blanket
- exaggerate existing ripple
- square up corners
- turn a rectangle into a bowl if too tight
- create a cape-like flare if over-increased
Why borders distort joined blankets so easily
By the time you add a border, you are no longer working around one flexible motif. You are working around a large fabric with mixed edge conditions:
- motif edges
- joined seam intersections
- corners created by assembled geometry
- perhaps different numbers of row ends and stitch tops depending on construction
If you treat all of those areas identically, the border rarely behaves identically.
Border control rules I rely on
Rule 1: Count straight sections separately
Do not guess around the whole blanket.
For each side, calculate and note your target pickup count.
Example for a blanket 8 motifs wide x 10 motifs long, where each motif side provides 20 border stitches:
- short side = 8 x 20 = 160 stitches before corner treatment
- long side = 10 x 20 = 200 stitches before corner treatment
If the join method compresses edges, you may need slightly fewer. If the motifs are open and airy, you may need slightly more. But begin with a rational target.
Rule 2: Corners must match the body’s behavior
Typical square corner options:
- (sc, ch 2, sc)
- (hdc, ch 2, hdc)
- 3 sc in one corner point
- (dc, ch 2, dc) for taller border rounds
If the blanket edge is already generous, a ch-2 corner may flare less than multiple tall stitches. If the border is dense, you may need the corner to open more.
Rule 3: Change hook size before changing everything else
If your border cups, try going up 0.5 mm to 1.0 mm in hook size before rewriting the border. If your border ripples, try going down 0.5 mm or reducing pickup frequency.
Rule 4: Use distributed compensation, not one dramatic fix
If a side needs 4 fewer stitches to lie flat, do not remove them all at one end. Spread decreases evenly, for example:
- decrease 1 stitch every 40 stitches across a 160-stitch side
Likewise, if a side needs more room, add increases at even intervals.
Compensation border example
Suppose your joined blanket top and bottom edges lie flat, but the left and right edges draw in slightly because they include firmer row-end style joins.
You might work Border Round 1 like this:
- Top side: 160 sc evenly
- Right side: 164 sc evenly
- Bottom side: 160 sc evenly
- Left side: 164 sc evenly
- Corners: (sc, ch 2, sc) in each corner
Then on Border Round 2, maintain stitch count on all sides.
This kind of side-specific compensation is completely legitimate. Flatness matters more than numerical purity.
Fiber choice and yarn structure: what your yarn contributes to skew
Not all yarns forgive assembly the same way.
Fibers that tend to reveal torque more clearly
- cotton and cotton blends with low elasticity
- linen blends
- firm plant fibers
- tightly spun smooth yarns
These yarns show every inconsistency. That can be wonderful for crisp motifs, but they do not hide uneven joins.
Fibers that can mask or redistribute torque
- wool
- wool blends
- acrylic with moderate bounce
- lofty yarns with memory
These are often easier to block and shape, but they can also relax after use, which means a blanket may change slightly after the first wash or prolonged hanging.
Superwash warning
Superwash wool can block beautifully and then grow or shift more than expected. If using superwash for motifs, your swatch should include washing, drying, and resting—not just pin-blocking.
Yarn structure matters too
Watch for:
- high twist vs low twist
- slick multi-ply vs fuzzy halo
- chainette constructions
- singles that bias more readily
A highly energized yarn can introduce its own twist into motifs. If your yarn kinks while working or the skein seems lively and twisty, assembly planning becomes even more important.
Finishing strategy: when and how to block, seam, and rest the project
Flat motif blankets are rarely the result of one miracle step. They come from sequencing finishing wisely.
My preferred finishing order for most motif blankets
- Make and rest motifs for at least several hours after crocheting.
- Block motifs individually if they are very open, lacy, or inconsistent.
- Lay out with rotation plan and mark orientation.
- Join into manageable sections.
- Rest sections flat before joining larger units.
- Measure and correct minor issues during assembly.
- Add border with counted pickups.
- Wet block the completed blanket.
- Let it dry completely supported and flat.
- Rest 24 hours before final judgment.
That last step matters. Some blankets look wavy while damp and settle beautifully once fully dry.
Steam vs wet blocking
- Steam blocking is helpful for acrylic or delicate touch-ups, but it can flatten texture and should be done carefully.
- Wet blocking gives the most honest picture of how the full fabric behaves.
- Spray blocking is good for light corrections but less effective for major assembly issues.
For a joined blanket with torque concerns, I prefer wet blocking the finished piece unless the yarn specifically objects.
Troubleshooting: what to do when the assembled blanket is already rippling or skewing
Let’s talk rescue.
Problem: The blanket ripples across the outer edge after border Round 1
Likely causes:
- too many stitches picked up
- hook too large for a loose border pattern
- corners increased too aggressively
Fixes:
- remove 5–10% of border stitches on the rippled sections and retest
- go down 0.5 mm hook size
- reduce corner spacing, for example from (2 dc, ch 2, 2 dc) to (dc, ch 2, dc) if appropriate
Problem: The blanket cups inward after the border
Likely causes:
- too few border stitches
- join edges already firm, border adds more compression
- hook too small
Fixes:
- increase pickup count gradually, especially on the tighter sides
- go up 0.5–1.0 mm hook size for border rounds
- add a releasing setup round, such as a looser hdc or chain-spaced round
Problem: The whole blanket skews diagonally
Likely causes:
- motifs all oriented the same way
- directional join tension
- uneven diagonal blocking
Fixes:
- if not fully joined, unjoin sections and rotate motifs in alternating orientations
- reassemble in smaller blocks rather than long strips
- wet block finished sections by equalizing diagonals, not just edges
- consider a sewn join if crocheted joins are pulling
Problem: One side is longer than the opposite side
Likely causes:
- inconsistent border pickup count
- motif rows differ slightly in blocked size
- one assembly direction was worked tighter
Fixes:
- recount outer edge stitches side by side
- lightly reblock sections before final border
- on subsequent border rounds, distribute decreases along the longer side or increases along the shorter side
Problem: Corners flare while side edges lie flat
Likely causes:
- corners over-increased for the height of the border stitch
- too many stitches clustered near joins at corner-adjacent points
Fixes:
- simplify corner increase
- remove one stitch within 1–2 stitches of each side of the corner if needed
- use a shorter corner chain
Problem: Motifs fit individually but joined intersections pucker
Likely causes:
- corner spaces mismatched in join method
- too-tight join at four-motif intersections
- hidden extra stitch or missed anchor point
Fixes:
- examine each intersection for stitch-count parity
- use locking stitch markers before joining to align corners
- switch to a join that allows more flexibility at intersections
Variations and advanced strategies
Once you understand torque mapping, you can use it intentionally.
Variation 1: Compensation motifs
If a blanket panel is slightly narrow in one zone, you can create a motif variant with a subtly roomier final round.
For example, if a standard side has 20 dc, a compensation motif might use:
- 20 dc with one strategically placed ch-1 space, or
- a slightly larger hook for the final round only
Use sparingly and document placement.
Variation 2: Differential join hooks
Use one hook size for motifs and another for joins.
Examples:
- motif: 4.5 mm, join: 5.0 mm
- motif: 5.0 mm, join: 4.5 mm if edges are too loose
This is especially effective when your making tension is stable but your joining tension differs.
Variation 3: Stabilizing perimeter round before border pattern
Before a decorative border, add one plain round designed only to regularize the edge.
A classic choice:
- sc evenly around with counted side targets
- corners: (sc, ch 2, sc)
Then build the decorative border onto that predictable foundation.
Variation 4: Hybrid finishing
Block motifs lightly, join them, then block assembled sections, then add border, then final block.
This staged approach is often better than trying to force perfection either before or after assembly alone.
Variation 5: Asymmetry by design
Sometimes you can hide or use directional force with layout.
Motifs arranged on point, in gradients, or in intentionally organic layouts can absorb small structural quirks better than strict high-contrast grids. That is not cheating; it is design intelligence.
Takeaways: how to think like a crochet engineer without losing the joy
If there is one big lesson here, it is that joined motifs behave like a system. Distortion is rarely caused by one dramatic mistake. More often it comes from many tiny directional choices stacking together:
- how the motif rounds close
- how the motif is blocked
- where the seam side lands in the layout
- how the joins travel across the fabric
- whether the border compresses or expands the perimeter
- how the fiber remembers shaping
When you approach assembly with torque mapping in mind, you stop asking, “Why is this blanket misbehaving?” and start asking better questions:
- Which direction is the fabric pulling?
- Where is the force entering the system?
- Is the distortion in the motifs, the joins, the border, or the finishing?
- Can I cancel the bias with rotation, sequence, or compensation?
That shift is powerful.
A practical summary to keep near your project bag:
- Make 6 motifs, not 1, for structural swatching.
- Record exact side stitch counts and corner join points.
- Measure both diagonals, not just width and height.
- Test rotation layouts before assembly.
- Join in blocks or balanced sequences to limit cumulative drag.
- Sample the border on a joined panel, not on a single motif.
- Adjust hook size, pickup count, and corner increases deliberately.
- Match your finishing strategy to the fiber’s memory and elasticity.
- Rest and re-measure before deciding a blanket is truly distorted.
And perhaps the most encouraging truth of all: if you can notice ripple and skew, you can learn to predict and prevent them. The eye that spots distortion is the same eye that grows into excellent design judgment. Every wavering blanket edge teaches you something about structure. Every rescued project sharpens your understanding. That is not failure. That is mastery being built, one motif, one join, and one carefully counted border stitch at a time.