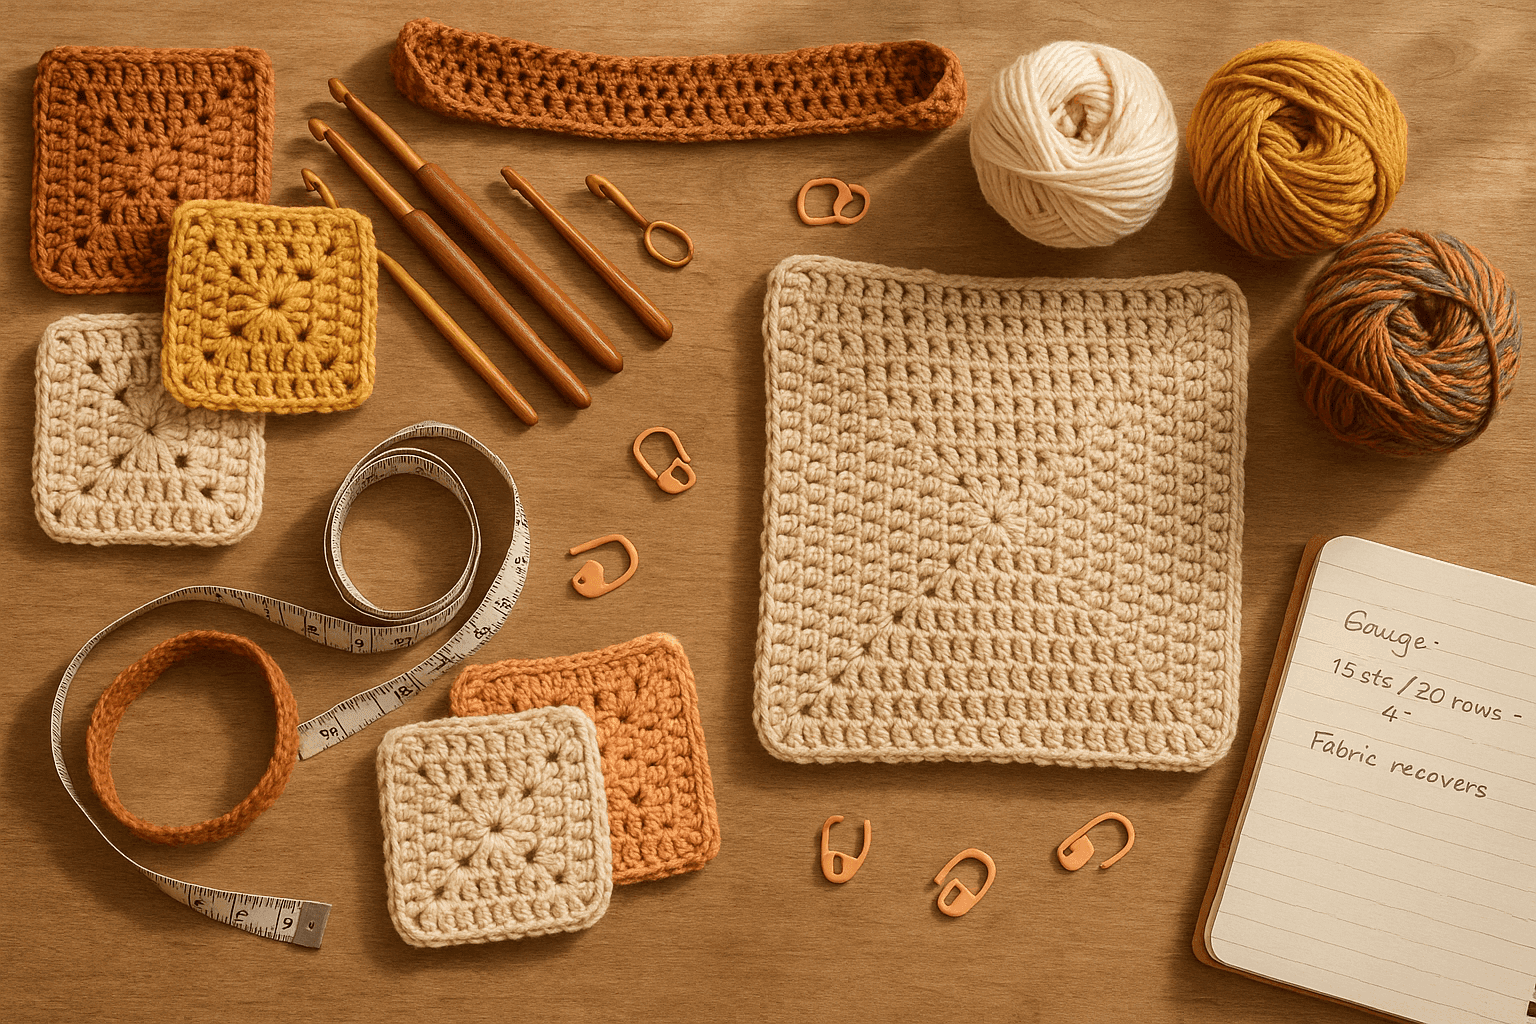
You know that moment when a crocheted bag looks perfect on the blocking mat, then two weeks of actual use turn the strap from neat and tailored into something that hangs at hip level? Or when a dense stool cover feels beautifully firm at first, only to develop a shallow dip that never quite springs back? Maybe it is a cardigan shoulder that slowly grows, or a seat pad that starts lofty and ends up looking permanently “sat on.” Most of us first describe this as stretching, but that word is only part of the story. In many crochet projects, what we are really seeing is compression set: the combination of fibers deforming under long-term load, stitches packing more tightly into a new arrangement, and the fabric losing some of its original rebound.
If you crochet bags, home furnishings, fitted garments, straps, baskets, or anything that carries weight or stays under pressure for hours at a time, understanding compression set is as useful as understanding gauge. It explains why two swatches with the same stitch count can behave completely differently after use. It explains why a cotton market bag can become longer without feeling especially elastic, why a single-crochet cushion can flatten even when the yarn itself seems sturdy, and why the same yarn behaves better in one stitch pattern than another.
This is one of those topics that sits right at the intersection of yarn science and practical making. The good news is that compression set is not random. Once you understand the mechanics—fiber plasticity, stitch architecture, load direction, density, and recovery—you can predict risk, test for it before committing to a project, and design around it.
What compression set actually means in crochet
In plain language, compression set is the amount of shape change that does not recover after a fabric or fiber has been compressed, bent, packed, or loaded over time. In crochet, that permanent or semi-permanent deformation can show up in three common ways:
- Gauge drift – stitch and row dimensions change after wear or long-term storage under pressure.
- Length gain under load – straps, shoulders, waist ties, and hanging containers become longer.
- Thickness loss and seat sag – dense fabrics flatten and stay flatter after repeated or sustained pressure.
This is not always classic elastic stretch. Elastic stretch is the temporary extension that bounces back when the force is removed. Compression set is what remains after the bounce-back is incomplete.
In crochet, the effect comes from three overlapping sources:
- Fiber deformation: the yarn fibers themselves bend, compact, or yield.
- Yarn structure shift: plies settle, flatten, or torque differently under stress.
- Stitch reorganization: loops slide, tighten, and pack into a new geometry.
That third factor matters especially in crochet because crochet is built from a series of interlocked but comparatively independent loops. Unlike many woven fabrics, where yarns cross in a fixed grid, crochet has more three-dimensional loop architecture. That gives us drape, texture, and sculptural possibilities—but it also gives loads room to redirect, concentrate, and permanently reshape the fabric.
Why crochet is especially vulnerable in some project types
Crochet fabric often uses more yarn per square inch than knitting and can produce dense, durable structures. That sounds like it should prevent deformation, but density alone does not guarantee stability. In fact, very dense crochet can create conditions where stress accumulates in specific loop segments.
Think about a bag strap worked in rows of single crochet. Under weight, the force travels lengthwise, but each stitch contains horizontal and vertical components that can rotate and settle. Over time:
- the loops elongate slightly,
- the yarn flattens where it rubs against adjacent loops,
- the rows compact sideways,
- and the strap becomes longer and narrower.
Likewise, in a crochet seat cover or cushion top, body weight repeatedly compresses the same zone. The stitches do not merely squash downward; they also shift laterally. The crown of each stitch loses loft, neighboring stitches nest more tightly, and the fabric develops a thinner, denser profile.
Projects at highest risk include:
- shoulder bag straps
- tote bag bodies
- hanging baskets and planters
- garment shoulders and necklines
- bralette underbands and cup supports
- stool and chair covers
- floor cushions and poufs
- rug areas under furniture
- amigurumi limbs or bodies stuffed firmly and stored under pressure
Fiber plasticity: why some yarns spring back and others “remember” the load
When makers talk about memory, they are often discussing recovery: how well a fiber returns to its previous shape after stress. Plasticity is the other side of that conversation. A more plastic fiber tends to retain some of the deformation.
No fiber is perfectly elastic, and no crochet structure is immune. But different fibers respond in very different ways.
Wool
Wool generally has the best natural resilience of the common crochet fibers. Its crimped structure helps it compress and rebound better than smoother plant fibers. That makes wool attractive for projects where you want loft and some recovery.
However, wool is not magic. Under sustained load, especially in warm, humid conditions, wool can still distort. Fine wool may stretch in hanging applications. Lofty woolen-spun yarns can compress significantly in seat surfaces. Superwash wool may behave differently from untreated wool because the fiber surface has been altered, often reducing some of the “grab” that helps stitches lock together.
Best uses where recovery matters:
- hats and garments needing bounce
- cushions needing moderate rebound
- structured accessories if lined or reinforced
Watch for:
- growth in superwash garments
- flattening in low-twist or airy yarns
- shoulder stretch in open stitch patterns
Cotton
Cotton is strong and durable, especially under tension, which is why people reach for it in bags and household crochet. But cotton has less elastic recovery than wool. It can lengthen under load and stay there. Dense cotton crochet also tends to pack down and become firmer, flatter, and less springy over time.
This is why cotton straps often “grow.” The yarn is not necessarily weak. It simply has less natural bounce-back, so once the stitches settle into a longer configuration, they do not fully return.
Best uses:
- bags, baskets, placemats, rugs, sturdy home goods
- garments where drape is welcome rather than feared
Watch for:
- strap lengthening
- neckline droop
- seat and cushion flattening
- row gauge changes after use
Acrylic
Acrylic can be tricky because people often describe it as springy, yet it may also take on a semi-permanent set under pressure or heat. It resists moisture-related changes better than some fibers, but under repeated compression it can flatten, especially if the yarn is lofty or softly spun. Acrylic fibers can also respond strongly to heat finishing, for better or worse.
A dense acrylic seat cushion may feel resilient at first but gradually lose loft. A warm shoulder bag strap can creep under weight, particularly in taller stitches.
Best uses:
- blankets, garments, toys, accessories
- projects where washability matters
Watch for:
- heat sensitivity during steaming or pressing
- flattening in plush yarns
- creep in long straps or openwork support zones
Linen and hemp
These bast fibers are strong, crisp, and often excellent for structure initially, but they have low elasticity and can become permanently shaped by use. They soften beautifully with wear, which is wonderful for garments and table linens, but that same softening can mean reduced resistance to load deformation.
Best uses:
- summer garments, market bags, home items
Watch for:
- pronounced lengthening under load
- hard crease memory
- little rebound once compacted
Blends
Blends are often where performance gets interesting. A wool-cotton blend may gain some resilience from wool and some durability from cotton. An acrylic-wool blend may feel bouncy but still show long-term compaction in high-pressure areas. A cotton-polyester blend may hold shape better than pure cotton, depending on construction.
The key point: fiber percentage alone does not tell the whole story. Spin method, ply structure, twist level, finish, and yarn diameter all matter.
Stitch architecture: how the shape of crochet concentrates stress
Two fabrics made from the same yarn can behave completely differently because stitch architecture changes where stress lands.
Taller stitches usually deform more easily
Double crochet, treble crochet, and open mesh structures have longer loop columns and more room for movement. Under load, those loops can rotate, lengthen, and narrow.
If you are making a support zone—bag base, seat top, waistband, shoulder strap—taller stitches generally increase the risk of growth.
Short stitches usually resist better
Slip stitch and single crochet tend to produce shorter, denser loop paths. They are often better for structure, though they can become stiff and still compact under pressure. Waistcoat stitch, linked stitches, and very tight half double crochet can also perform well where you need control.
Post stitches create relief but can collapse
Front-post and back-post textures look substantial, yet their raised columns can flatten under pressure. On cushions and seat pads, dramatic texture often compresses faster than flatter stitch patterns.
Openwork redistributes load poorly
Lace and mesh are lovely but not ideal where constant weight hangs from the fabric. The openings concentrate force into fewer strands of yarn.
Working direction matters
A strap worked lengthwise behaves differently from a strap worked crosswise.
- A lengthwise strap often places load directly along stitch columns or row paths, which may encourage elongation.
- A crosswise strap can distribute force across many rows, often improving stability.
This is why many durable bag straps are best made as long narrow rectangles worked across the short dimension, then seamed or edged.
Stitch packing: the hidden reason dense fabrics change gauge
One of the most under-discussed causes of permanent gauge change is stitch packing. When crochet fabric is compressed repeatedly, the loops settle into tighter adjacency. The fabric may become:
- thinner,
- slightly wider or narrower depending on structure,
- longer under gravity,
- and denser to the touch.
Imagine a firmly crocheted cushion cover in single crochet. On day one, each stitch crown has some rounded volume. After weeks of use, the yarn cross-sections flatten and neighboring loops nest more efficiently. Even if no individual strand breaks and no dramatic stretching occurs, the total fabric dimensions can change because the internal geometry has become more compact.
That is why a “perfect” pre-use gauge swatch may not predict real-world measurements. You need to test not just gauge, but gauge after loading and recovery.
How to swatch for creep versus recovery
If you only take a flat gauge swatch, you are missing the main failure mode for support projects. For bags, seats, straps, and support zones, make a performance swatch.
Here is a reliable method.
Performance swatch method
Materials
- the exact yarn for the project
- the intended hook size, plus one size smaller if structure matters
- stitch markers
- ruler or gauge tool
- notebook
- weights from 1–5 lb / 450 g–2.25 kg depending on project scale
- clips or dowels for hanging swatches
Swatch size
For fabric tests, make at least a 6 x 6 in / 15 x 15 cm square. For strap tests, make a sample at least 12 in / 30 cm long and the exact strap width.
For dense fabrics, count and record stitches carefully. Example:
- Foundation: ch 26
- Row 1: sc in 2nd ch from hook and across, 25 sc
- Rows 2–24: ch 1, turn, sc across, 25 sc each row
Measure before testing.
Record:
- stitch gauge over 4 in / 10 cm
- row gauge over 4 in / 10 cm
- overall width and length
- thickness if relevant
Test 1: Hanging creep test for straps
- Hang the swatch vertically.
- Add weight gradually at the bottom.
- Record length immediately, after 1 hour, after 8 hours, and after 24 hours.
- Remove the weight and let the swatch rest flat for 24 hours.
- Measure recovered length.
Example results:
- Initial length: 12 in
- Under load at 24 hrs: 13 in
- Recovered after rest: 12.5 in
That means:
- Temporary extension = 1 in
- Permanent set = 0.5 in
For a final strap intended to be 40 in long, a similar rate could mean substantial growth in real use.
Test 2: Compression test for seats and cushions
- Stack books or weights on the swatch placed on a flat surface.
- Leave for 24–72 hours.
- Remove weight.
- Measure thickness and dimensions immediately and again after 24 hours.
If the swatch remains thinner, wider, or longer, you are seeing compression set.
Test 3: Flex-and-recovery test for garment support zones
- Stretch or bend the swatch repeatedly 20–30 times.
- Steam lightly only if that matches your finishing plan.
- Let rest and remeasure.
This shows how neckline bands, shoulder panels, and underbust zones may behave in wear.
Reading the swatch results
A useful shorthand is to separate three behaviors:
- Elastic stretch: grows under load, mostly returns.
- Creep: continues to lengthen over time while loaded.
- Compression set: remains changed after load is removed.
For structural crochet, the most dangerous combination is moderate creep plus poor recovery.
Hook size, gauge, and why “going down a hook” only partly solves the problem
A common response to stretching concerns is to use a smaller hook. Often that helps, but only to a point.
A smaller hook can:
- increase stitch density,
- reduce loop size,
- reduce immediate movement within the fabric.
But it can also:
- make the fabric boardy,
- create stress concentration points,
- reduce comfort and drape,
- and still fail under long-term load if the fiber itself lacks rebound.
For support pieces, swatch at least two hook sizes. For example, if the yarn label suggests a 5.0 mm hook for general use, test:
- 5.0 mm for baseline
- 4.5 mm for improved structure
- 4.0 mm if a firm support fabric is needed
Then compare not just appearance but loaded recovery.
Step-by-step: engineering a crochet bag strap that resists permanent lengthening
Let’s make this practical. Suppose you want a shoulder bag strap that finishes at 1.25 in / 3 cm wide and 40 in / 102 cm long.
Step 1: Choose a yarn realistically
Best candidates:
- tightly spun cotton blend
- mercerized cotton with firm twist
- wool blend with strong ply for lighter bags
- non-stretch tape yarns used thoughtfully
Avoid, for heavy bags:
- soft single-ply yarn
- loosely spun cotton
- plush acrylic
- open fuzzy halo yarns
Step 2: Choose structure over height
Use one of these:
- single crochet
- waistcoat stitch
- slip stitch rib used crosswise and stabilized
- linked half double crochet
Avoid plain double crochet for a load-bearing strap unless reinforced.
Step 3: Work the strap crosswise
Foundation example:
- Ch 6
- Row 1: sc in 2nd ch from hook and across, 5 sc
- Rows 2 onward: ch 1, turn, sc across, 5 sc each row
Continue until the strip reaches the target length under lightly stretched but not hanging measurement.
Why this helps: the final load pulls across many row edges rather than along fewer long loop columns.
Step 4: Build in negative ease
If your swatch shows 5% permanent growth, reduce strap target length accordingly.
Example:
- Desired finished-use length = 40 in
- Anticipated permanent growth = 5% of 40 = 2 in
- Make strap closer to 38 in before attachment and testing
Step 5: Reinforce invisibly
Options:
- sew grosgrain ribbon to the underside
- insert woven tape inside a folded strap
- line with sturdy fabric
- crochet a tube around a non-stretch core cord
This is often the single best fix for cotton bag straps.
Step 6: Edge strategically
A round of slip stitch or reverse single crochet can reduce rolling and help lock the edges. Do not expect edging alone to stop creep, but it can improve distribution.
Step-by-step: engineering a crochet seat or cushion top to resist sag
When a crochet surface will be sat on, you need to think like a furniture maker as much as a crocheter.
Step 1: Match fiber to pressure type
For a stool cover or seat top:
- wool blends can offer better rebound
- firm cotton can give strength but may pack down
- blends often outperform pure fibers when chosen well
If the surface must remain lofty, rely less on yarn loft and more on internal support.
Step 2: Prefer low-profile stitches
Good choices:
- tight single crochet
- linked stitches
- Tunisian simple stitch combined with crochet edging if appropriate to the design
- tapestry crochet structures with floats managed carefully
Avoid highly raised bobbles or puff-heavy surfaces for high-wear seating unless you accept flattening.
Step 3: Use dense gauge deliberately
Example swatch target:
- Yarn: worsted weight cotton-wool blend
- Hook: 4.0 mm
- Gauge in sc after load testing: 18 sc and 20 rows = 4 in / 10 cm
For a 16 in stool top, your target might be about 72 sc around or across depending on construction. Exact counts vary by shaping method, but the important point is this: calculate from post-test gauge, not fresh-off-hook gauge.
Step 4: Layer structure
A crochet cover alone often cannot provide long-term seat resilience. Combine it with:
- firm foam
- upholstery webbing
- felt underlayers
- quilted fabric lining
- dense insert forms sized to slightly overfill
Step 5: Distribute stress
Instead of one center panel taking all the pressure, consider:
- segmented construction
- radial reinforcement rounds
- a non-stretch backing fabric
- denser central stitch pattern with softer border
Step 6: Finish with shape stabilization
Sew the crochet cover to a stable backing where appropriate. This can dramatically reduce lateral spread that leads to seat sag.
Step-by-step: engineering garment support zones
Garments suffer from compression set and creep in quieter ways: shoulders lengthen, necklines flare, underbust bands relax, pocket edges droop.
Step 1: Identify the load path
Ask where gravity acts most strongly.
- Shoulder seams carry vertical garment weight.
- Necklines spread outward.
- Bust and underbust areas cycle between tension and recovery.
- Pockets pull down locally.
Step 2: Put support only where needed
Rather than making an entire sweater rigid, reinforce support zones.
Examples:
- smaller hook at shoulders and neckline
- single crochet stabilizing band along back neck
- sewn twill tape at shoulder seams
- slip-stitch facing around armholes
- firmer stitch pattern at waistband or underbust
Step 3: Use measured stitch counts
For instance, if a neckline edge measures 24 in and your stabilizing single crochet edging works at 5 sc per in, you need about 120 sc evenly distributed. Too many edging stitches can flare the edge; too few can pucker it.
Step 4: Test after hanging
Let the garment hang for 24 hours before final hemming or strap adjustment. This one habit prevents a lot of disappointment.
Common mistakes and how to fix them
Mistake 1: Swatching only for width and height
Problem: The fabric meets gauge flat but changes dramatically in use.
Fix: Do load swatches and recovery measurements. Record both fresh and post-stress gauge.
Mistake 2: Choosing yarn by touch alone
Problem: A soft, pleasant yarn may have poor structural recovery.
Fix: For support items, prioritize twist, ply, and performance over softness alone.
Mistake 3: Using tall stitches in support zones
Problem: The project grows where it carries weight.
Fix: Substitute shorter or linked stitches in straps, waistbands, seat centers, and shoulder zones.
Mistake 4: Relying on blocking to “set” structure
Problem: Blocking can improve appearance, but it does not magically create long-term load resistance.
Fix: Use blocking for evenness, then add reinforcement or redesign structure for support.
Mistake 5: Making straps the exact desired length off the hook
Problem: Real use adds inches.
Fix: Build in negative ease or reinforce with non-stretch materials.
Mistake 6: Overstuffing as the only solution for flattening
Problem: Overstuffing can distort seams and merely delay compression.
Fix: Pair appropriate stuffing density with stronger fabric engineering and internal support layers.
Mistake 7: Heat-finishing acrylic too aggressively
Problem: Excess heat can alter hand, reduce spring, or “kill” the fabric.
Fix: Test steam or heat methods on swatches first and use minimal finishing necessary.
Finishing strategies that stabilize shape without ruining hand
Finishing can either preserve a beautiful fabric or accidentally remove what resilience it had. The goal is stabilization, not over-processing.
Wet blocking
Useful for evening stitches and letting the fabric relax before measuring. For wool and blends, it can reveal true drape and recovery. But blocked dimensions are not final performance dimensions for loaded items.
Steam blocking
Helpful in moderation, especially for plant fibers that need persuasion to settle. For acrylic, use extreme caution. Steam can soften and reshape, but too much can collapse structure permanently.
Sewn reinforcement
This is often the most effective finishing strategy for support zones.
Use:
- grosgrain ribbon in straps
- twill tape in garment shoulders
- woven backing in bag bottoms
- canvas or duck cloth lining in baskets
- zippered cushion liners to share load with the crochet shell
Facings and folded construction
A strap folded lengthwise and stitched down may perform far better than a single-layer strip. A neckline with an inside facing can resist flare while keeping the outside appearance soft.
Surface crochet or slip-stitch rails
A line of slip stitches worked along a high-stress path can modestly reduce distortion. Think of it as subtle reinforcement, not a complete structural cure.
Fiber-by-fiber design recommendations
For bags
Best bets: mercerized cotton, cotton blends, linen blends with reinforcement
- Hook: often 0.5–1.5 mm smaller than label recommendation
- Stitches: sc, waistcoat stitch, linked hdc
- Essential: lined body and reinforced strap for heavy use
For seat covers and cushions
Best bets: wool blends, tightly spun blends, structured cotton with backing
- Hook: firm gauge, often 0.5–1 mm smaller than standard
- Stitches: sc, linked stitches, flat dense textures
- Essential: internal support layer, insert, or backing fabric
For garment shoulders and support bands
Best bets: wool or resilient blends
- Hook: regular for body, smaller for support edges
- Stitches: body can be drapey, but support zones should be compact
- Essential: seam tape or crocheted stabilizing band if garment is heavy
For baskets and containers
Best bets: cotton, jute blends, t-shirt yarn, rope-core crochet
- Hook: chosen for firmness without splitting fiber excessively
- Stitches: tight sc or waistcoat stitch
- Essential: understand that sidewalls under outward pressure may still bulge over time; consider hidden cord or wire support where safe and appropriate
A simple formula for predicting project growth
Your swatch can give you a useful estimate.
- Measure original loaded dimension target area.
- Load swatch in the same direction the final project will be stressed.
- Measure permanent change after resting.
- Calculate percentage change.
Formula:
Permanent change % = (Recovered measurement - Original measurement) / Original measurement x 100
Example:
- Original strap swatch = 12 in
- Recovered length after load = 12.5 in
- Permanent change = 0.5 / 12 × 100 = 4.17%
If your final strap will be 40 in:
- Expected permanent growth ≈ 1.67 in
This is not perfect, but it is far better than guessing.
Variations and design approaches for better long-term performance
Hybrid construction
Crochet the visible outer layer, but let a woven or sewn interior carry most of the load. Excellent for bags, belts, and seat covers.
Zoned crochet
Use different stitch patterns in different areas.
Example:
- bag body in decorative half double crochet
- bag base and top edge in single crochet with lining
- strap in reinforced waistcoat stitch
Double-layer fabric
Two layers joined together can reduce distortion dramatically, especially if the layers are offset or one is stabilized.
Corded crochet
Work over a cord, tape, or sturdy core in straps and rims. This preserves shape without making every row painfully tight.
Removable structural inserts
For cushions and baskets, use inserts that can be replaced when they compress, allowing the crochet shell to remain attractive longer.
Troubleshooting real project symptoms
“My bag strap got longer but also skinnier.”
That usually means the stitch columns elongated while the width compacted. Next time:
- work strap crosswise,
- use shorter stitches,
- add ribbon backing,
- reduce initial length by the observed growth percentage.
“My cotton cushion is firm but looks permanently squashed.”
The yarn is likely strong but not rebounding. Add internal loft from the insert rather than expecting the crochet shell to act like foam. Consider a wool blend cover or a backing layer next time.
“My cardigan shoulders keep dropping.”
You likely have cumulative creep from garment weight. Stabilize shoulders with sewn tape or crochet a firmer shoulder seam. Let the garment hang before final finishing.
“My basket sides slouch after storage.”
That is compression plus lateral spread. Use a denser stitch, smaller hook, firmer yarn, and possibly hidden support such as plastic canvas, rope core, or a stitched lining.
“My blocked project measured perfectly, then changed after a week.”
Blocking revealed the relaxed fabric, but use introduced load-based deformation. Your next swatch needs both blocking and a stress test.
The big takeaway: engineer for use, not just for the blocking board
Compression set is one of the most important reasons a crochet project can look technically correct and still disappoint in daily life. It is not a sign that you chose “bad” yarn or that your stitches are wrong. It is a material behavior: fibers yield, loops settle, and fabric geometry reorganizes under load.
The skilled crocheter’s advantage is not avoiding every change. It is knowing which changes matter, predicting them early, and shaping the project accordingly.
If a project must carry weight, support a body, hold a crisp silhouette, or maintain precise fit, ask these questions before you begin:
- What direction will the load travel?
- Does the fiber rebound well, or does it take a set?
- Are the stitches short and stable or tall and mobile?
- Will the fabric compress and pack over time?
- Do I need reinforcement, lining, or an internal structure?
- Have I tested recovery, not just gauge?
That mindset shifts crochet from decorative improvisation into real textile engineering—without losing the pleasure of making.
So the next time a strap grows, a seat flattens, or a neckline relaxes, you will know how to read the evidence. You will recognize the role of fiber plasticity, stitch packing, and long-term load. Better still, you will know how to swatch for it, design around it, and finish in ways that preserve both shape and hand.
That is the sweet spot so many of us are aiming for: crochet that is not only beautiful on day one, but still functioning beautifully after real life has had its turn with it.