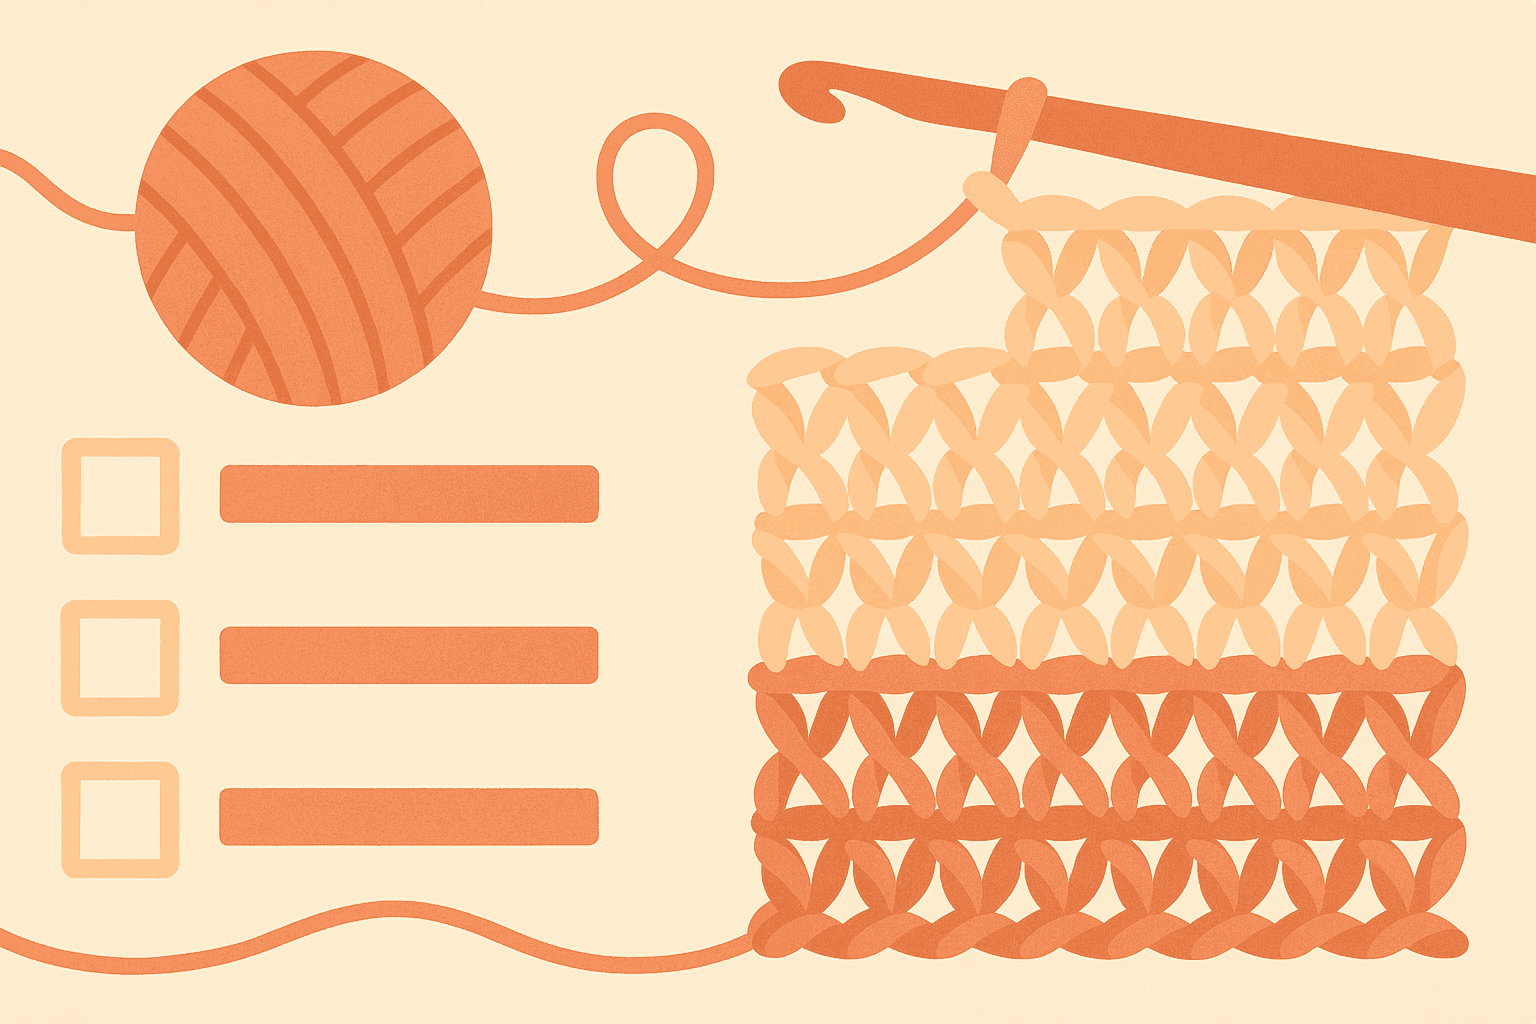
Half Double Crochet vs Double Crochet: Convert Any Crochet Pattern Without Changing Gauge
You can swap half double crochet (hdc) and double crochet (dc) in almost any project without losing fit, shape, or drape—if you do the math. This guide gives you a repeatable conversion workflow based on gauge, row height, stitch width, and yardage. It covers flat pieces, top-down and bottom-up garments, blankets and motifs, and in-the-round magic-ring starts.
I will be direct: eyeballing it works sometimes, but consistent results require measuring. The payoff is worth it; once you understand the ratios between hdc and dc in your hands, you can convert patterns confidently, even on the fly.
This article assumes US terminology and a working familiarity with gauge, swatching, and reading pattern structures. References to industry standards and deeper technical resources are provided throughout.
- Abbreviations and standards: Craft Yarn Council (CYC) maintains the US standard abbreviations and guidelines for gauge notation and stitch names. See CYC resources for exact definitions and symbol standards. Craft Yarn Council
- Turning chains and edge policies: See Interweave’s overview for common practices and the perennial ch-2 vs ch-3 for dc debate. Interweave: Understanding turning chains
- Flat circle math with different stitches: PlanetJune’s articles on flat circles are practical and data-driven. PlanetJune: Crochet circles
Why swap stitches at all?
- Speed and texture: Hdc is quick and dense with a smooth, spongey hand; dc is taller, airier, and drapier at the same hook size.
- Pattern flexibility: You may love a dc pattern but want fewer holes, or prefer the look of hdc ribbing in place of dc.
- Yardage and weight: Hdc fabric of the same dimensions can use slightly less yarn than dc. That may be the difference between finishing from stash and running short.
The goal is not merely to replace stitch A with stitch B, but to translate the pattern so the finished piece measures, fits, and behaves as intended.
Two paths to a correct conversion
- Tension-matching path (1:1 swap)
- If you can make hdc that matches the pattern’s dc gauge exactly in both stitches-per-width and rows-per-height (often by changing hook size), you can substitute 1:1 with minimal adjustment.
- In practice, exact row gauge is harder to match than stitch gauge. If both gauges match, you are done. If not, use the math path below.
- Math path (recommended)
- Measure your personal gauge in both stitch types.
- Compute stitch counts and row counts from ratios so width and height stay identical to the original.
- Adjust for stitch multiples and edge policies.
The math path is reliable, repeatable, and works even when your hdc and dc behave very differently.
Ground rules, definitions, and symbols
- SPI: stitches per unit width (per 4 in or per 10 cm).
- RPI: rows per unit height (per 4 in or per 10 cm).
- w: average stitch width = unit width divided by SPI.
- h: average row height = unit height divided by RPI.
- Old: the stitch type used in the original pattern (for our purposes, dc).
- New: the stitch type you are converting to (hdc), or vice versa.
We will express gauge in per-10 cm or per-4 in units. Use whichever your pattern uses; the formulas are identical.
Swatch first: the data you need
Make two swatches, one in dc and one in hdc, using the yarn and hook you intend to use. Block them the way you will treat your finished fabric (steam, wet block, or no block) and let them rest.
Measure each swatch over a central 10 cm square (or 4 in square):
- SPI_dc and RPI_dc
- SPI_hdc and RPI_hdc
Optional but recommended:
- Weigh each swatch and compute grams per square area to estimate yardage by area rather than by stitch count.
- Note turning-chain behavior for your hands and yarn. Tall turning chains can inflate row height; stacked stitches or standing stitches may give truer row height.
Resource refresher on gauge and swatching best practices: Craft Yarn Council on gauge
Core conversion formulas
The essence: keep the target measurement constant while changing the unit density.
Let Old be dc and New be hdc. Convert in either direction by swapping labels.
Width (columns or stitches)
- Original width in stitches: Count_old
- Original width in length: W = Count_old / SPI_old
- Required new stitch count to keep W: Count_new = W × SPI_new = Count_old × (SPI_new / SPI_old)
Height (rows or rounds)
- Original height in rows: Rows_old
- Original height in length: H = Rows_old / RPI_old
- Required new rows to keep H: Rows_new = H × RPI_new = Rows_old × (RPI_new / RPI_old)
Compactly:
Count_new = round_to_pattern_multiple( Count_old × SPI_new / SPI_old )
Rows_new  = round( Rows_old × RPI_new / RPI_old )
Rounding and pattern multiples
- Always round to the nearest integer.
- If the pattern repeat is k plus b (written as multiple of k + b), round to the nearest count that satisfies k×m + b.
- When rounding rows, defer decorative or structural rows (edgings, ribbing) until after you lock in body height; then re-space them proportionally.
Stitch dimension ratios (useful intuition)
- Average stitch width w = 10 cm / SPI
- Average row height h = 10 cm / RPI
- Height-to-width ratio r = h / w governs circle math and shaping steepness.
Turning chains and edge policies
Turning chain length should match the effective height of your new stitch and edge policy should be consistent across the piece.
Common policies in the wild:
- dc: ch 3 counts as first dc; or ch 2 does not count; or ch 2 counts. Designers vary.
- hdc: ch 1 does not count; or ch 2 counts as first hdc; or ch 2 does not count.
Guidelines
- If the original uses a counting turning chain (for example, ch 3 counts as dc), keep a counting turning chain that approximates the new stitch height. For many hdc conversions, ch 2 as a counting stitch is close; ch 1 is often too short if it must stand in for the first stitch.
- For the cleanest edges, use stacked stitches or a standing hdc/dc in place of turning chains. This keeps row height accurate and edges straight. See Interweave on turning chains and stacked stitches. Interweave turning chain guide
- Whatever you choose, apply it consistently; your row height measurement should include that policy.
Converting stitch multiples and repeats
Patterns often specify a stitch multiple like multiple of 14 + 2 for edges. Keep the multiple structure; change the multiplier m.
Procedure
- Compute raw Count_new from the formula above.
- Find the nearest m such that k×m + b is close to Count_new.
- Evaluate whether being one repeat short or long is acceptable to the design. If a shell motif must align with corners, pick the choice that preserves alignment.
Example
- Original dc repeat: multiple of 14 + 2, starting chain given as 144 + 2 = 146.
- Your hdc SPI is higher than dc SPI, so Count_new computes to 166.4. The nearest 14×m + 2 near 166.4 is 14×12 + 2 = 170.
- Use ch 170 for your hdc version.
Note: Some repeats are sensitive to parity or mod constraints beyond the written multiple (for example, ripple peaks and valleys). Skim the pattern chart or a small test to confirm your adjusted multiple preserves the motif rhythm.
Flat-to-round: magic ring rounds and circle math
Flat circles grow by adding a ring of stitches whose length must match the new circumference. The required number of increases per round depends on the ratio between stitch height and width.
Geometric model
- Each new round adds height h, increasing circumference by approximately 2πh.
- Each increase adds one extra stitch to the round; each stitch spans width w.
- Increases per round ≈ (2πh) / w = 2π × (h / w).
Practical rule-of-thumb
- sc fabric tends to use about 6 increases per round.
- hdc often needs about 8 to 9 increases per round.
- dc often needs about 12 increases per round.
This matches both experience and the geometry when typical h/w ratios are plugged in. PlanetJune discusses dc circles with 12 inc per round and nuances for other stitches. PlanetJune: Crochet circles
Using your swatch
Compute your personal increase number:
w = 10 cm / SPI
h = 10 cm / RPI
INC ≈ round( 2 × π × (h / w) )
- For dc it often evaluates to roughly 12.
- For hdc it often evaluates to 8–10 depending on yarn, hook, and tension.
Converting a dc-in-the-round pattern to hdc
- Original dc circle uses 12 dc into the magic ring for round 1; then increases by 12 each subsequent round.
- Your swatch yields INC_hdc = 9.
- Conversion: start with 9 hdc into the ring; thereafter increase by 9 each round to keep the circle flat.
Converting counts per round more generally
If the original round r has Sts_old(r) and grows by INC_old per round, the hdc version should approximate
Sts_new(r) ≈ Sts_old(r) × (INC_new / INC_old)
You can also rederive the counts per round from desired diameter: circumference = π × diameter = Sts × w. Solve for Sts given intended diameter and your w.
Increases, decreases, and shaping slopes (garments and hats)
Shaping is about slopes in measurement space, not raw stitch counts. Preserve these slopes by ratio.
Raglan and yoke shaping example
- A dc top-down raglan increases 8 stitches every 2 rows (4 yoke corners × 2 inc per increase row) until the yoke depth H is reached.
- Convert to hdc. Using Rows_new = Rows_old × (RPI_new / RPI_old), you will likely need more rows to reach the same yoke depth because hdc rows are shorter.
- Preserve the circumference at split for sleeves by keeping the total number of increases proportional to the width ratio of gauges.
Method
- Compute the target yoke depth in cm from the dc pattern (Y_dc = Rows_old / RPI_dc × 10 cm). Or take the schematic measurement directly if provided.
- Compute Rows_new = Y_dc × RPI_hdc / 10 cm.
- Compute target bust circumference or target yoke circumference in stitches using your SPI_hdc.
- Spread increases across Rows_new according to your desired distribution (every row, every other row, or in a repeating cadence) so you land on the target circumference.
Linear shaping conversions (armholes, A-line, waist)
If a dc pattern adds x stitches across y rows, the slope is x / y stitches per row. For hdc rows, to maintain the same length per unit height:
New increase cadence ≈ (x / y) × (RPI_hdc / RPI_dc) stitches per hdc row.
Given crochet increases are discrete, implement as a repeating pattern. For example, if the new slope is 0.6 sts per row, work 3 increases every 5 rows.
Caveat: If the original shaping uses fractional increases with strategic spacing (for example, every third and fourth row alternating), mirror the spacing pattern, but over your new row count.
Yardage: compute it from swatch area, not stitch type
You can estimate yarn usage accurately by weight-per-area, which neutralizes differences in stitch geometry.
Procedure
- Weigh your blocked dc and hdc swatches. Compute grams per 10 cm square for each.
- The finished area A in square centimeters is width × height. For motifs, sum their areas.
- Estimated grams = A × (grams per 10 cm²) / 100.
- Convert grams to yardage using the yarn’s label (meters or yards per 100 g). Or weigh a measured length from your yarn if you need higher precision.
Key point: If the fabric area is the same, hdc often uses slightly less yarn than dc, but the difference varies. When converting, base your estimate on the swatch that matches the final stitch you will use. Resources on yardage estimation by area: YarnSub on estimating yarn requirements and WeCrochet yardage guide.
Worked examples
Example 1: Convert a dc throw to hdc without changing finished size
Original dc pattern
- Gauge: 14 dc and 8 rows = 4 in (10 cm). So SPI_dc = 14 per 10 cm; RPI_dc = 8 per 10 cm.
- Multiple: 14 + 2 (edges). Starting chain: 146 = 14 × 10 + 2.
- Throw size: 50 in wide × 60 in tall. Pattern instructs to work 120 rows of dc to reach 60 in.
Your hdc swatch (same yarn)
- Gauge: 16 hdc and 12 rows = 4 in (10 cm). So SPI_hdc = 16 per 10 cm; RPI_hdc = 12 per 10 cm.
Step A: Starting chain and first row stitch count
Original width W = Count_old / SPI_dc.
- Count_old = starting dc stitches after foundation: likely 146 foundation chain minus turns; but the pattern already provided 146 for multiple math. The main measurement is width.
- Width in 10 cm units: The pattern width is 50 in ≈ 127 cm. Using SPI_dc = 14 per 10 cm, stitches across for dc at 127 cm would be roughly 14 × 12.7 = 177.8 stitches if it were a plain dc fabric. But the pattern’s established chain is 146 because design motifs and border tension affect width. Use the designed stitch count, not the hypothetical measurement.
Compute Count_new from the existing stitch count:
Count_new = Count_old × (SPI_hdc / SPI_dc)
           = 146 × (16 / 14)
           ≈ 146 × 1.142857 ≈ 166.85
Pattern multiple is 14 + 2. Nearest 14×m + 2 near 166.85:
- 14×11 + 2 = 156
- 14×12 + 2 = 170 ← closer
Choose ch 170 for the hdc version. If the pattern uses a foundation double crochet, work foundation half double crochet at 170 stitches, respecting the edge policy.
Step B: Number of rows to reach 60 in height
Original rows: 120 dc rows reach 60 in.
Compute new row count:
Rows_new = Rows_old × (RPI_hdc / RPI_dc)
         = 120 × (12 / 8)
         = 120 × 1.5 = 180 rows
Work 180 rows of hdc to reach the same height. If the original has a border counted within the 120 rows, move it proportionally: for example, if 4 decorative rows were at the top and bottom, keep 4 at each edge or distribute them similarly; the body rows sum should be scaled by the same factor.
Step C: Turning chains
- If the original used ch 3 counting as dc, use ch 2 counting as hdc, or replace with stacked hdc for cleaner edges. Ensure your row gauge measurement reflected the chosen method.
Step D: Yardage estimate
Weigh your blocked hdc swatch: suppose 10 cm square weighs 6.8 g. Blanket area is 127 × 152.4 cm ≈ 19368 cm².
Estimated grams:
Grams ≈ 19368 × (6.8 / 100) ≈ 1317 g
If your yarn is 200 g per 340 meters, you will need about 6.6 skeins. Always add a margin for borders and swatch.
Example 2: Convert a dc raglan yoke to hdc
Original dc yoke
- Gauge: 16 dc and 10 rows = 4 in. SPI_dc = 16 per 10 cm; RPI_dc = 10 per 10 cm.
- Yoke depth to underarm: 9 in ≈ 22.86 cm.
- Increase pattern: 8 increases every 2 rows until stitch count reaches target bust circumference.
Your hdc swatch
- Gauge: 18 hdc and 14 rows = 4 in. SPI_hdc = 18 per 10 cm; RPI_hdc = 14 per 10 cm.
Step A: Rows to reach yoke depth
Rows_dc_needed = 22.86 cm × (RPI_dc / 10 cm) = 22.86 × (10 / 10) = 22.86 ≈ 23 dc rows
Rows_hdc_needed = 22.86 × (RPI_hdc / 10) = 22.86 × 1.4 ≈ 32 hdc rows
Step B: Target circumference at split for sleeves
Suppose the dc pattern targets 180 dc stitches at split. Convert to hdc stitches using width ratio so circumference matches:
Target_hdc_sts ≈ 180 × (SPI_hdc / SPI_dc)
               = 180 × (18 / 16)
               = 180 × 1.125 = 202.5 ≈ 202 or 204 (choose even for symmetry)
Step C: Distribute increases
- Original adds 8 sts every 2 rows over 23 rows: about 92 increases in total (worked on roughly 11 or 12 increase rows), reaching 180.
- You need about 202–204 stitches over 32 rows. Using 8 increases per increase row, you need 26 additional increases from the starting chain count to reach the target.
- Plan a cadence: increase every other row for the first 22 rows (11 increase rows × 8 = 88 sts), then every third row for the remaining 10 rows (3 increase rows × 8 = 24), adjusting by one increase row as needed to hit 202 or 204 precisely.
Always check real measurements around the neckline and shoulders mid-yoke; small adjustments in early rows are easy to hide.
Example 3: Convert a dc magic ring circle to hdc
Your swatches give:
- dc: SPI_dc = 14 per 10 cm; RPI_dc = 8 per 10 cm ⇒ w_dc = 0.714 cm, h_dc = 1.25 cm ⇒ h/w ≈ 1.75 ⇒ INC_dc ≈ round(2π × 1.75) ≈ round(10.996) ≈ 11 or 12.
- hdc: SPI_hdc = 18 per 10 cm; RPI_hdc = 12 per 10 cm ⇒ w_hdc = 0.556 cm, h_hdc = 0.833 cm ⇒ h/w ≈ 1.50 ⇒ INC_hdc ≈ round(2π × 1.50) ≈ round(9.425) ≈ 9.
Original pattern uses 12 dc in ring and adds 12 each round. Your hdc conversion uses 9 hdc in ring and adds 9 each round.
For a target diameter D after r rounds (excluding the ring round), diameter ≈ 2r × h. With your hdc h = 0.833 cm, 10 rounds give D ≈ 2 × 10 × 0.833 ≈ 16.7 cm. Circumference ≈ π × D ≈ 52.4 cm; stitches in round 10 ≈ 52.4 / 0.556 ≈ 94.3 ≈ 94 or 95. You can verify your inc schedule 9 × 10 + 9 base ≈ 99; tension and blocking will decide whether you use 8 or 9 inc in a couple of rounds to hit the target. Adjust by inserting one no-inc round where needed to correct for mild ruffling.
Converting stitch patterns that rely on post height and openness
- Solid textures: Hdc is shorter; expect denser fabric with less daylight between posts. If the original dc pattern depends on the openness of dc gaps, your hdc version will look less lacey. To preserve openness at the same gauge, consider chain spaces or occasional tr stitches to simulate height.
- Post stitches and cables: Front/back post dc relies on post height. When converting to hdc, fp/bp-hdc exists but is lower and can compress the motif. Use test swatches to recalibrate the number of rows between cable crossings; increase the crossing frequency to avoid squat motifs.
- Filet and mesh: A dc mesh of dc, ch 1 repeated converts poorly to hdc at the same gauge because the chain space relative to stitch height changes the cell proportions. To preserve the aspect ratio, compute the h/w ratio and adjust chain counts within the mesh (for example, hdc, ch 2) so the cell’s width-to-height ratio remains constant.
Workflow checklist: from dc to hdc or hdc to dc
- Swatch both stitches with final yarn and hook; block.
- Record SPI and RPI for each.
- Compute Count_new and Rows_new with the ratio formulas.
- Align Count_new to the pattern’s multiple k + b.
- Align row count to the pattern structure: respace shaping, texture panels, and edging proportionally.
- Decide turning-chain policy; keep it consistent with how you measured row gauge.
- For circles or round motifs, compute INC from 2π × (h / w) and adjust per round counts accordingly.
- Estimate yardage by area from your swatch weight.
- Work a small sample to verify edge behavior and motif alignment before committing.
Common pitfalls and how to avoid them
- Ignoring row gauge: Most conversion failures come from matching width but not height. Always rescale the row count.
- Turning chains that do not match stitch height: Too-tall chains make stair-step edges and skew row height. Use stacked stitches or counting chains that match your swatch.
- Border compression or flare: Borders often use sc or hdc on dc fabric. When converting to hdc fabric, revisit border stitch-to-row ratios. A common fix is to adjust the number of stitches picked up per row along vertical edges. As a rule of thumb along vertical edges, pick up approximately SPI / RPI stitches per row; test a small segment.
- Motif joins: If converting motif stitch types changes each motif’s finished size by a few millimeters, that error compounds across a blanket. Recompute motif counts from area and use blocking wires during assembly.
When not to convert
- Heavily engineered lace or tapestries where stitch height controls negative space or color-dominance precisely.
- Patterns that depend on exact stitch geometry for structural integrity, for example, broomstick lace inserts, linked dc fabrics masquerading as woven textures, or Tunisian sections hybridized with traditional crochet.
- Projects with strict yardage limits and no chance for re-buying the same dye lot, unless you’ve weighed swatches and planned a margin.
Opinionated notes from the field
- If you care about clean garment lines, calibrate increases from the schematic, not just the counts. Measurements trump counts.
- Stacked stitches at row beginnings increase professional finish and keep your math honest. They almost always produce better row height matching than counting chains.
- For hdc-to-dc conversions, expect row counts to decrease and stitch counts to decrease slightly for the same width. The same formulas apply with labels swapped.
- Do not fear fractional math; you will round to the nearest repeat. What matters is preserving measurement, not reproducing the original integers.
Quick reference formulas
Swap labels Old and New depending on direction.
- Width:
Count_new = round_to_pattern_multiple( Count_old × SPI_new / SPI_old )
- Height:
Rows_new = round( Rows_old × RPI_new / RPI_old )
- Circle increases:
w = 10 cm / SPI
h = 10 cm / RPI
INC ≈ round( 2 × π × (h / w) )
- Yardage by area:
Grams ≈ Area_cm2 × (grams per 10 cm² from swatch) / 100
- Vertical edge pickup ratio:
Edge sts per row ≈ SPI / RPI (expressed in the same units)
References and further reading
- Craft Yarn Council standards for abbreviations, hook sizes, and gauge notation: https://www.craftyarncouncil.com/standards
- Interweave on turning chains and alternatives: https://www.interweave.com/article/crochet/understanding-crochet-turning-chains/
- PlanetJune on flat circle construction and increase counts: https://www.planetjune.com/blog/the-ultimate-crochet-circle/
- YarnSub on estimating yarn requirements: https://yarnsub.com/yarns/usage
- WeCrochet gauge and yardage resources: https://www.crochet.com/learn/article/how-much-yarn-do-i-need
Final thoughts
You do not need to accept the default personality of a pattern. With a swatch and a few ratios, you can convert dc to hdc or hdc to dc while keeping the measurements and silhouette unchanged. The process scales from dishcloths to complex garments: swatch, measure SPI and RPI, compute stitch and row counts, align to repeats, and respace shaping. For round work, rely on the geometry of h and w. For yardage, trust your swatch weight by area.
Once you work through a couple of conversions, the numbers become intuitive: dc often means fewer stitches and fewer rows, hdc more stitches and more rows, and the circle increase counts fall where your h/w ratio predicts. The result is freedom to use the stitch that suits the fabric you want, not just the stitch the pattern started with.