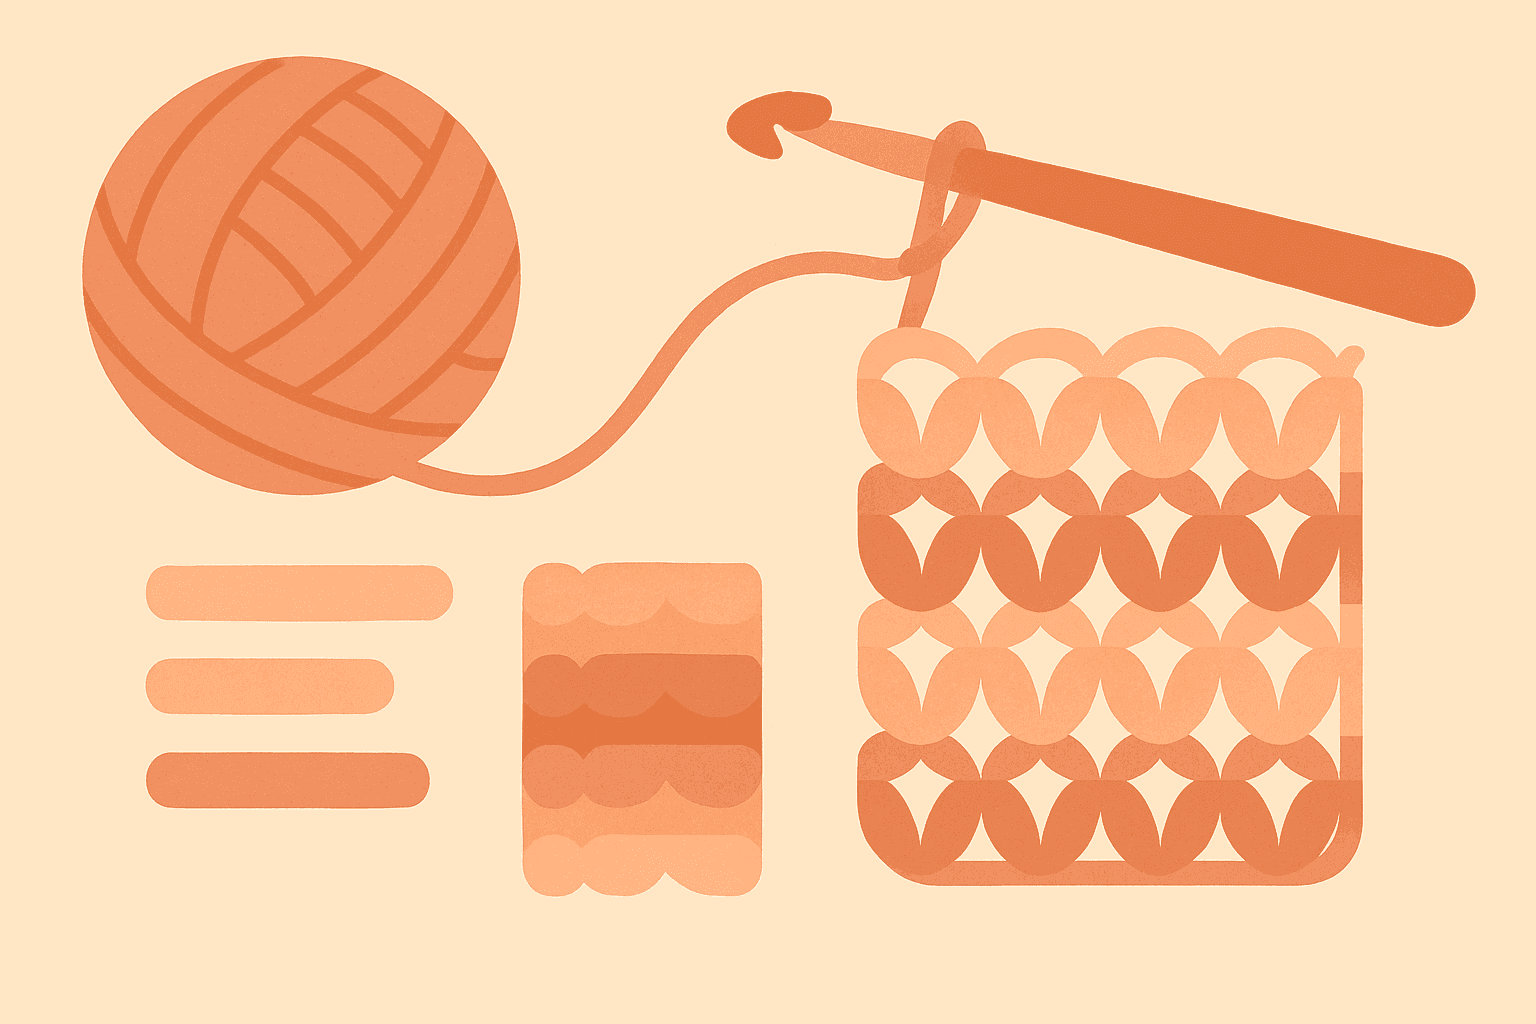
How to Block Acrylic Crochet: Steam vs Heat-Setting (Killing), Safe Temps, and When to Avoid It
Acrylic crochet behaves differently under blocking than wool, cotton, or linen. If you’ve tried pin-and-spritz on acrylic and wondered why nothing seemed to happen—or worse, why your fabric turned shiny and limp—you’ve met acrylic’s thermoplastic reality. Blocking acrylic is less about water and more about heat. Done well, it can true up edges, relax curl, and even transform bargain acrylic lace into fluid drape. Done poorly, it can permanently collapse texture.
This article gives you science-backed steps to block acrylic safely, explains when steaming works and when heat-setting (often called “killing”) is appropriate, outlines safe temperature ranges, highlights fiber-blend caveats, and provides a swatch-testing protocol to predict drape before you touch your finished piece.
Opinionated bottom line:
- For most acrylic crochet, hovering steam with careful cooling is the safest way to improve finish without losing texture.
- Heat-setting (“killing”) is a useful, permanent technique for certain lace or drapey fabrics—but it is irreversible. Reserve it for pieces where you want flatter hand, more drape, and a slight sheen.
Quick definitions
- Steam blocking: Using steam and mild heat (typically with an iron or garment steamer hovering above the fabric) to relax and coax acrylic stitches into place while keeping fiber temperature below the threshold that permanently changes the polymer structure. Shape improvements are noticeable and often durable after cool-down, but not necessarily permanent.
- Heat-setting (killing): Applying sufficient heat (with or without light pressure) to exceed acrylic’s glass transition temperature so the polymer relaxes and loses its elastic memory. The fabric becomes more drapey, less springy, and may develop sheen. This is permanent.
Why acrylic behaves unlike wool: the polymer science
Acrylic yarns are predominately polyacrylonitrile (PAN) copolymers. Key consequences for blocking:
- Hydrophobic and low moisture regain: Water doesn’t penetrate the fiber the way it does in wool or cotton, so wet blocking has minimal lasting effect.
- Thermoplastic: Acrylic softens and its molecular chains mobilize when heated. The critical inflection is the glass transition temperature (Tg), generally reported around 85–105°C for PAN-based fibers, depending on composition and additives. Above Tg, the fiber can relax into a new shape; once cooled, that new configuration is set.
- No clean melt point in normal use: Acrylic will degrade before it truly melts, but the surface can “glaze” or collapse well below decomposition if heated or pressed too much.
Implications:
- Steaming at a distance allows surface moisture and moderate heat to relax stitches without crossing fully into heat-set territory.
- Touching a hot soleplate to acrylic, or lingering steam too close for too long, can push the fiber above Tg and permanently alter the hand.
Methods overview: which to use when
-
Hovering steam blocking (recommended default)
- Best for: Granny squares, blankets, garments that need edges trued, lace that needs opening with minimal change in hand, acrylic blends where you don’t want to risk the other fiber.
- Pros: Reversible feel; preserves loft and stitch definition; low risk if temperature is controlled.
- Cons: Might need re-blocking after laundering; may not produce dramatic drape in dense fabrics.
-
Heat-setting / killing (advanced, intentional)
- Best for: Acrylic lace shawls and scarves when you want permanent drape and a sleeker look; preventing acrylic ribbing from snapping back (only if you truly want it lax).
- Pros: Permanent; can significantly improve drape in stiff acrylics; opens lace beautifully.
- Cons: Irreversible; reduces elasticity; can add unwanted sheen; flattens texture and relief stitches.
-
Wet or cold blocking (pin-and-spritz, soaking without heat)
- Best for: Very minor truing, removing simple handling wrinkles.
- Pros: Safe; no special equipment.
- Cons: Minimal, often temporary effect on acrylic fabric shape.
-
Dryer-assisted relaxing (low-heat tumble with a damp cloth)
- Best for: Quick wrinkle removal in durable acrylics.
- Pros: Convenient; can soften hand slightly.
- Cons: Least precise; heat varies by appliance; risk of stretching, pilling, or over-softening if overdone. Test first.
Safe temperature ranges: what the numbers mean
You don’t have to guess. Think in terms of two temperatures: the iron/steam source and the fabric itself.
-
Fabric temperature targets
- For conservative steam blocking: Keep fabric surface below roughly 80–85°C (176–185°F). This stays under typical Tg for many acrylics, minimizing permanent change.
- For intentional heat-setting: Expect to exceed Tg locally (often 90–105°C / 194–221°F at the fiber) to get a durable set. Do this only on swatches first.
-
Iron settings and steam
- Household care symbols rate the “one dot” iron setting at a maximum soleplate temperature of 110°C (230°F) for synthetics like acrylic. That is close to or above Tg, so hovering is essential if you’re not trying to kill the fabric.
- Steam at atmospheric pressure is generated at ~100°C (212°F), but the fabric surface temperature will be lower depending on distance, dwell time, and airflow. A 1–2 inch (2.5–5 cm) hover usually keeps the fabric below Tg if you keep the steam moving.
-
Tools for confidence
- An inexpensive infrared thermometer lets you spot-check fabric surface temperature. It’s not perfect on shiny yarns, but it’s better than guessing.
- Use the lowest effective steam output and increase distance rather than cranking heat.
Tools and setup for controlled results
- Blocking mats or a thick towel over a heat-safe surface
- Rustproof T-pins or blocking wires
- Steam source: garment steamer or iron with reliable steam. If using an iron, a press cloth is mandatory for any contact.
- Optional: IR thermometer, tailor’s ham for curved areas, measuring tape, note card to log settings.
- Safety: Heat-resistant gloves or a towel; steam burns are real.
Step-by-step: steam block acrylic without killing it
This is the routine I reach for 90% of the time.
- Prepare and pin
- Lay the piece flat on your mats. Gently coax to dimensions. Use blocking wires on long straight edges or lace edges to reduce scalloping pressure.
- Pin enough to support the shape but don’t over-stretch; acrylic won’t rebound like wool.
- Set your steamer/iron
- If using an iron, select the “synthetics”/one-dot setting with steam on. Let it fully heat and stabilize.
- If using a garment steamer, allow it to produce steady steam without spitting.
- Hover and sweep
- Hold the steam source 1–2 inches (2.5–5 cm) above the fabric. Never let the soleplate touch the yarn.
- Move in smooth passes, 3–5 seconds per area. Do not linger. Watch for a subtle softening and relaxation of the stitches.
- If you have an IR thermometer, spot-check fabric temps; aim to keep readings under ~80–85°C.
- Set and cool
- After steaming an area, leave it pinned and untouched until completely cool and dry. Cooling fixes the new shape.
- Resist the urge to pat or stretch the fabric while it’s warm; that’s when deformation happens.
- Evaluate and repeat if needed
- Unpin a small edge to check the result. If you need more truing, repeat the hover—same distance, slightly longer passes. Avoid cranking up heat.
- For lace opening (non-kill approach)
- Pin lace to the desired openness using many pins or wires.
- Use the same hover distance, but do two or three light passes with full cool-down in between, rather than one aggressive pass.
Step-by-step: heat-setting (“killing”) on purpose
This is appropriate when your goal is permanent drape and you accept the trade-offs.
- Swatch first—always
- Make at least two swatches (10–15 cm square) in the same yarn and stitch pattern.
- Record: pre-block dimensions, weight, and a quick drape observation (does it stand, flop, or curve?).
- Pin the finished piece or a large swatch
- Pin to final dimensions, slightly under-stretching rather than over, because killing reduces elastic recovery.
- Prepare a press cloth
- Use a clean, thin cotton press cloth or muslin. Dampen it lightly (not soaking). This buffers heat and prevents direct contact shine.
- Iron settings and approach
- Set the iron to one-dot/synthetics with moderate steam. Do not exceed this; killing is about controlled time and contact, not blasting heat.
- Place the damp press cloth over the fabric. Lightly touch the iron to the cloth for 2–4 seconds, then lift. Do not slide the iron.
- Move to the next area, overlapping slightly. Re-dampen the cloth as needed to keep steam generation consistent.
- Cool completely
- Leave pinned until fully cool and dry. Killing is set on cool-down.
- Check hand and sheen
- The fabric will feel more fluid and less bouncy. Some yarns take on a light sheen; some show flattened stitches. If that’s too much, dial back time/pressure on your next swatch.
- For a hover-kill hybrid
- If you want an in-between result, hover at 0.5–1 inch with slow passes. This can push parts of the fabric just over Tg without the risk of glazing from direct contact.
Warning: Over-killing cannot be reversed. Washing will not restore elasticity or loft.
Fiber-blend caveats and special yarns
Treat blends according to their most heat-sensitive component and desired outcome.
-
Acrylic/wool blends
- Steaming: Safe with hover. Keep temperatures conservative to avoid felting risk in non-superwash wool (felting needs heat, moisture, agitation; steam hover without friction is usually fine).
- Killing: Will relax the acrylic but also can collapse wool crimp and dull stitch definition. Use only if you want permanent drape and less bounce.
-
Acrylic/cotton or acrylic/linen
- Cellulosics can handle higher heat, but the acrylic in the blend cannot. Use acrylic-safe settings. Expect improved edge truing with steam; killing will reduce the little elasticity the fabric has.
-
Acrylic/nylon or acrylic/polyester
- Both nylon and polyester are thermoplastic with higher softening temperatures than acrylic. The acrylic portion dictates your limit. Risk of glazing increases with direct contact. Hovering steam is preferred.
-
Novelty and metallic yarns
- Metallic films, sequins, and faux fur can deform quickly and unpredictably. Hover steam at a generous distance and test on swatches. When in doubt, skip heat and rely on light pinning.
-
Heavily textured stitches (front-post ribs, popcorns, bobbles)
- Steam is safe at a distance to settle edges, but avoid killing—permanent flattening will erase the 3D work.
When to avoid blocking—or block minimally
- Amigurumi, stuffed toys, and structural pieces: Heat can collapse firmness and alter seam integrity.
- Ribbing, cuffs, and hats that rely on elasticity: Killing will make them slouchy and loose.
- High-relief textures you want to keep crisp: Stick to very light, distant steam only at the edges.
- Acrylics with high sheen or smooth plies: Prone to visible glazing if over-heated. Err on the side of distance.
Swatch testing protocol to predict drape without risk
A rigorous test saves garments.
- Make three identical swatches
- Size: at least 12 x 12 cm (5 x 5 in). Use the same hook, stitch pattern, and blocking you plan for the project.
- Label them A (control), B (steam), C (heat-set).
- Baseline measurements
- Measure width/height after rest. Weigh each swatch if you can (a kitchen scale works). Note stitch definition and hand.
- Quick drape check: Clamp one edge on a table and measure the “drape angle” the free side makes with the horizontal. Lower angle indicates more drape.
- Block A: no heat (control)
- Pin to square and spritz with water; let dry. Record any change (likely minimal).
- Block B: conservative steam
- Hover at 1–2 inches with 3–5 second passes, keeping fabric under ~80–85°C. Let cool fully.
- Record dimension and drape angle again.
- Block C: incremental heat-set
- Use a damp press cloth; touch the iron for 2 seconds per area. Cool, measure, drape test.
- If you want more drape, repeat with 3–4 second touches on a fresh area or a second swatch.
- Hang test (optional but revealing)
- Hang swatches by a top edge with a small clip for 24 hours. Record length change. Acrylic may grow slightly when heat-relaxed.
- Decide
- Choose the method that gives the drape and hand you want. If none is ideal, adjust stitch density or hook size rather than forcing the yarn.
Troubleshooting and edge cases
-
Persistent edge curl in acrylic stockinette-like stitches (e.g., back-loop-only fabrics)
- Use blocking wires and gentle hover steam. If curl returns after wash, consider adding a border (ribbed, linen stitch, or slip-stitch cord) rather than more heat.
-
Slight glazing or shine after accidental contact
- Stop immediately. Let it cool. Very gentle brushing with a soft toothbrush may matte the surface a touch, but true glaze won’t fully reverse.
-
Uneven squares in a blanket
- Steam each square separately with wires, cool flat, and join after. After joining, do one final, light hover steam pass across seams only.
-
After washing, do I need to re-block?
- For acrylic, a quick light steam often restores the original blocked look. If you killed the piece, the drape remains but edges may still benefit from a light hover pass.
-
Can I use a hair dryer?
- Yes, on low or medium heat with moving air and some tension from your hand, but it’s less effective than steam. Keep the dryer moving and test temperature on a swatch.
Practical recipes by project type
-
Granny square blanket (100% acrylic)
- Before joining: Steam-block each square with a 1–2 inch hover. Cool flat. Join. Final light hover over joins.
-
Acrylic lace shawl (budget acrylic, stiff off the hook)
- If you want reversible finish: Pin open aggressively with wires; hover steam in multiple light passes with full cool-down between.
- If you want permanent drape: Swatch-kill to confirm hand. Then damp press-cloth touches (2–3 seconds) across the piece, pinned to final dimensions.
-
Acrylic hat with ribbed brim
- Avoid killing entirely. If needed, distant hover steam on crown only to smooth seam humps. Keep brim untouched to preserve snap.
-
Acrylic/wool blend cardigan
- Hover steam on wrong side at 1–2 inches to relax seams and edges. Avoid pressure. Keep temps lower on non-superwash blends.
Safety notes
- Steam is hotter than it looks—keep hands out of the plume.
- Ventilate. Some finishes on synthetic yarns can off-gas slightly when heated.
- Never leave a hot iron face-down on a press cloth over your work.
- Store irons and steamers safely away from mats to prevent accidental contact.
References and further reading
- GINETEX Care Symbols: Iron temperatures. One dot indicates a maximum soleplate temperature of 110°C (230°F) for synthetics.
- Polyacrylonitrile (PAN) polymer properties, including glass transition temperature.
- Acrylic fiber overview (thermoplastic behavior and care cautions).
- Steam temperature at atmospheric pressure (boiling point of water).
- General care guidance for ironing synthetics (aligns with ISO 3758 symbol meanings).
- ISO 3758 care labelling (summary via care symbol references): https://www.iso.org/standard/59182.html
- Alternate accessible summary (Textile Industry): https://www.care-symbols.org/
- Blocking acrylic yarn—practical perspectives from the fiber community:
- Interweave: Blocking Acrylic Yarn: What You Need to Know (overview and cautions). https://www.interweave.com/article/knitting/blocking-acrylic-yarn/
- WEBS Yarn Store blog: Tips for Blocking Acrylic and Blends. https://blog.yarn.com/
- Polyester and nylon thermal properties for blend context:
- Polyester: https://en.wikipedia.org/wiki/Polyethylene_terephthalate
- Nylon: https://en.wikipedia.org/wiki/Nylon
Note: Exact Tg and softening behavior vary by acrylic copolymer, dye, and finish. Treat the temperature ranges in this article as prudent, conservative guidelines and rely on your swatch tests.
Final take
You can block acrylic intelligently—just shift your mindset from water to heat control. For most projects, hovering steam plus patient cool-down trues edges and opens fabric while preserving texture. When you want deliberate, permanent drape, heat-setting (killing) is a valid tool, provided you swatch and accept the irreversible change in hand. Respect the temperature thresholds, test on swatches, and let the fabric cool fully. That’s the difference between a polished finish and an accidental shine-and-collapse.