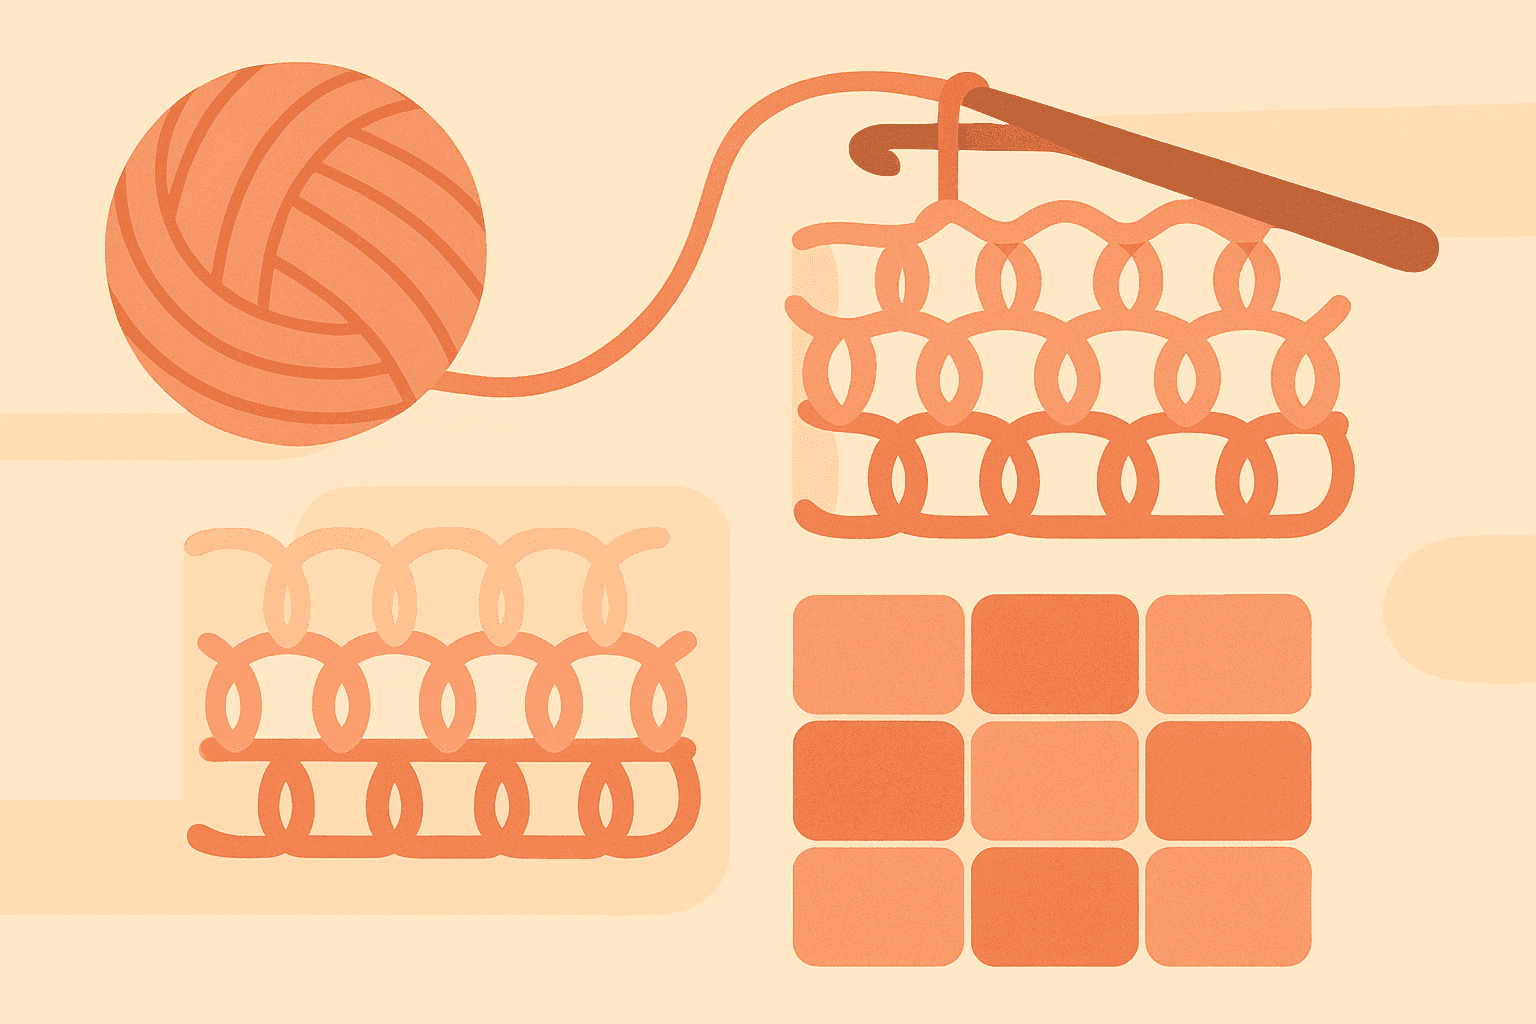
Does Steam Blocking Acrylic Crochet Really Work? A Science-Backed Guide to Heat-Setting Without Melting Your Stitches
If you’ve ever been told “you can’t block acrylic,” you’ve heard a half-truth. You can’t block acrylic the way you block wool. But you can heat-set acrylic to permanently improve drape, flatten curl, and open lace—and you can do it with steam safely and repeatably.
This guide explains the fiber science (glass transition vs. melting), shows how and why steam works better than dry heat for most crafters, gives you step-by-step methods with safe temperature windows, and teaches you to spot and avoid “killed” acrylic. You’ll also get a troubleshooting playbook to rescue near-misses. Think of this as a lab manual for acrylic blocking.
Bottom line: Yes, steam blocking acrylic crochet works—when you treat it as heat-setting a thermoplastic fiber, not as wet-blocking a protein fiber.
TL;DR
- Acrylic is a thermoplastic fiber with a glass transition temperature (Tg) typically around 85–105°C, lowered by moisture. Above Tg, the polymer softens and can be set into a new shape as it cools.
- Steam at ~100°C safely nudges acrylic above Tg when moisture is present, enabling shape/drape changes with lower risk than pressing an iron.
- Keep the iron or steamer head hovering; use no pressure; work in short passes; allow full cooling before unpinning. Aim for surface temps around 90–105°C.
- “Killing” acrylic = over-softening and collapsing the filament structure, leading to shiny, flattened, permanently limp fabric. It’s not literal melting, but it’s irreversible.
- Test on swatches, use stainless T-pins, protect foam mats with a towel, and measure your results.
How Acrylic Fibers Actually Behave Under Heat
Understanding acrylic’s thermal behavior is the key to safe, effective blocking.
- Acrylic crochet yarns are typically copolymers based on polyacrylonitrile (PAN) blended with other monomers (e.g., methyl acrylate) to improve dyeing and processing. They are drawn during fiber manufacture to orient polymer chains, which gives strength and a memory of the drawn state.
- Acrylic does not have a clean melting point like a crystalline plastic; it softens gradually, and at higher temperatures it decomposes rather than melts. What matters for us is the glass transition temperature (Tg): the point where the polymer goes from glassy/stiff to rubbery/soft.
- In dry conditions, PAN’s Tg is often cited in the 85–105°C range; moisture acts as a plasticizer and can lower that Tg significantly. That’s why steam (heat + water) is more effective at lower apparent temperatures than dry heat alone.
- When you heat acrylic near or slightly above Tg without pressure, internal stresses relax and stitches can settle flatter; when you let it cool while pinned, that "set" becomes semi-permanent. This is analogous to industrial heat setting used in textile finishing.
What about “melting?” In home crafting we call any irreversible collapse “melting,” but technically, most modern acrylic fibers don’t meltdown like nylon; they soften and can collapse or fuse if overheated or pressed, producing shine and a limp hand. That’s the “killed” look we want to avoid.
Steam vs. Dry Heat: Why Humid Heat Wins for Acrylic
Both methods can heat-set acrylic, but their risk profiles differ.
-
Steam heat
- Pros: Steam is self-limiting around 100°C at atmospheric pressure, while moisture lowers Tg, so you get efficient softening without extreme temperatures. It penetrates evenly without contact, and you can keep the tool hovering.
- Cons: Over-steaming in one spot or combining steam with pressure can still cause collapse. Manage distance and dwell time.
-
Dry heat (iron without steam, heat gun, hair dryer)
- Pros: Works when steam isn’t available; can be controlled with an IR thermometer; useful for very dense textiles if applied carefully.
- Cons: Hotter surfaces, conduction through a press cloth, and small positioning errors increase the risk of shiny spots and kill. Dry heat needs more skill and constant motion.
-
Best-in-class tool for most crocheters: a garment steamer or a steam iron used as a hovering steamer. A kettle spout works in a pinch; just mind the spurts and water drips.
Safe Temperature and Time Windows (What to Aim For)
- Steam temperature at the cloth: ~100°C at sea level (slightly lower at altitude). Moisture lowers acrylic’s Tg, so this is typically enough to enable setting without pressure.
- Iron plate settings: Many irons label “synthetic” or one-dot around 110°C, “wool” two-dots around 150°C, “cotton/linen” three-dots around 200°C. If you ever touch the fabric (not recommended), stay strictly at the synthetic/one-dot setting and use a thick press cloth. Better yet: don’t touch.
- Surface temperature target on the fabric: roughly 90–105°C, briefly. Validate with an IR thermometer if you have one.
- Dwell time per area: 3–10 seconds per pass, several passes as needed, with cooling pauses. Multiple gentle passes beat one long blast.
Step-by-Step: Steam Blocking Acrylic Crochet (Hover Method)
Tools
- Steam source: garment steamer or steam iron
- Blocking mats and stainless T-pins or rustproof knit blockers
- Terry towel or cotton cloth to protect foam mats from heat
- Optional: IR thermometer to check surface temps, fine-mist spray bottle, tailor’s ham for curves
Procedure
-
Swatch and test first
- Make a 15×15 cm (6×6 in) swatch in stitch pattern and yarn you’ll use. Wash and dry as per yarn label so the baseline is realistic.
- Measure dimensions and fabric hand. Note drape and curl.
-
Prepare the blocking surface
- Lay a towel over your blocking mats to protect from heat deformation. EVA foam can soften with hot steam; the towel spreads heat and moisture.
-
Pin to desired size and shape
- Gently pat and square the piece. Use more pins at corners and along edges to distribute tension. For lace motifs, pin each picot or point.
-
Pre-humidify optionally
- For dense fabrics, lightly mist the surface from 30–40 cm away. You want a whisper of moisture, not wetness.
-
Hover-steam in short passes
- Hold the iron or steamer 2–5 cm (1–2 in) above the fabric. Never press down. Sweep slowly; imagine painting with steam.
- Spend 3–5 seconds per 10×10 cm area, then move on. Make two or three passes across the piece.
-
Observe the fabric’s reaction
- You’ll see stitches relax and gloss slightly from moisture before drying back. If you see immediate shine that doesn’t fade, you’re too hot or too close.
-
Let it fully cool and dry while pinned
- Cooling is when the set is locked. Give it at least 30–60 minutes; thicker pieces can sit overnight.
-
Unpin and evaluate
- Check drape, dimensions, and memory. If you want more openness or less curl, re-pin and repeat with one more gentle pass.
Alternative: Dry-Heat Hover (Use Sparingly)
-
Set iron to one-dot (synthetics) with steam off. Hover 1–2 cm away and keep moving. Perform shorter passes (2–3 seconds) and check frequently. Dry heat can work for very stubborn edges, but risk increases quickly. Do not apply pressure.
-
Use a thick, damp pressing cloth only if you absolutely must touch the fabric (e.g., to tame a rolled hem). Keep the iron’s weight off the cloth—just barely kiss the surface, then immediately lift. One pass only, then assess.
Locking In Drape: Techniques That Last
-
Weighted hang set
- For scarves or shawls: After hover-steaming on the mat, hang the piece from its short edge and clip 10–50 g weights (binder clips with coins) along the hem. Steam from 10–15 cm away with light passes, then let it cool while hanging. This adds graceful, permanent drape.
-
Curve and collar shaping
- Use a tailor’s ham or rolled towel to shape necklines or hat brims. Pin over the form, then hover-steam and cool. Curved sets hold surprisingly well in acrylic when done above Tg and cooled in place.
-
Avoid heat-setting rib elasticity unless intended
- Ribbing, cuffs, and amigurumi benefit from acrylic’s original spring. Keep steam light or skip those zones entirely unless your goal is a flattened, decorative edge.
How to Tell When You’re About to “Kill” Acrylic (And How to Avoid It)
Warning signs
- Persistent, plasticky shine that doesn’t fade as the fabric dries
- Sudden, dramatic loss of stitch definition
- A papery or limp hand, with no elastic rebound when you scrunch the fabric
- Edges that look fused or pressed glass-smooth
- A faint hot-plastic odor
Avoidance rules
- Never press down. Hover only.
- Use multiple short passes, not one long blast.
- Stay farther away on the first pass; creep closer only if needed.
- Cool completely between passes; the set only "locks" on cooling.
- Treat textured yarns (chenille, boucle, blown-core yarns) as high-risk; steam more distant and lighter.
A Controlled Swatch Protocol You Can Replicate
For technical crocheters who want data rather than vibes, run this simple experiment.
Materials: 100% acrylic worsted yarn, 5 mm hook, ruler, 6 stainless T-pins, garment steamer/iron, kitchen scale, notebook.
- Make three identical 15×15 cm swatches: single crochet (dense), half double crochet (moderate), and a lace stitch (open). Wash/dry per label.
- Baseline: Measure width, height, thickness (if you have calipers), and record drape by hanging each swatch over a ruler edge and measuring the angle of the hanging portion, or hang a 20 g weight and record extension length.
- Method A (Control): No heat; simply pin flat and air dry for an hour.
- Method B (Light steam): Hover at 5 cm, 2 passes at 3 s each per area. Cool fully before unpinning.
- Method C (Firm steam): Hover at 2 cm, 3 passes at 5 s each. Cool fully.
- Post-measure: Compare dimension change, drape angle/extension, and stitch definition. Note hand/feel.
Typical outcomes
- Control: Minimal change. Curl remains, lace not fully opened.
- Light steam: Noticeable reduction in curl, lace opens modestly, hand softens, stitch definition remains.
- Firm steam: Significant drape increase and flattening. Lace opens wide. Edges stay flat. If overdone, sheen and reduced bounce appear—dial back next time.
Special Cases and Yarn Constructions
-
Acrylic/wool blends (e.g., 80/20)
- You can combine wet blocking (for wool) with light hover steam to set edges. Treat the blend as acrylic-dominant if acrylic is ≥50%. Always swatch.
-
Chenille and velvet-style acrylics
- Very prone to pile collapse and worming when heated. Use the lightest possible steam at a distance or skip heat entirely.
-
Boucle and haloed acrylics
- Loops and halo can matt down. Steam from 8–10 cm away in one quick pass and stop.
-
Sparkle/metallized acrylic blends
- Metallic films can deform at lower temps. Keep distance and test on a scrap.
-
Amigurumi and structural pieces
- Avoid steam on shaped areas unless you want to reduce spring or fix surface fuzz. Spot-steam seams only.
Troubleshooting and Rescue Playbook
-
I over-steamed and it’s a bit limp but not shiny
- Re-pin to a slightly smaller shape, hover-steam very lightly, then cool fully. This can restore some spring by re-orienting stitches in a constrained shape.
-
Shiny patches appeared
- Stop heat immediately. While still warm (not hot), gently fluff the surface with a soft toothbrush or sweater comb to diffuse light reflection. Let cool pressed against a textured cotton towel to imprint micro-texture that reduces glare. It won’t fully undo, but it helps.
-
The fabric feels “killed” and lifeless
- Unfortunately, true kill is irreversible. Options: reimagine the piece (e.g., line it and use as a drapey panel), add surface crochet to reintroduce structure, or harvest yarn for non-elastic applications. Learn from the swatch and use lighter steam next time.
-
Edges still curl after light steam
- Add a second pass with slightly closer hover, or steam while the piece hangs with gentle weights. Alternatively, add a stabilizing border in a denser stitch, then steam.
-
Blocking mats are warping
- Put a thick towel between your work and foam mats; lower dwell time; keep the steamer further away; or block on a thick cotton ironing board with a wool cover.
Care and Longevity: Will It Last Through Washing?
- Heat setting is semi-permanent. Ordinary laundering at cool to warm temperatures, followed by air-drying flat, preserves the set. Aggressive tumble drying on hot can relax or alter it.
- If the drape relaxes after washing, a quick refresh with light hover steam typically restores the set. Since you’ve already crossed Tg once, it often takes less steam to maintain the shape thereafter.
Myth-Busting: Acrylic Blocking Edition
-
“You can’t block acrylic.”
- False. You can’t wet-block acrylic like wool to rely on hydrogen bonding, but you can heat-set it via steam.
-
“Steam melts acrylic.”
- Misleading. Steam softens acrylic above its Tg (especially with moisture). Overheating and pressure can collapse filaments and produce shine—commonly called “melting”—but it’s a softening/fusing phenomenon, not a neat melt.
-
“If you ever touch an iron to acrylic, it’s ruined.”
- Mostly true for typical crafting: contact + pressure is risky. If you must touch, use a thick damp press cloth, one-dot setting, no pressure, and one quick lift. But hovering is the safer and usually better method.
Practical Heat Numbers You Can Use
- Steam at sea level: ~100°C output (boiling point), a sweet spot for softening acrylic with moisture present.
- Iron symbol guide (for care labels):
- One dot ≈ 110°C (synthetics)
- Two dots ≈ 150°C (wool/silk)
- Three dots ≈ 200°C (cotton/linen)
- Target fabric surface: 90–105°C, briefly, with no pressure, then cool to set.
If you own an IR thermometer, check surface temps after a pass; it’s the most reliable way to train your technique.
When to Choose Steam Blocking for Acrylic Crochet
Use it when you want
- Lace to open, motifs to sharpen, and points to hold their shape
- Edges of blankets and garments to lie flat
- Scarves and shawls to gain graceful, permanent drape
- Seams and yolks to relax and look professional
Avoid or go very light when you want
- Elasticity, bounce, and 3D texture to stay crisp (ribs, popcorns, cables)
- Plush pile (chenille) to remain lofty
- Amigurumi firmness and shape memory
A Quick, Repeatable Recipe for Beginners
- Pin the piece to your target measurements on a towel-covered mat.
- Hover a steamer or iron 3–5 cm above for 3 seconds per area; do two passes.
- Let cool and dry fully before unpinning.
- Evaluate; add one more pass if needed. Stop if you see persistent shine.
This minimalist approach gets you 80–90% of the benefit with minimal risk.
References and Further Reading
- ISO 3758: Textiles—Care labeling code using symbols (ironing temperature dots guidance). https://www.iso.org/standard/72227.html
- Craft Yarn Council: Yarn standards and care symbols (overview of care labels and ironing dots). https://www.craftyarncouncil.com/standards/yarn-label
- Encyclopedia of Polymer Science and Technology, Polyacrylonitrile (general PAN properties, Tg, and behavior under heat). https://onlinelibrary.wiley.com/doi/book/10.1002/0471440264 (see PAN entry)
- Polymer Data Handbook, ed. J. E. Mark (Oxford University Press): PAN and acrylic copolymer glass transition ranges.
- Polyacrylonitrile (PAN) article (general overview; includes Tg context). https://en.wikipedia.org/wiki/Polyacrylonitrile
- Heat setting (textiles) overview. https://en.wikipedia.org/wiki/Heat_setting
- Kadolph, S. J., Textiles (Pearson): Thermoplastic fibers, heat setting, and care chapters (multiple editions available).
Note: Tg ranges and handling characteristics vary among acrylic copolymers and yarn constructions. Always swatch and test the exact yarn and stitch pattern you plan to use.
Final Verdict
Steam blocking acrylic crochet works—consistently and safely—when you treat it as controlled heat-setting above the fiber’s softened state, with no pressure, brief exposure, and full cooling. Use steam’s moisture advantage to lower the effective softening threshold, measure your results, and respect the warning signs of overdoing it. With a swatch-first mindset and hover-only technique, you’ll set stitches—not melt them—and your acrylic projects will look sharper, drape better, and wear longer.