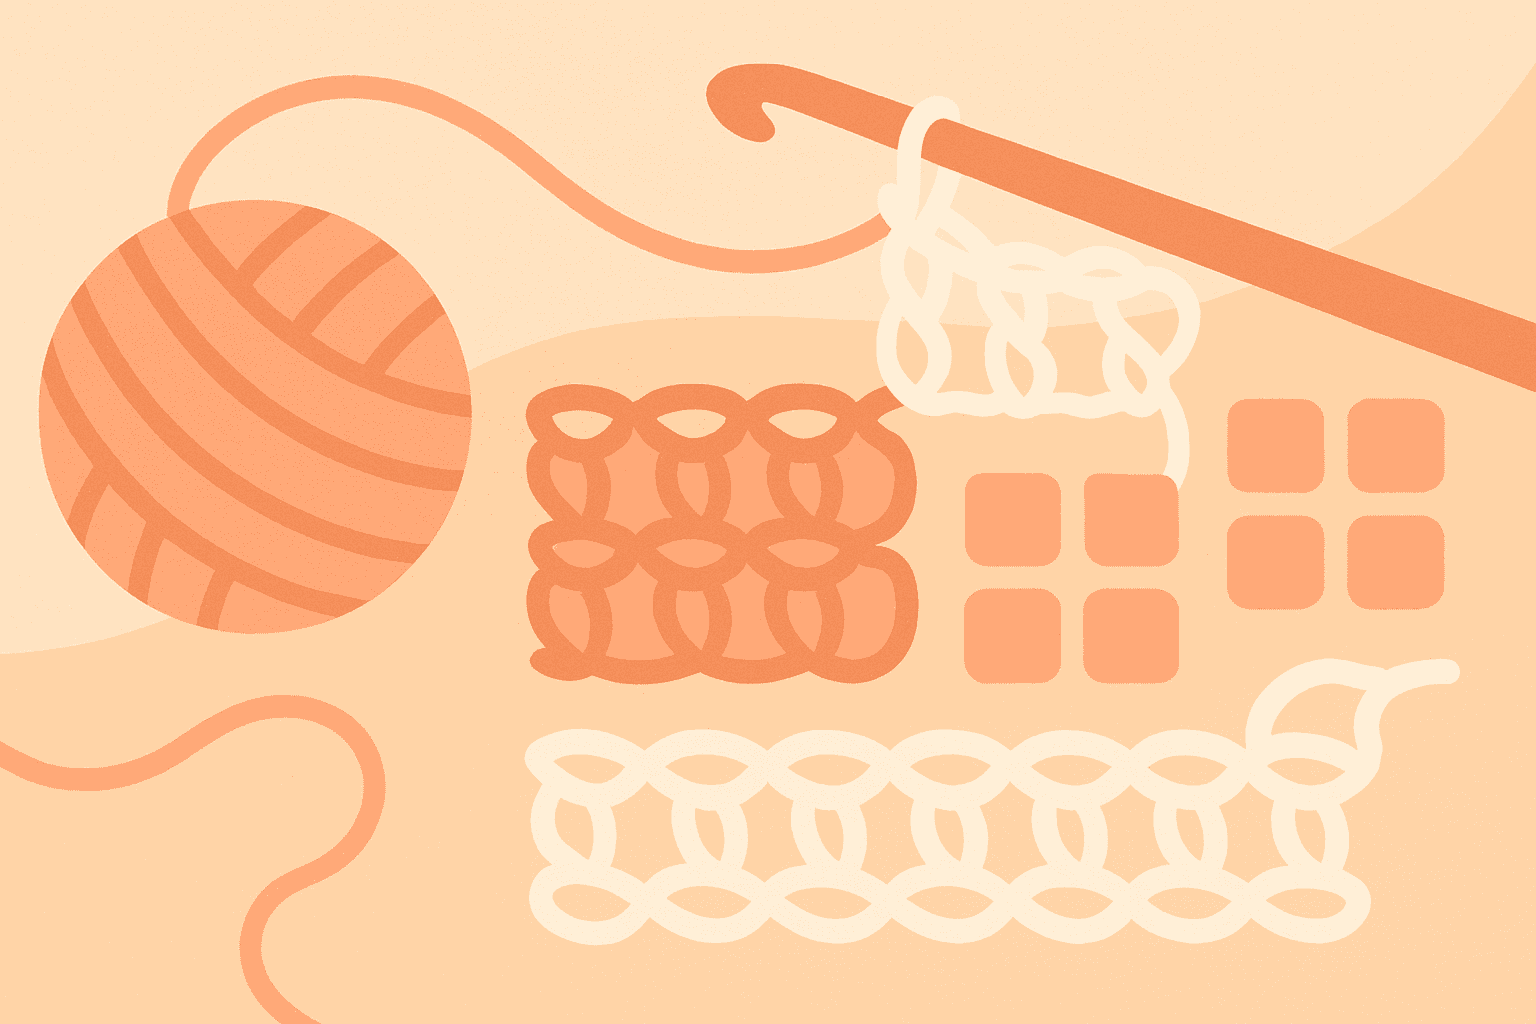
Steam or ‘Kill’? The Science-Backed Guide to Blocking Acrylic Crochet Without Ruining It
Acrylic behaves differently from wool, cotton, or silk—so different that the Internet coined a dramatic term for its most aggressive finishing: “killing.” If you’ve ever wondered when to steam, when (if ever) to kill, whether you’ll melt your blanket with an iron, or how to get that lace shawl to drape without losing stitch definition, this guide is for you.
Below you’ll find the polymer science behind acrylic’s response to heat and moisture, precise workflows for safe steam-blocking and controlled “killing,” recommended temperatures, tools, swatch tests you can actually run, and damage-control tactics if things go sideways. It’s opinionated, practical, and grounded in textile science.
TL;DR
- You absolutely can block acrylic. Steam-blocking sets shape temporarily to semi-permanently; “killing” sets it permanently.
- Steam-blocking: Hover steam over pinned fabric without touching. Great for most garments and blankets. Retains bounce and resilience.
- “Killing”: Apply enough heat and moisture to surpass acrylic’s glass transition so fibers collapse and lose memory. Use for permanent drape on lace or décor. Irreversible; avoid on ribbing, hats, cuffs, and anything needing elasticity.
- Stay under the one-dot iron range (≤110 °C/230 °F) for contact; remember steam itself is ~100 °C (212 °F). Keep the soleplate off the fabric for steam-blocking.
- Always swatch-test multiple exposures. Once killed, you can’t un-kill.
Why Acrylic Acts the Way It Does
Acrylic yarns are predominantly polyacrylonitrile (PAN) copolymers. Unlike wool (a protein with scales that relax in water and set as they dry) or cotton (cellulose that swells and flattens with moisture), acrylic is a thermoplastic-like fiber with a key property called the glass transition temperature (Tg).
- Glass transition temperature (Tg): The point at which an amorphous polymer changes from a rigid, glassy state to a softer, rubbery state. For acrylic fibers, Tg typically sits around 85–105 °C (185–221 °F), depending on the exact copolymer mix, finishes, and moisture content.[1–3]
- Moisture plasticization: Steam or humidity lowers the effective Tg. That’s why wet or steamed acrylic becomes more pliable with less heat than dry acrylic.[1, 3]
- Softening and decomposition: Above Tg, acrylic relaxes; much higher still, it softens significantly and may deform. True melting isn’t clean for PAN—it tends to decompose rather than neatly melt—but practical damage can occur far below decomposition due to flattening, glazing, or fusing of fibers if you press a hot soleplate against it.[1–3]
What this means for crocheters:
- Steam at around 100 °C (212 °F) can nudge acrylic to and just beyond its Tg when combined with moisture, allowing stitches to relax and open.
- Prolonged or higher-heat contact (especially with an iron soleplate above 110–150 °C) risks “killing” or shiny glaze. Killing can be intentional; glazing rarely is.
- Once acrylic is heat-set in a new configuration beyond Tg, it tends to keep that shape: wonderful for permanent lace drape; disastrous for ribbing rebound.
Blocking Methods for Acrylic: From Gentle to Aggressive
Think in four rungs, lightest to strongest set.
- Wet or mist blocking (mechanical only)
- Method: Soak or mist, gently shape and pin, allow to dry.
- Use when: You need a small nudge; acrylic’s hydrophobic nature limits impact.
- Result: Minimal to moderate effect; likely to relax with wear/wash.
- Steam-blocking (non-contact)
- Method: Pin piece to size. Hover a steaming iron or garment steamer 1–2 in (2.5–5 cm) above fabric. No touch. Allow to cool while pinned.
- Use when: You want reliable shape without losing bounce—garments, blankets, motifs that must piece together neatly.
- Result: Semi-permanent set, often durable through light laundering, with good stitch definition retained.
- Hover-press steam (near contact through a cloth)
- Method: Pin, cover with a damp cotton muslin pressing cloth, hover very close or lightly touch for 1–3 seconds, lift, move, repeat. Allow to cool.
- Use when: You need more opening or flattening than non-contact steam provides, but want to avoid full kill.
- Result: Stronger set; some reduction in elasticity. Careful testing required.
- “Killing” acrylic (controlled, intentional permanent set)
- Method: Pin aggressively; apply copious steam and/or very brief, low-dot contact through a pressing cloth until stitches visibly relax, open, and gain sheen. Let cool completely before moving.
- Use when: You want permanent drape and openwork on 100% acrylic lace, ruffles, or décor that won’t rely on bounce.
- Result: Permanent set with notable loss of elasticity and a silkier drape; may exhibit surface shine or flattened stitches.
Opinion: For most wearables and motif-based blankets, I prefer method 2. Reserve method 4 for acrylic lace where drape is the design’s backbone and elasticity is non-essential.
When to Steam vs. When to Kill
Choose based on fiber, fabric architecture, and how the piece will be used.
Steam (non-contact) is best for:
- Garments that need fit and longevity: sweaters, cardigans, tops.
- Blankets and afghans: square up motifs and seams while keeping squish.
- Textured stitches where depth matters: post stitches, bobbles, cables.
- Any edge finishing that requires some snap-back: cuffs, ribbing, hats.
Controlled kill is sometimes ideal for:
- Lace shawls and scarves in 100% acrylic: you want that open, floaty drape forever.
- Ruffles and sculptural décor: set flounces, fans, or pleats to hold.
- Flat pieces that won’t be stretched in wear: doilies, table runners, wall hangings.
Avoid or be extremely cautious with killing on:
- Ribbing, hats, and anything relying on negative ease.
- Socks or fitted sleeves: you’ll lose recovery.
- High-pile novelty acrylics, faux-fur, brushed yarns: heat can mat fibers permanently.
- Blends with heat-sensitive partner fibers that might felt, shrink, or distort (treat the blend like the most heat-sensitive component).
Safe Temperatures and What They Mean in Your Hands
- Steam temperature: The vapor coming out of a consumer steamer is approximately 100 °C (212 °F) at sea level. By the time it reaches your fabric, it’s near that range.
- Iron settings: International care labeling (ISO 3758/ASTM D5489) indicates one-dot irons are limited to 110 °C (230 °F), two dots to 150 °C (302 °F), and three dots to 200 °C (392 °F).[4–5] Acrylic is typically labeled at one dot—i.e., very low iron, if at all.
- Glass transition of acrylic: ~85–105 °C (185–221 °F), lowered by moisture and plasticizers.[1–3] Translation: Steaming just over fabric can surpass Tg without touching the iron to it.
Practical guardrails:
- For steam-blocking: Never let the soleplate touch the acrylic. Hover 1–2 in (2.5–5 cm). Keep the iron moving. Steam in 5–10 second passes, then let the piece cool while pinned. Reassess before adding more.
- For controlled killing: Use a damp cotton pressing cloth. Keep your iron at the one-dot/low setting. Touch lightly for 1–3 seconds at a time; lift and cool. Repeat in zones. Check drape and sheen frequently.
- Beware superheating: Some irons superheat steam or leak hot water droplets; test off to the side. And never use the cotton/linen setting on acrylic.
Tools and Setup That Make Blocking Easier (and Safer)
- Steam source: A reliable steam iron with a consistent low setting or a garment steamer with controllable output.
- Blocking mats: Foam mats that take pins well and tolerate moisture; grid lines help square things up.
- Stainless steel T-pins or lace blocking wires: Corrosion-resistant pins hold shape; wires expedite straight edges and arcs.
- Pressing cloth: Lightweight cotton muslin or an undyed tea towel (damp for controlled kill).
- Measuring tools: Tape, seam gauge, large square or right-angle ruler.
- Optional but helpful: Infrared thermometer for surface checks; heat-resistant gloves; small weights for long edges; safety glasses if you’re face-close to heavy steam.
The Swatch-First Protocol (Your Best Insurance)
A systematic swatch test takes an hour and can save a garment.
- Make three identical swatches
- Use the project yarn, same hook, and stitch pattern. Aim for 15 cm/6 in squares.
- Label them A, B, C with a scrap of contrasting yarn.
- Record baseline data
- Measure width/height (relaxed) and stitch/row counts per 10 cm (4 in).
- Note hand-feel and bounce.
- Test steam distances and exposure
- A (control): No blocking.
- B (steam-block): Pin to target dimensions. Hover steamer 1–2 in away, 5–10 seconds per zone. Let cool fully before unpinning. Record new size, drape, bounce.
- C (toward kill): Pin aggressively. Cover with damp pressing cloth. With iron on one dot, tap-press 1–3 seconds per zone, lift, move, repeat. Watch for opening and sheen. Cool fully before unpinning. Record results.
- Wash/relax cycle
- If your finished item will be laundered, do a gentle cold wash or rinse and dry-flat cycle for all three. Re-measure. This tells you which finish survives care.
- Decide
- Choose the lightest treatment that achieves the required result. If C looks too flat or shiny, back off. If B doesn’t open enough, consider a second gentle pass or a hybrid: steam-block the whole and lightly tap-press only the lace border.
Step-by-Step: Steam-Blocking Acrylic (Non-Contact)
- Pin and prep
- Place your piece right-side up on blocking mats.
- Pin to target measurements. Use more pins than you think: every 2–3 cm around curves or lace points.
- If using wires, thread them through edges and pin the wires rather than the fabric itself.
- Steam
- Fill the iron/steamer with distilled water if your tap is hard (minimizes mineral spotting).
- Heat to a low steam setting.
- Hover 1–2 in (2.5–5 cm) above the fabric. Never touch the soleplate to the yarn.
- Pass slowly over each zone for 5–10 seconds, letting steam penetrate. Keep the tool moving to avoid hotspots.
- Cool and set
- Let the piece cool and dry completely while still pinned. This cooling phase is when the set happens.
- Unpin and assess. If needed, do a second light pass and re-cool.
What you should see: Stitches relax just enough to lie flat; lace opens without losing three-dimensional texture; the hand remains bouncy.
Step-by-Step: Controlled “Killing” for Permanent Drape
Warning: Irreversible. Only proceed after a swatch test.
- Pin aggressively
- Shape to final dimensions (or a hair beyond if you want snap-back that won’t happen; aim exactly for finished size).
- Use wires for straight edges; pin lace points sharply.
- Protect the surface
- Lay a damp cotton pressing cloth over the pinned piece. The cloth buffers heat and distributes moisture.
- Heat source
- Set your iron to the one-dot/low setting (≤110 °C/230 °F). Confirm steam is steady and not spitting.
- Apply heat in passes
- Lower the iron onto the cloth for 1–3 seconds per small zone; lift, move, repeat. Do not scrub or slide.
- Watch for visual cues: stitches broaden and open; the surface may gain a slight sheen. Stop before overt shine develops.
- For very delicate lace, you can skip contact and hover very close (a few millimeters) until you get the same cues—less risk of glazing.
- Cool completely
- Do not move the piece until it is fully cool and dry to the touch.
- Reassess
- Lift the cloth, unpin, and evaluate drape and stitch definition. If you need a touch more opening, re-pin and do another very light pass.
What you should see: Permanently open lace, silkier drape, reduced spring. Ribbing will not recover; bobbles and cables will flatten.
Advanced Notes: Architecture Matters
- Dense fabrics (tight single crochet, post-stitch textures) resist both steam and kill and require longer exposure for noticeable change—be cautious, as longer exposure increases risk of glazing.
- High-bulk acrylics and microfibers respond faster to steam because of higher surface area and lower filament stiffness. Use shorter passes.
- Dark, saturated colors sometimes show glazing more readily. Always test on the back or a swatch first.
- Seamed pieces: Steam-block seams open from the wrong side under a pressing cloth with hover steam; this flattens joins without reducing the garment’s overall elasticity.
- 3D shaping: For amigurumi or sculptural elements, avoid kill; it removes the bounce you rely on for form.
Rescue Tactics: If You Overdo It
Honesty first: True killing is permanent. You can’t restore the original elastic memory. Still, here are mitigation strategies.
- Too shiny (glazing) but not melted
- Lightly brush the surface with a very soft fabric brush or a sweater stone to break up sheen. Test on a swatch first; you can fuzz the surface.
- Cold soak, lay flat, and hand-shape can sometimes soften the appearance, but won’t reverse flattening.
- Lost bounce in a band or edge
- Add a new ribbed edging, elastic thread, or a facing/lining for structure.
- Duplicate stitch or surface crochet can restore some body around edges.
- Over-opened lace
- Re-pin slightly smaller, then hover steam only (no contact) to persuade it inward. Expect partial improvement at best.
- Localized heat mark
- If only a small patch is affected, consider design interventions: applique, embroidery, or a strategically placed motif.
If the fiber has actually fused or melted (hard, plasticky spot), there is no material recovery. Cut out and rework that section if the design allows.
Blends and Special Cases
- Acrylic-wool blends: Steam with caution. Wool can felt with moisture, heat, and agitation. Short, non-contact steaming over a well-pinned piece is generally safe, but avoid press-and-slide moves. Treat the blend like wool if wool is ≥50%.
- Acrylic-cotton blends: Cotton loves steam; acrylic doesn’t love contact heat. Stick to non-contact steam, or very light hover-press through a cloth. Swatch-test for differential response (edges scalloping or biasing).
- Novelty yarns (faux fur, brushed, high halo): Do not kill. Even non-contact steam can matte the pile; test a hidden area.
- Beads, sequins, metallic threads: Some plastics deform below acrylic’s safe range. Shield embellishments with a dry cloth and keep the steam moving or block from the wrong side only.
Myths vs. Facts
-
Myth: “You can’t block acrylic.”
- Fact: You can. Steam-blocking is effective. Killing is a permanent form of blocking; it’s just not always desirable.
-
Myth: “Steam melts acrylic.”
- Fact: Saturated steam at ~100 °C won’t melt acrylic but, combined with moisture, can push it past Tg so it relaxes. Melting/fusing risk rises with direct contact at higher soleplate temps.
-
Myth: “Killing is the only way to open acrylic lace.”
- Fact: Controlled steam-blocking plus judicious hover-press often opens lace sufficiently while preserving more stitch definition and resilience.
-
Myth: “Once killed, it will keep improving with more heat.”
- Fact: Past the point of set, additional heat mainly increases risk of glaze or damage without meaningful gains.
Practical Decision Tree
- Do you need permanent, dramatic lace drape in 100% acrylic?
- Yes: Swatch, then controlled kill on the final piece.
- No: Steam-block non-contact first.
- Is the fabric textured or relies on elasticity (ribs, hats, cables)?
- Yes: Non-contact steam only.
- No: Consider a hover-press for edges or borders if more openness is needed.
- Is the yarn a blend or novelty?
- Yes: Treat like the most heat-sensitive component; avoid kill unless the manufacturer explicitly allows heat-setting.
Care After Blocking
- Washing: Gentle, cool wash. Lay flat to dry to preserve the set. High heat in dryers can re-relax or further set acrylic in unwanted ways.
- Re-blocking: Steam-blocked pieces can be refreshed with a light non-contact pass. Killed pieces shouldn’t need it unless distorted in storage.
- Storage: Fold, don’t hang heavy acrylic garments; gravity can lengthen them over time.
References and Further Reading
-
Kadolph, S. J. (2010). Textiles (11th/12th ed.). Pearson/Prentice Hall. Properties of acrylic fibers (Tg, heat sensitivity, care labeling).
-
Mark, J. E. (Ed.). (2009). Polymer Data Handbook (2nd ed.). Oxford University Press. Polyacrylonitrile glass transition and thermal behavior.
-
Woodhead Publishing in Textiles. (2009). Handbook of Textile Fibre Structure, Vol. 2: Natural, Regenerated, Inorganic and Specialist Fibres. Sections on acrylic fiber structure and heat setting.
-
ISO 3758:2012 (and updates). Textiles—Care labelling code using symbols. Iron temperature symbols (one dot ≤110 °C; two dots ≤150 °C; three dots ≤200 °C).
-
ASTM D5489/D5489M. Standard Guide for Care Symbols for Care Instructions on Textile Products. Harmonized with ISO 3758 for ironing temperatures.
-
Coats/Red Heart yarn care guidelines. Manufacturer care labels commonly recommend low-heat or no-iron for acrylic. See: https://www.yarnspirations.com/pages/care-instructions
-
TECHknitter blog. Practical experiments with steam-blocking and killing acrylic knits and crochets. https://techknitting.blogspot.com/ (search: acrylic blocking, killing acrylic)
-
Rowenta user manuals and iron temperature charts for reference ranges of dot settings and soleplate temps.
Note: Exact Tg and softening points vary by acrylic copolymer composition and finishes. Always defer to the yarn label and your swatch test.
Appendix: Quick Checklists
Steam-block checklist (non-contact)
- Pins/wires and mats set to target dimensions.
- Iron/steamer on low steam; no soleplate contact.
- 5–10 s passes, keep moving; cool fully while pinned.
- Reassess before repeating.
Controlled kill checklist
- Confirm with swatch: desired drape, acceptable loss of bounce.
- Piece pinned aggressively; damp cotton pressing cloth in place.
- One-dot iron; 1–3 s light taps per zone; lift and move.
- Stop at first sign of sufficient openness or before noticeable glaze.
- Cool fully before unpinning.
Final Take
Acrylic isn’t stubborn—it’s predictable. It doesn’t respond to water the way wool does; it responds to heat and moisture at very specific thresholds. If you respect those thresholds, you’ll get exactly what you want: crisp seams, squared motifs, or a permanently floaty lace shawl that defies its bargain-yarn origins. Start with a swatch, begin with steam, escalate deliberately, and remember: killing is a design choice, not a default.